Tunisian Crochet Purl Stitch : Easy Guide for Beginners
Tunisian crochet may seem like a niche in the vast world of yarn crafts, but it’s a technique that offers a unique texture and fabric-like feel to your projects.
Among its versatile stitches is the Tunisian crochet purl stitch, often celebrated for the beautiful, ridged patterns it creates.
The purl stitch in Tunisian crochet is not unlike its knitting counterpart concerning the final appearance. It’s great for projects like scarves and blankets where you want that woven, purl ridge effect.
Getting the hang of the Tunisian crochet purl stitch can open up new possibilities in your crochet repertoire.
It’s a bit different from your regular crochet stitch, as it requires a special technique to bring the yarn to the front, which might need some practice.
But once you get into the rhythm, you’ll see how this stitch can be a game-changer, making your pieces look sophisticated and intricate.
Tunisian Crochet Purl Stitch
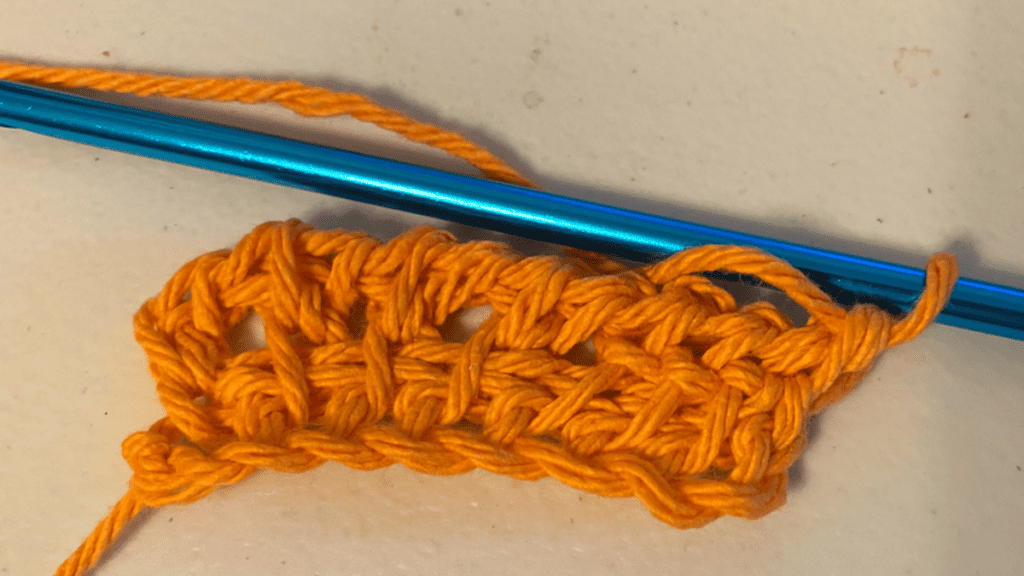
Embarking on your Tunisian crochet purl stitch journey, you’ll need the right tools and a grasp of the basics to create a solid foundation row.
Let’s get your materials ready and take those first steps!
Tools and Materials
Before you dive in, make sure you’ve got a Tunisian crochet hook.
It’s like a regular hook but with a longer shaft to hold more stitches. Your hook size might vary, but a common size to begin with could be a 5mm or 6mm.
This will comfortably work with medium-weight yarn, often referred to as worsted.
You will also need:
- Yarn (choose a smooth, light-colored one to easily see your stitches)
- Scissors
- A tapestry needle (for weaving in ends later)
Understanding Tunisian Crochet Basics
Tunisian crochet is fascinating because you keep multiple stitches on the hook, similar to knitting.
Familiarize yourself with the Tunisian Simple Stitch tutorial to get the hang of this technique.
Remember, each row is made up of a forward pass, adding stitches to the hook, and a return pass, working them off again.
Learning the Foundation Row
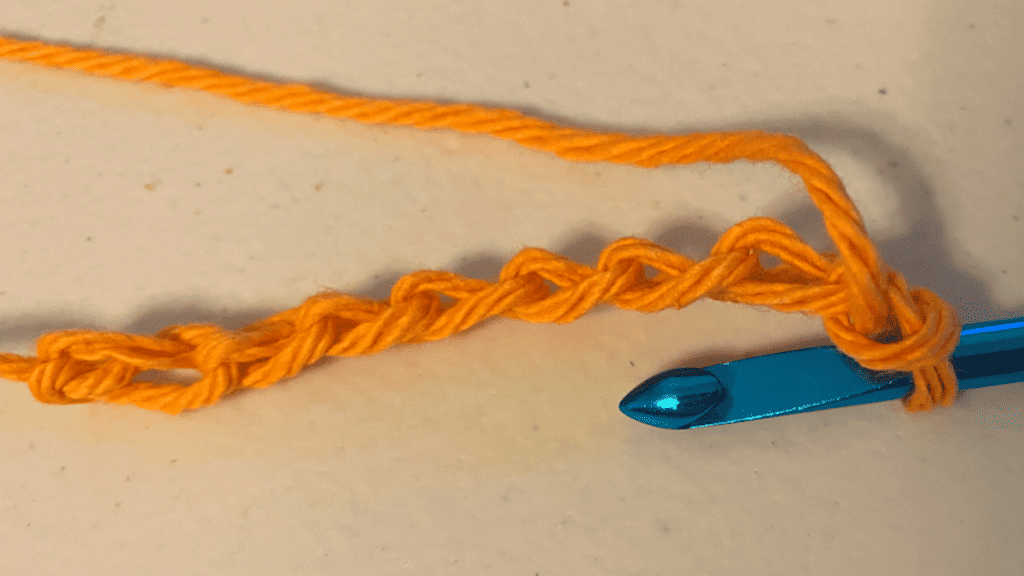
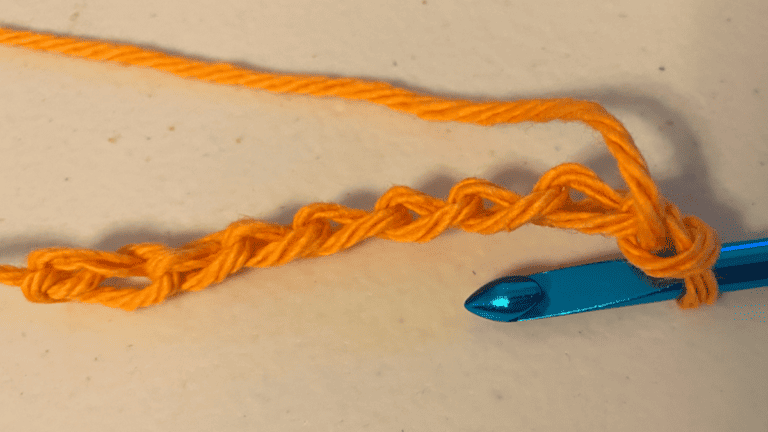
To kick things off, you create a slip knot and place it on your hook – that’s your starting point.
Next up, chain the desired number of stitches for your project width.
This chain is the base of your foundation row, the backbone of your work.
Going into each chain and pulling up a loop leaves you with a hook full of loops, ready for your return pass.
The Tunisian Purl Stitch
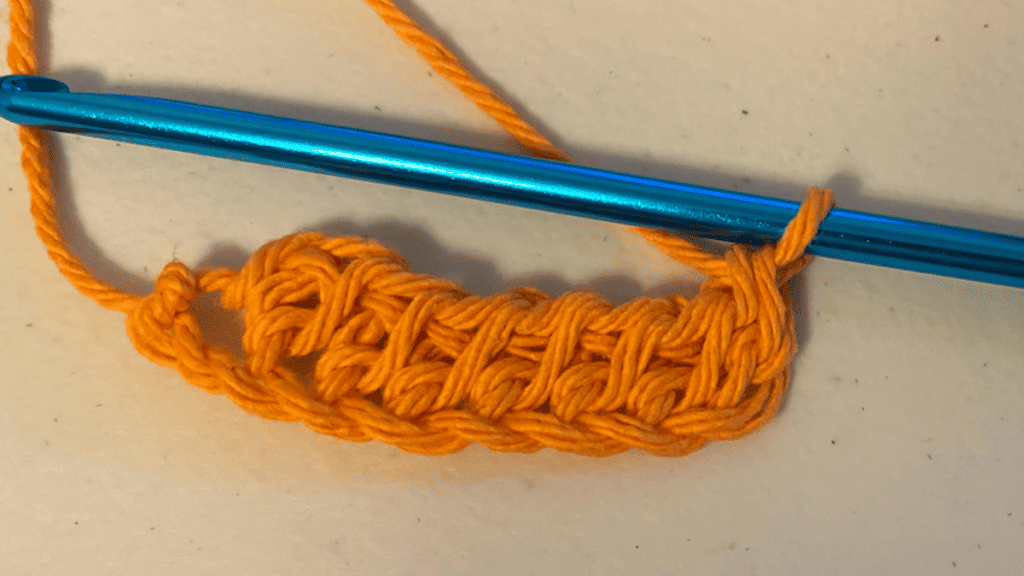
Video tutorial Tunisian Purl stitch
The Tunisian Purl Stitch adds texture and ribbing to your fabric, perfect for creating a bumpy, ridged surface.
Grab your hook and let’s dive right in.
Step by Step Guide
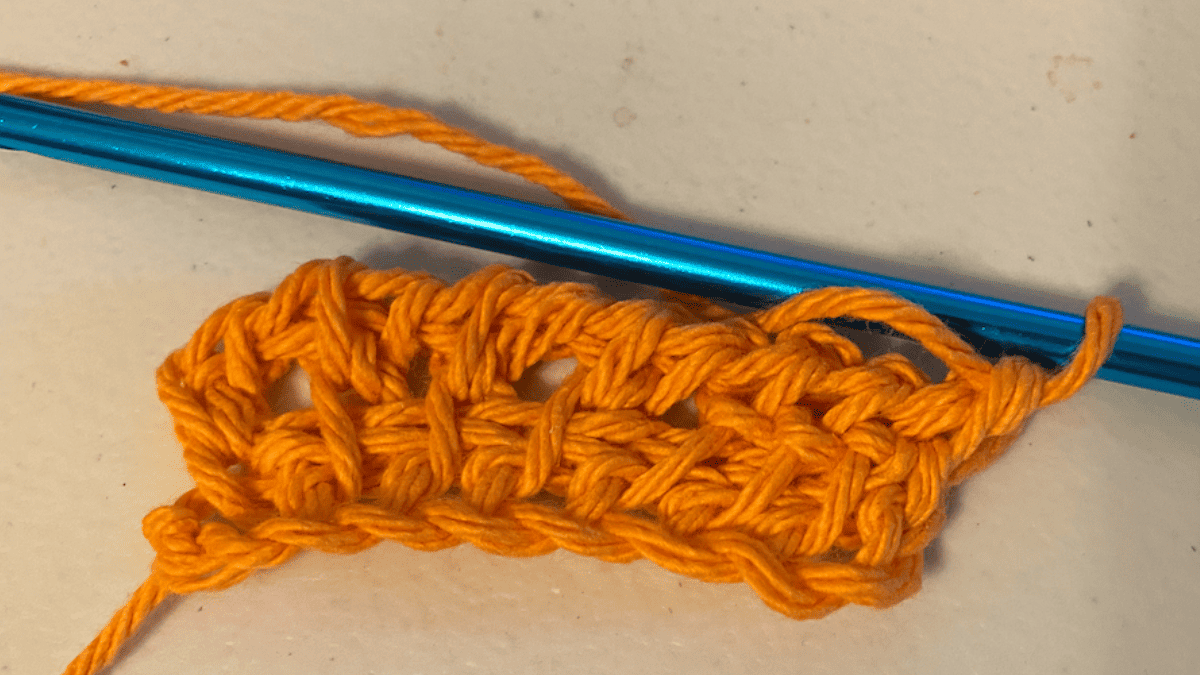
To start, you’ll need to have a foundation row of Tunisian simple stitches on your hook.
The forward pass of the Tunisian purl stitch involves a simple yet distinct motion.
- Hold the yarn: Bring the yarn to the front of your work, maintaining a light tension.
- Insert hook: Slide your hook from right to left under the front vertical bar of the next stitch.
- Yarn over: With the yarn at the front, wrap it around your hook.
- Pull through: Gently pull the wrapped yarn back under the vertical bar, creating a loop on your hook. Continue on to the next vertical bar.
Remember, consistency in each stitch will ensure even texture across your fabric.
Practicing the First Row
Your first Tunisian purl stitch can be tricky, so be patient.
The initial stitch may feel awkward, but you’ll gain confidence with practice.
- For visual learners, don’t forget to watch the video above.
Make a swatch. Repeat the purl stitch along the row, aiming for uniformity in each stitch loop’s size and tension.
Working the Return Pass
The return pass follows the standard procedure:
Words to Know:
- Chain: The horizontal bar created at the beginning of the return pass.
- Loop: The active loop on your hook that you work stitches into.
| Step | Action |
|---|---|
| 1 | Yarn over and pull through the first loop (chain one). |
| 2 | Yarn over and pull through two loops. Repeat this step until one loop remains on the hook. |
Creating Your Fabric
In Tunisian crochet purl stitch, the beauty of your fabric relies on consistent technique and attention to detail in each row.
Building Subsequent Rows
When you start your second row, ensure each stitch is uniform.
Work under the front vertical bar, bring the yarn to the front, and then hook it through to complete the purl. Keep tension even to avoid a skewed fabric.
- Second Row Tips:
- Keep the yarn in front of the hook.
- Work under the vertical bars consistently.
Perfecting the Edge Stitch
Your edge stitch defines the overall appearance of your fabric.
Always insert the hook into the last stitch of the row through its outer loop for a neat edge.
It’s this small detail that lends a professional finish to your work.
- Edge Stitch Guide:
- Last stitch: Go through the outer loop.
- Gently tighten to match the tension of other stitches.
Finishing the Last Row
To finish the last row cleanly, work a standard Tunisian slip stitch across the end of the row.
This creates a smooth, non-bulky edge that gives your project a polished look.
- Last Row Technique:
- Use Tunisian slip stitches to close the row.
- Cut the yarn, leaving a tail to weave in.
Advanced Techniques
When you’re ready to step up your Tunisian crochet game, exploring advanced techniques can really expand your repertoire. Here’s how to combine stitches, try out special patterns, and smooth over any snags in your projects.
Combining Different Stitches
Mixing various Tunisian stitches can create unique textures and patterns.
Start by mastering the Tunisian Knit Stitch (TKS) and Tunisian Purl Stitch (TPS); then, you can alternate them for a ribbed effect.
Create a checkerboard pattern with alternating squares of Tunisian Reverse Stitch (TRS) and TKS.
Here’s a simple table to help you plan your stitch combos:
| Pattern Name | Stitch Combination | Notes |
|---|---|---|
| Ribbed Pattern | TKS, TPS, repeat | Great for stretchy edges. |
| Checkerboard | 4 TKS, 4 TRS, repeat rows, switching each row | Creates a plush, textured fabric. |
| Honeycomb | 1 TKS, 1 TRS, repeat, alternate each row | Produces a gorgeous, dual-textured surface |
Special Tunisian Stitches
You’ve got the basics down; it’s time for some special stitches.
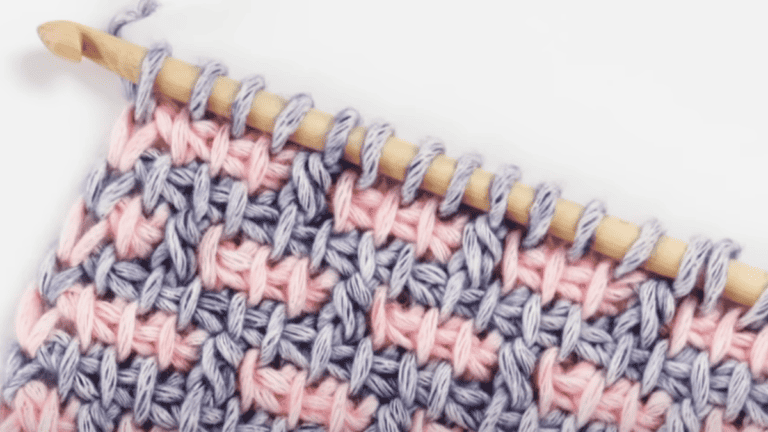
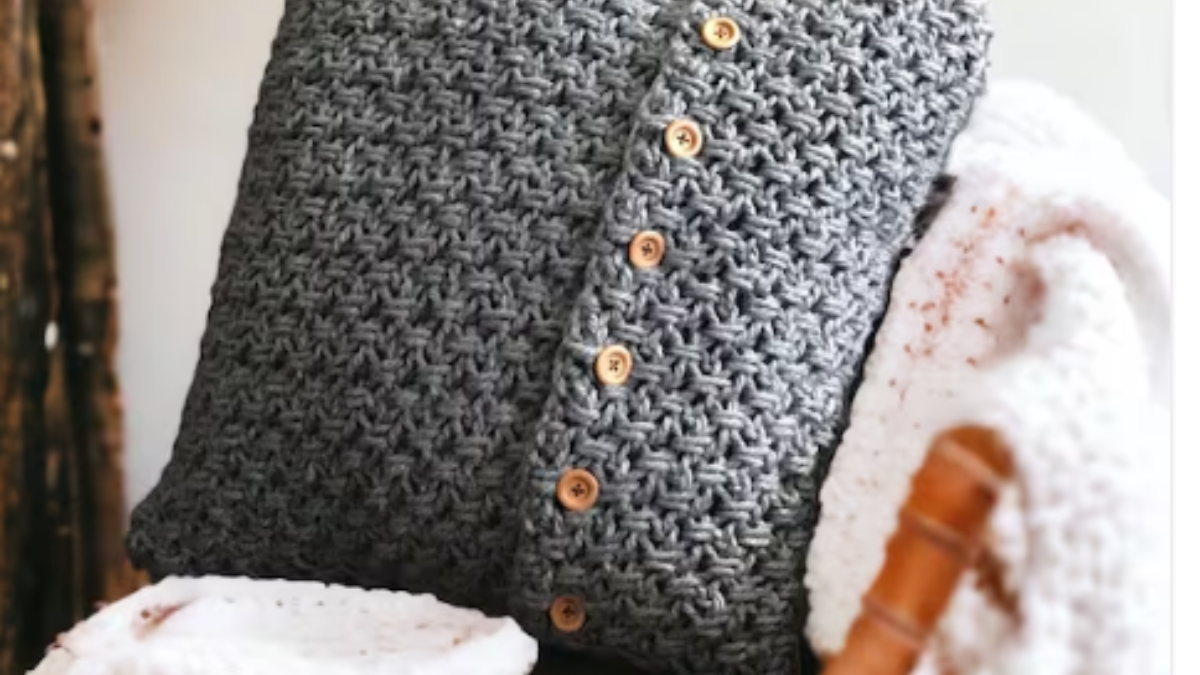
Tunisian Honeycomb Stitch combines TPS and TKS to create a beautiful, woven appearance, perfect for afghans and cushions.
Imagine interlacing two colors for a striking visual effect:
- Start with TKS.
- Follow with TPS directly into the next stitch.
- Continue alternating to end of row.
Tunisian Entrelac is another technique to elevate your work, where you crochet small squares and join them as you go, creating a woven-look fabric.
Troubleshooting Common Issues
Sometimes you’ll hit a snag.
If your edges curl, it means there’s uneven tension – practice consistent stitch sizes.
Are holes forming? You’re likely missing the last stitch of the row, which is a common oversight.
Use a contrasting color marker to highlight the last stitch until you can spot it naturally.
Patterns and Projects
When you get the hang of the Tunisian purl stitch, you’re all set to jazz up your crochet work.
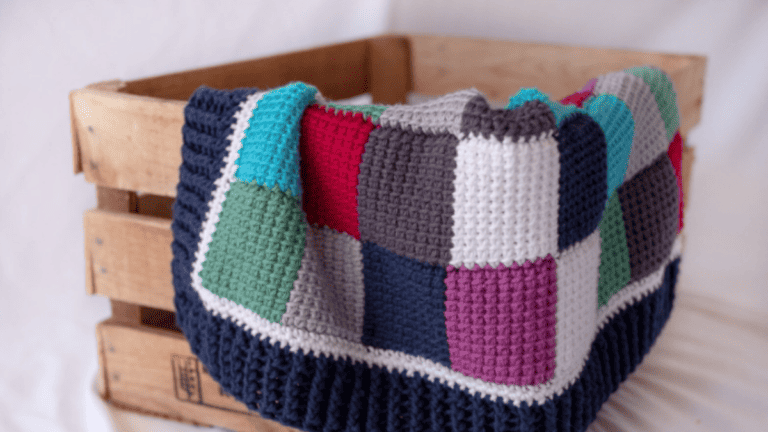
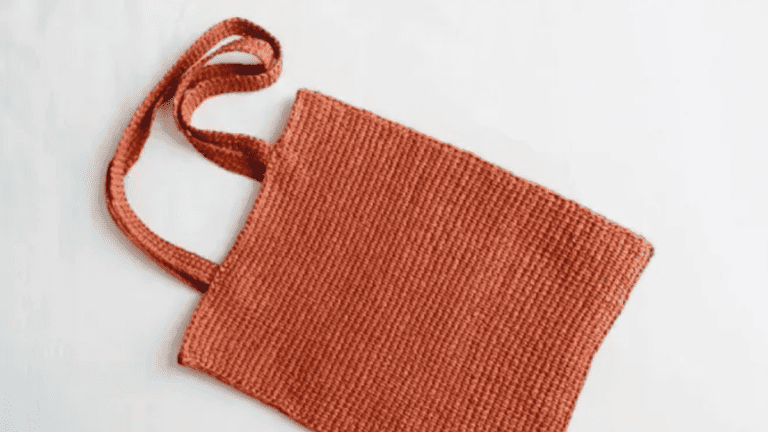
It’s time to move from practice swatches to actual projects and flaunt your skills with patterns that make the most out of this unique stitch.
Starting Simple Projects
Before you dive into more complex designs, start off with simple projects. This helps you build confidence as you perfect your technique. Here’s a quick list of beginner-friendly ideas:
- Coasters: Small and practical, perfect for honing your skill.
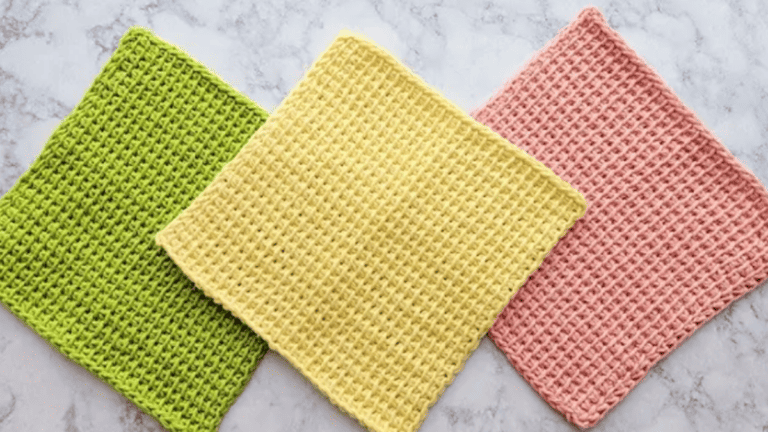
- Dishcloths: A step up from coasters, with more room for practice.
Always remember to count your stitches, and keep your tension even.
These small projects are excellent for getting a feel of how the Tunisian purl stitch behaves in different yarns and hook sizes.
Exploring Patterns Online
Once you’re comfortable with the stitch, look for a wide variety of projects and patterns online.
You can find free crochet patterns if you’re on a budget, or invest in patterns from renowned designers for something extra special. Here’s how to find them:
- Look for websites that specialize in Tunisian crochet patterns.
- Use search terms like “Tunisian crochet purl stitch patterns” to narrow down your options.
- Check out crafting forums and communities; fellow crocheters often share their favorite patterns and links.
Some patterns will challenge you more than others, but that’s the kick of it—each project builds your skills piece by piece.
Sharing on Social Media
Now, don’t keep your stunning work to yourself—show it off on social media! Here are a few tips to share your projects effectively:
- Instagram and Pinterest: Ideal for visuals, like photos of your finished projects or work in progress.
- Facebook Groups and Reddit: Great for finding a community of Tunisian crochet enthusiasts.
Make sure to use relevant hashtags like #TunisianCrochet and #PurlStitch so other crochet lovers can find and appreciate your work.
You might even get helpful feedback or stumble upon your next crochet challenge!
Additional Resources
When you’re looking to deepen your knowledge of the Tunisian crochet purl stitch, having the right resources can make all the difference. Below are tailored picks to help you along every step of your creative journey, from learning new techniques to finding the perfect tools.
Useful Links and Tutorials
For mastering Tunisian crochet purl stitch, you’ll find a wealth of instructional materials online. Check out these hand-picked options:
- Stitch by Stitch – An extensive library of video tutorials, including detailed guides for the purl stitch.
- Hooked on Crochet – This YouTube channel offers tutorials that will guide you through each step of the stitch. When you use their affiliate links, you’re supporting the channel at no extra cost to yourself.
Tunisian Crochet Patterns
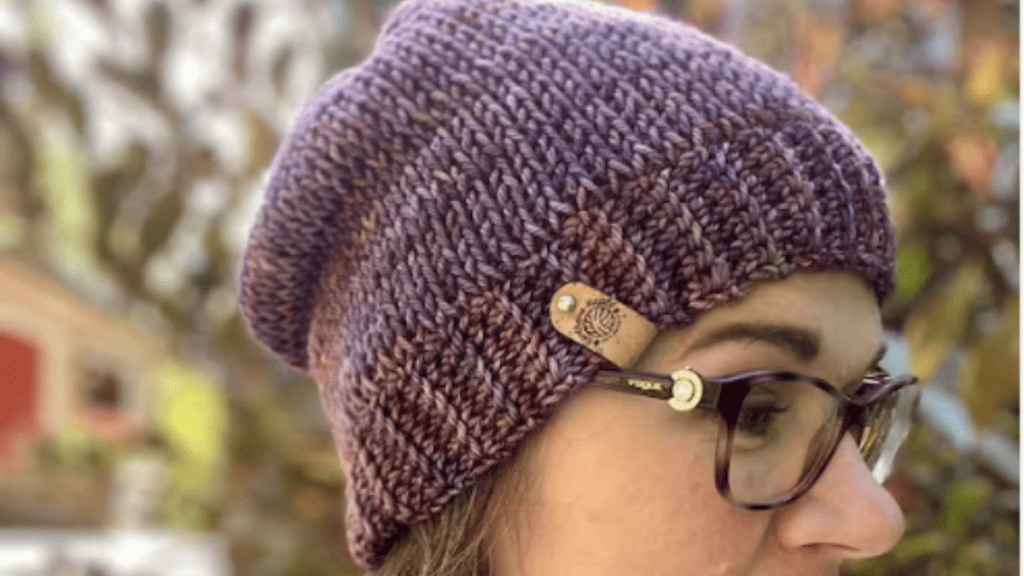
We have a complete library with a ton of different techniques and easy tutorial ideas.
One Comment