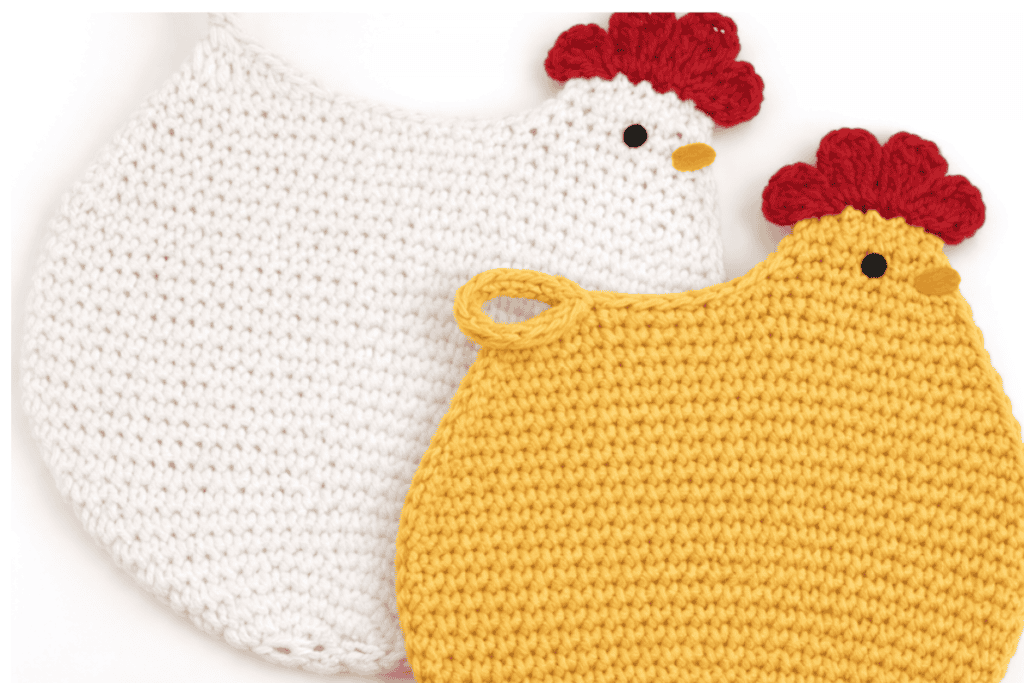
Crochet Chicken Potholder Pattern
This crochet chicken potholder pattern is a great beginner crochet pattern. You can easily complete it in an hour or so if you are an experienced crocheter. You do want to use cotton fabric if you are using it as a potholder.
You can also use the same pattern to make a dishcloth by only making one side and using the cotton yarn.
Supplies for Crochet Chicken Potholder
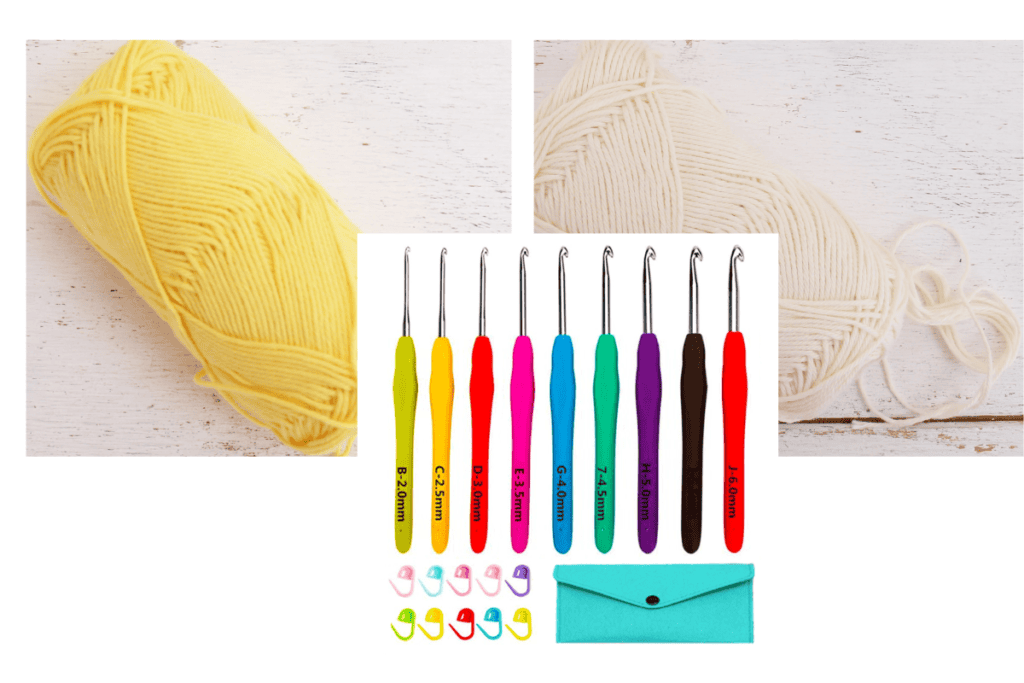
- Approximately 93 yards of worsted weight (4) cotton yarn (see yarn details above)
- Small scraps of black (or dark brown) and orange yarn for embroidering the eyes and beak
- A small amount of additional yarn (approximately 3 yards)
- 4 mm (G) crochet hook
- 3 stitch markers
- Tapestry needle
- Scissors
Abreviations in US Terminology
- ch(s): chain(s)
- dc: double crochet
- dc3tog: three double crochet stitches together
- dec: single crochet decrease or two single crochet stitches together
- hdc: half double crochet
- inc: increase or two single crochet stitches in the same stitch
- mc: magic circle
- rep: repeat
- Rnd: Round
- sc: single crochet
- st(s): stitch(es)
- [ ]: stitch count in a round
Finished Size
Depending on the brand of yarn you use, your crochet chicken potholder will be anywhere from 7 x 7″ to 9″ x 9″.
Guage
The first seven rounds of this crochet chicken potholder pattern measure approximately 4 7/8″ (11 cm) across the widest (increasing) sides.
Crochet The Body
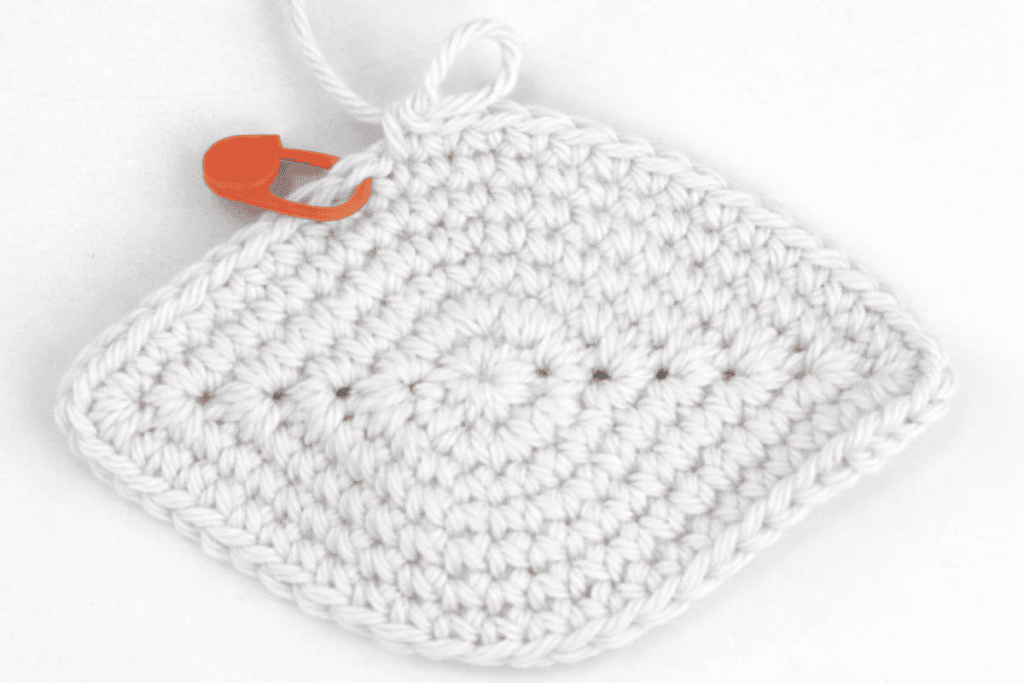
Start with main color.
- R1: 8 sc in MR (8)
- R2: 8 inc (16)
- R3: (5 sc in next st, 7 sc) x2 (24)
- R4: 2 sc, 5 sc in next st, 11 sc, 5 sc in next st, 9 sc (32)
- R5: 4 sc, 5 sc in next st, 15 sc, 5 sc in next st, 11 sc (40)
- R6: 6 sc, 5 sc in next st, 19 sc, 5 sc in next st, 13 sc (48)
- R7: 8 sc, 5 sc in next st, sc in each of next 23 sts, 5 sc in next st, sc in each of next 15 sts. [56]
- Rnd 8: sc in each of next 10 sts, 3 sc in next st, sc in each of next 27 sts, 3 sc in next st, sc in each of next 17 sts. [60]
- Rnd 9: 11 sc, 3 sc in next st, 29 sc, 3 sc in next st, 18 sc [64]
- Rnd 10: 12 sc, 3 sc in next st, 31 sc, 3 sc in next st, 19 sc [68]
- Rnd 11: 13 sc, 3 sc in next st, 33 sc, 3 sc in next st, 20 sc [72]
- Rnd 12: 14 sc, inc, 35 sc, inc, 21 sc [74]
- Rnds 13-22: sc in each st around [74]
- Rnd 23: 17 sc, dec, 35 sc, dec, 18 sc [72]
- Rnd 24: sc in each of next 16 sts, dec, sc in each of next 34 sts, dec, sc in each of next 18 sts. [70]
- Rnd 25: sc in each of next 16 sts, dec, sc in each of next 33 sts, dec, sc in each of next 17 sts. [68]
- Rnd 26: sc in each of next 16 sts, dec, sc in each of next 32 sts, dec, sc in each of next 16 sts. [66]
- Rnd 27: sc in each of next 16 sts, dec, sc in each of next 31 sts, dec, sc in each of next 15 sts. [64]
- Rnd 28: sc in each of next 16 sts, dec, sc in each of next 30 sts, dec, sc in each of next 14 sts. [62]
- Rnd 29: sc in each of next 16 sts, dec, sc in each of next 29 sts, dec, sc in each of next 13 sts. [60]
- Rnd 30: sc in each of next 16 sts, dec (place a st marker in this dec), sc in each of next 28 sts, dec (place a st marker in this dec), sc in each of next 12 sts. [58]
- Cut the yarn. FO.
Tail & Hanging Loop
Flatten the top opening of the potholder. Working through both thicknesses to join the sides:
- Count 9 stitches in from the stitch marker at one end. Join the main color yarn in this stitch by pulling up a loop (do not ch or sc). Remove the stitch marker.
- 2 sc, 2 hdc, dc, dc3tog.
- Hanging Loop: Ch 16. Sl st in the back bump of each ch across. Sl st into the top of the dc3tog to secure the loop.
- Fasten off and weave in ends of your crochet chicken potholder.
Head and Beak Instructions
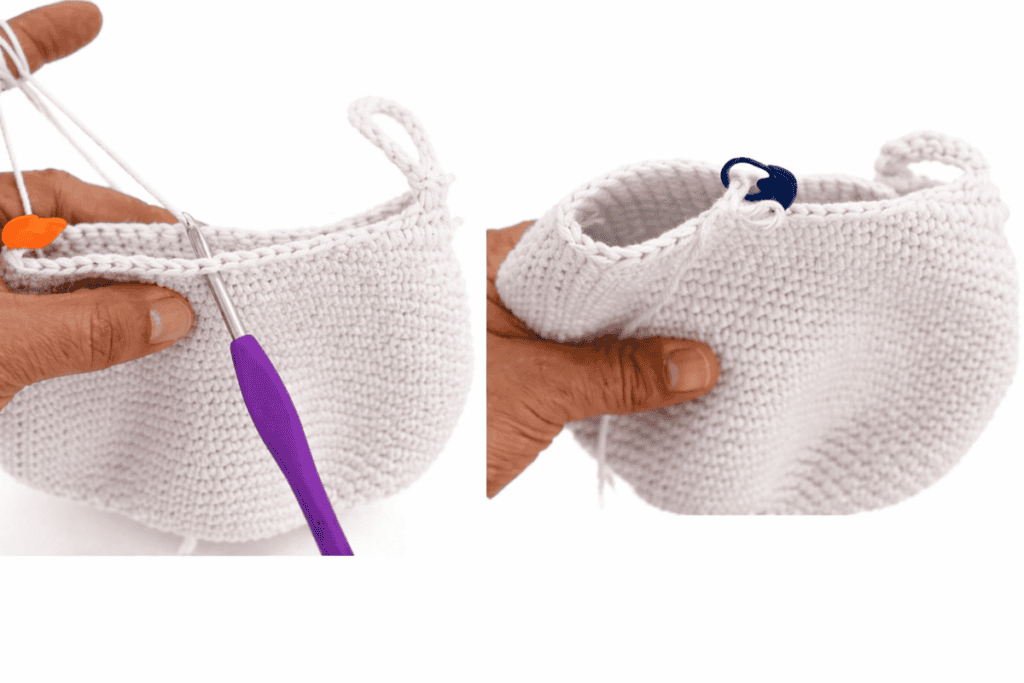
Join the main color yarn in the 12th stitch away from the remaining stitch marker. Unlike the tail, do not work through both layers; work in continuous rounds to create a cup shape. Pull up a loop (do not ch or sc).
- Rnd 1: 10 sc, dec, 10 sc [21]
- Rnd 2: 10 sc, dec, 9 sc [20]
- Rnd 3: (dec, 8 sc) 2x [18]
- Rnd 4: (dec, 1 sc) 6x [12]
Fasten off and cut the yarn.
Facial Features
Using yarn scraps and a tapestry needle, embroider the face as follows:
- Eyes: Using black yarn, embroider the eyes 2–3 rounds below the top of the head and 3 stitches back from the front edge.
- Beak: Using orange or yellow yarn, embroider the beak on the same row as the eyes. Insert the needle 2 stitches from the front edge and work from one side to the other to create the shape.
Finishing: Fasten off and secure all yarn tails on the inside of the piece (using the back opening to access the interior). Weave in any remaining ends for your crochet chicken potholder.
Comb
Using red yarn, join at the front of the head. Work through both layers of the head opening to close it as you crochet:
- First Bump: In the first st, (ch 2, 3 dc, ch 2, sl st).
- Middle Bumps: *sc in next st, (sl st, ch 3, 4 tr, ch 3, sl st) in next st; repeat from * once more.
- Final Bump: In the next st, (sc, ch 2, 3 dc, ch 2, sl st).
Fasten off and weave in ends through the back opening. Congrats your crochet chicken potholde is finished.
If you love chickens, check out our Free Crochet Chicken pattern