Double Thick Crochet Potholder Pattern: Free Pattern
Crocheting a double thick Crochet potholder pattern is a practical project that protects your hands from the heat of the kitchen while adding a splash of handmade charm.
This particular pattern is all about creating a potholder that is not only thick and durable but also easy to make, even if you’re just starting out with crochet.
Double Thick Crochet Potholder Pattern
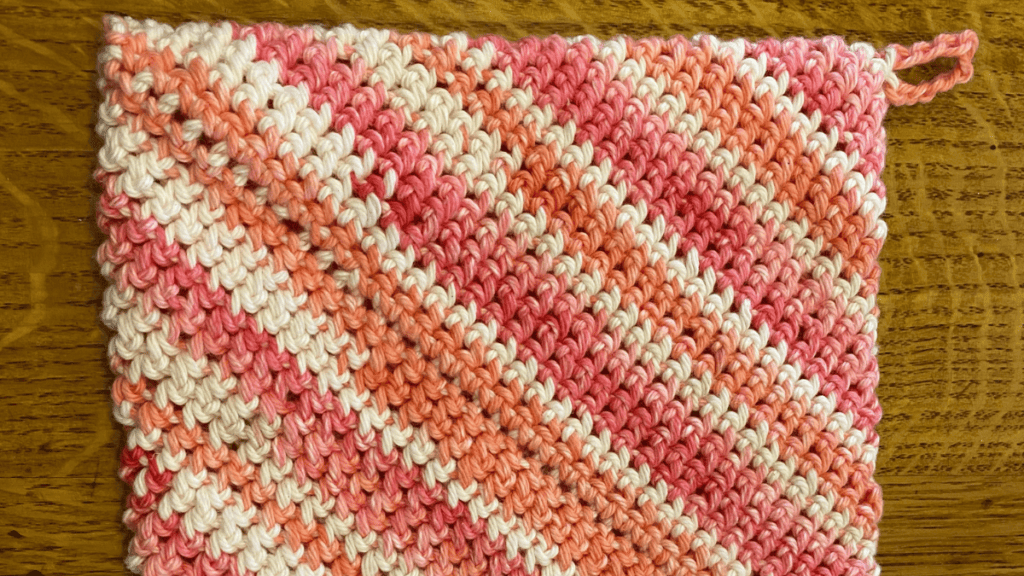
When crafting double thick crochet potholders, your choice of yarn and hook size is critical for durability and heat resistance.
Yarn Selection
For potholders, you’ll want to focus on heat-resistant, non-synthetic yarns.
Worsted Weight Yarn is your best bet, as it’s thick enough for heat protection and absorbs moisture well.
Wool yarn is also suitable due to its natural fire-resistant properties.
However, steer clear of acrylic yarn; it can melt and isn’t suitable for items that will contact heat.
- Recommended Yarns: Worsted weight cotton, wool yarn
- Worsted Weight Cotton Yarn: heat resistant, highly absorbent
- Wool Yarn: naturally fire resistant
- Avoid: Acrylic yarn, due to its potential to melt
Crochet Hook Size
Your hook size will affect the stitch tightness and the overall thickness of your potholders. A smaller hook will create a denser fabric, which is great for heat resistance.
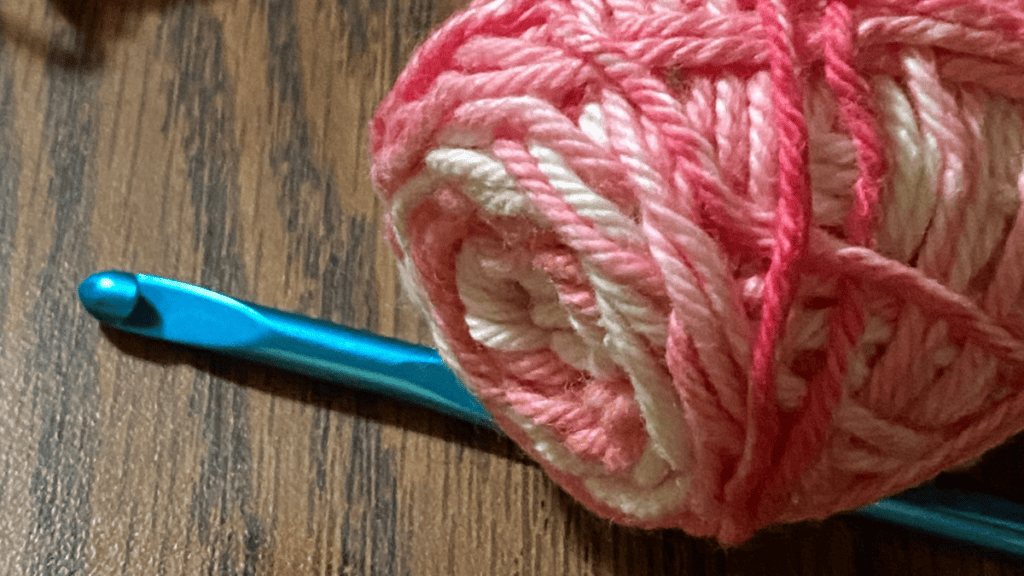
For worsted weight yarn, a good starting point is a hook size of 4 mm (G) or 5 mm (H).
- Hook Sizes:
Remember, the denser your stitches, the more protection you get. Don’t hesitate to go a hook size down to achieve the desired thickness.
Pattern Basics
To make a double thick crochet potholder that stands up to heat, you’ll need to understand a few fundamental aspects.
This pattern is ideal for a beginner crocheter and combines basic stitches in a way that yields a functional and attractive kitchen accessory.
Skill Level
This free crochet pattern is best suited for those at a beginner level. You don’t need to be proficient in advanced techniques, as the potholder is constructed using a simple combination of basic crochet stitches.
Crochet Stitches Overview
Here’s a quick run-down of the stitches you’ll use:
- Slip Stitch (sl st): Often used to join stitches or to move across the surface of the project without adding height.
- Chain Stitch (ch): The foundation of most crochet projects. Creates the initial length from which you work your other stitches.
- Single Crochet Stitch (sc): A compact stitch that forms a dense and sturdy fabric, ideal for potholders.
- Treble Crochet Stitch (tr): A taller stitch that works up faster and is used in combination with the single crochet for this pattern.
- Fasten Off – F/O
Reading the Pattern
When you’re ready to start, look for a free crochet pattern that includes clear instructions and possibly a video tutorial. As you read the pattern:
- Pay attention to stitch counts at the end of each row.
- Notice any color changes or additional instructions for creating loops or borders.
- Video tutorials can be extremely helpful if you’re unsure about how to execute a particular stitch or technique.
By following the pattern closely and ensuring understanding of each step, you’ll be on your way to creating a handmade double thick crochet potholder.
Starting Your Potholder
Before diving in, remember that your first stitch sets the foundation for your entire potholder. Using a thick yarn and the right hook, you’ll work through rows to build it up to the perfect thickness for handling hot items.
Chain Stitch
To kick off your potholder, create a slip knot and slide it onto your crochet hook. This is your first stitch.
Next, make a chain stitch by wrapping the yarn over your hook (also called a yarn over) and pulling it through the loop on the hook. This is your second chain. You want to chain a total of 41.
Round 1
2nd ch from hook sc, sc in each ch, once you reach end of ch, working in the free loops of the opposite of the ch, work sc in each st (80 sc)
Round 2
sc in first st, PM in first st of round, sc in each st around (80)
Round 3-20
repreat RD 2 DO NOT fasten off yet
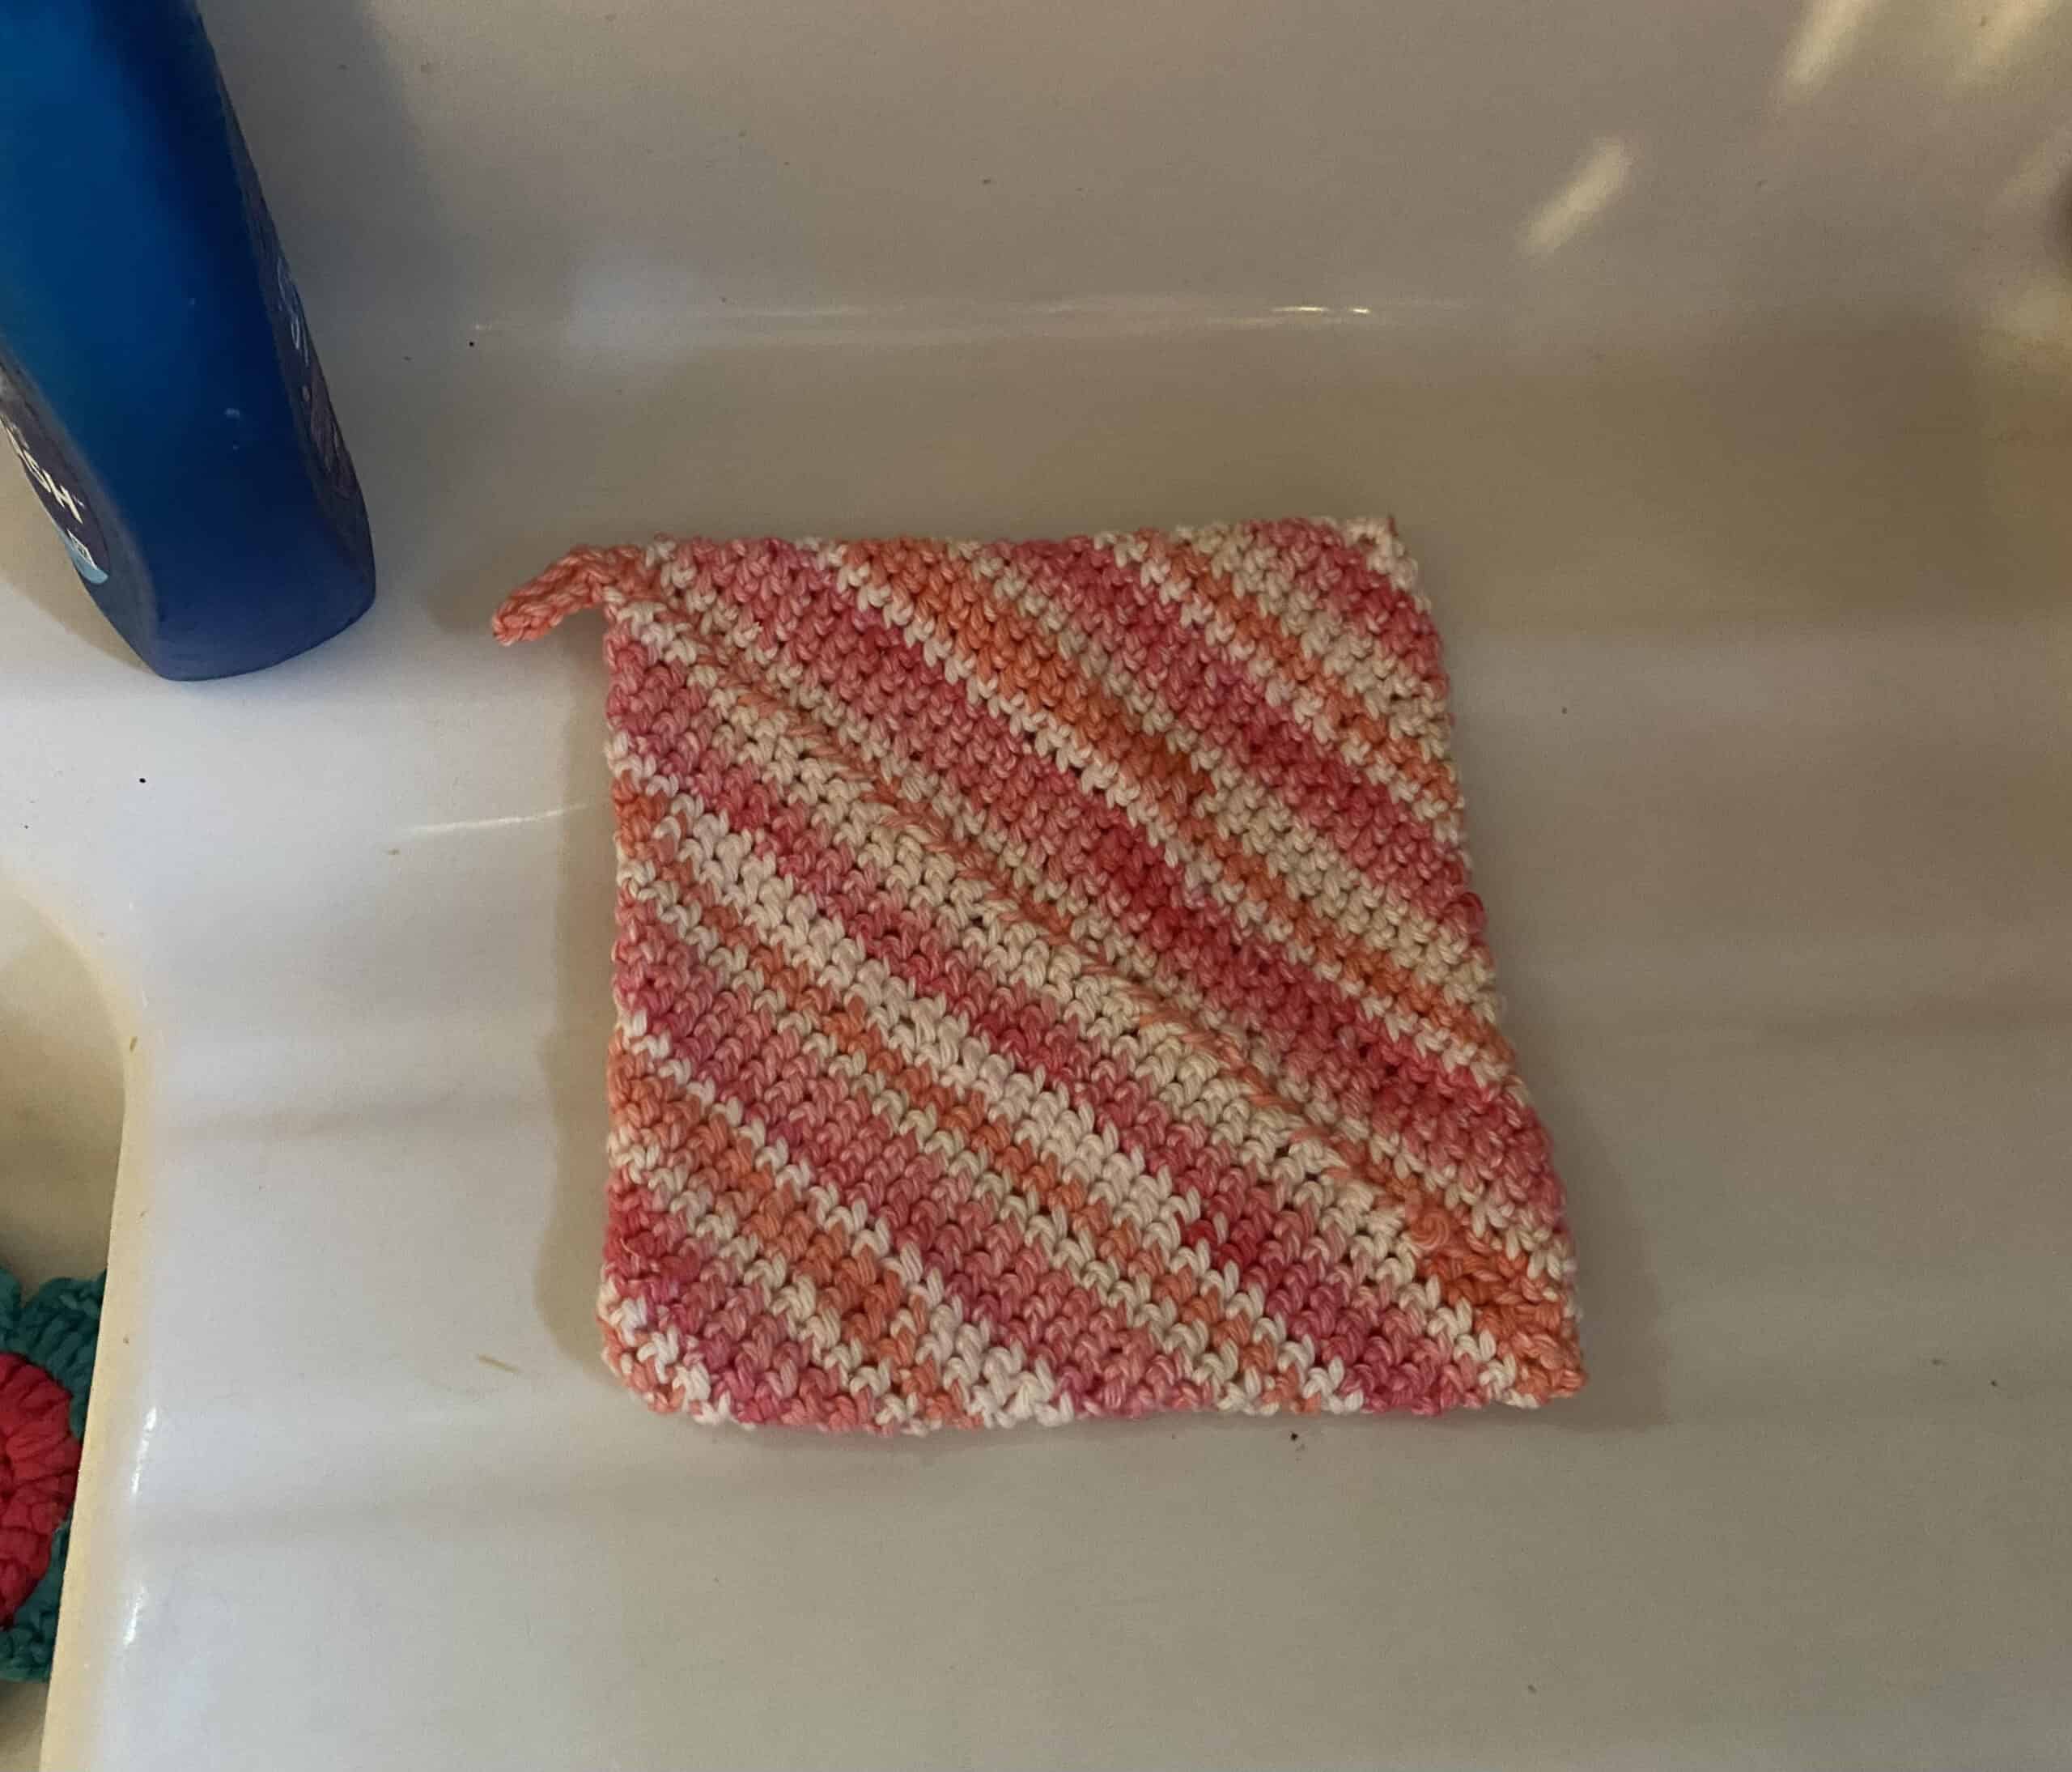
How To Finish Double Thick crochet potholder pattern
- Weave in starting tail which is inside potholder
- • Fold potholder so worked stitch meet in the middle diagonally (corner to corner),
- potholder will form a square
- • sc in about 28 sts or until you reach the corner
- • To make holder, ch 10, sl st into last sc of potholder
- • F/O leaving long tail for sewing
- • Use yarn needle sew the center diagonal seam closed
- • Weave in your loose ends
The Crochet Process
In crafting a double thick crochet potholder, mastering the stitches is crucial. You’re building thermal layers for heat resistance and creating a dense fabric that can stand up to kitchen wear and tear.
Adding Features & Finishing Touches
Once your double thick crochet potholder is nearly complete, adding a hanging loop and closing it up are important final steps to make the potholder functional and tidy.
Creating Hanging Loop
At the end of your last row, instead of cutting the yarn, chain 12 to 15 stitches for a good-sized loop.
Then, slip stitch into the side of the potholder to form a loop. This will allow you to hang your potholder conveniently close to your work area.
Secure the end with a knot and weave in the tail using your crochet hook or a yarn needle.
Machine Washable Care
- Pre-wash yarn: If using cotton, wash and dry the yarn before you begin crocheting to pre-shrink it, ensuring a consistent size and shape post-wash.
- Washing instructions: Keep your potholder in top condition by washing it on a gentle cycle with mild detergent. This approach helps maintain the integrity of the fabric.
Choosing Colors
The colors you choose will transform strands of yarn into a beautiful crochet potholder. Consider these tips:
- Complementary Colors: Pair colors that are opposite on the color wheel for a vibrant contrast.
- Analogous Colors: Use colors next to each other on the color wheel for a harmonious look.
- Neutral Tones: When in doubt, neutral tones like beige, gray, and white complement any kitchen palette.
Correcting Tension Problems
Tension problems can cause your potholder to curl or not lay flat. Here’s how to correct it:
- Practice even tension: Work on maintaining the same level of tightness in your stitches from start to finish.
- Wrong side vs. Right side: If one side looks better, you may be working with different tensions on the wrong and right sides. Pay attention and adjust your grip and yarn tension as needed.
- Adjust hook size: If tension problems continue, switch to a larger or smaller hook size to achieve the desired tension.
Download Free Pattern

If you haven’t already, download the free pattern for the crochet pot holder. As you can see it’s a great project and an easy pattern. It also makes a great gift for a housewarming shower or Christmas.


Thank you
Thanks. Make sure and show your finished one on our facebook page.
my email doesn’t work send in messenger 🙃
You will need to open another email. We do everything in email and you want to get the pattern of the day for deals and free patterns
Did not receive the pattern through my email how long does it take to receive the pattern from you?
You should have already received it. If using gmail it will be under promotions. Search funcrochetpatterns.com and see if you can find it, if not let us know and we can send you an email Monday.