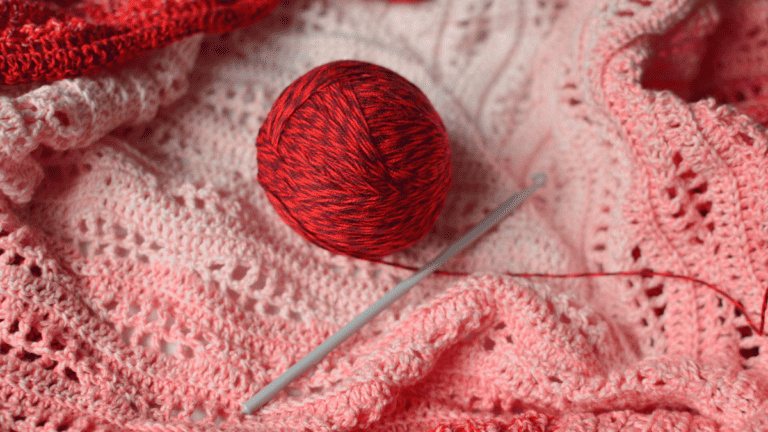
Crochet Slip Stitch (sl st) Easy Tutorial With Video
The slip stitch is a basic crochet technique that serves as the foundation for many crochet projects. It’s a relatively simple move to master and comes in handy for everything from joining pieces together to creating edging or working in the round. Think of it as the glue that holds your crochet fabric together, without adding any height to your work.
To start crocheting, you typically begin with a slip knot on your crochet hook. This initial loop secures your yarn, allowing you to begin the process of slip stitching or working other crochet stitches.
Additionally, the slip stitch is often used to seamlessly connect the end of a crocheting round with the beginning, resulting in a smooth and continuous loop.
Getting the hang of the slip stitch opens up a world of possibilities in crochet. Whether you’re shaping your work or navigating the corners of a granny square, this stitch keeps your crochet looking neat and professional.
Plus, with its versatility, you’ll find yourself incorporating the slip stitch into many of your projects as a functional stitch that also adds a touch of polished simplicity.
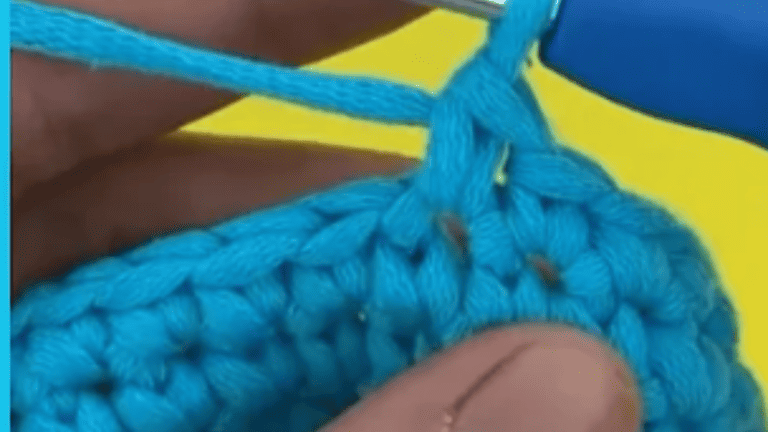
Slip Stitch

Video tutorial: Slip Stitch
In slip stitch crochet, you’ll work tightly to create a dense and textured fabric, perfect for strengthening edges or joining pieces together.
Understanding the basics, starting and securing stitches, and mastering various techniques will make your crochet project look professional.
Slip Stitch Basics
To begin your crochet journey, you’ll want to master the slip stitch, the shortest crochet stitch that primarily serves to join different pieces or create a firm texture.
Here’s how to make your first slip stitch. Don’t forget there is a video on slip stitch:
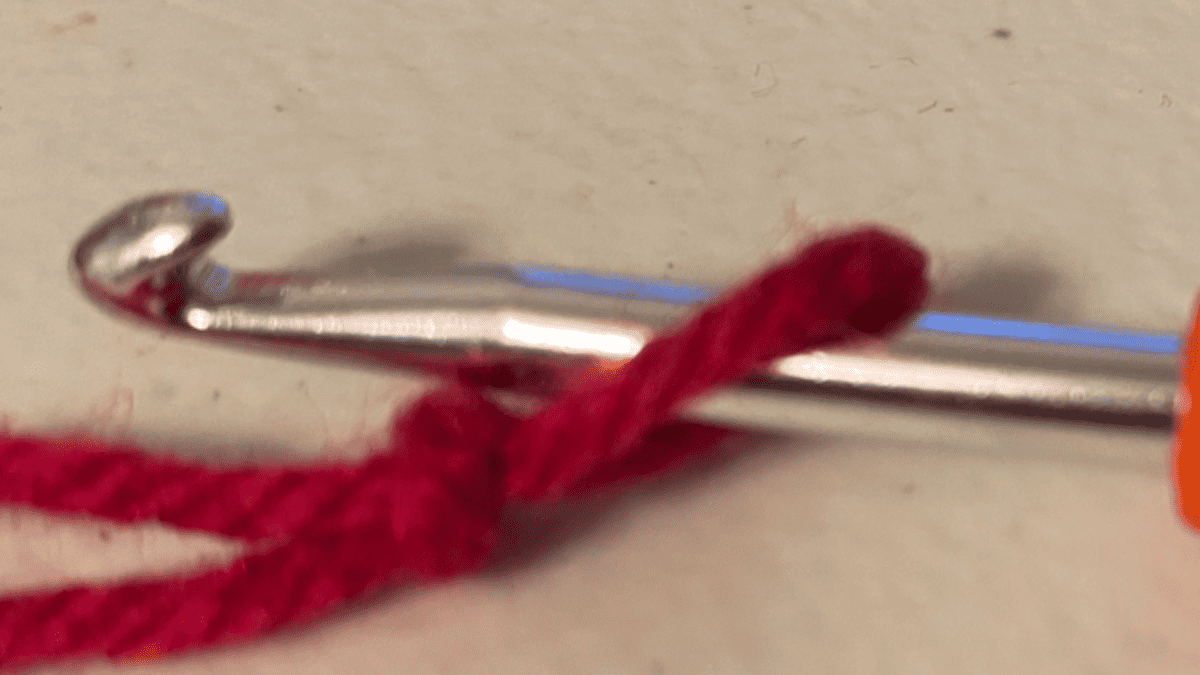
- Make a slip knot: Loop the yarn around your fingers and pull a loop through, placing it on your crochet hook.
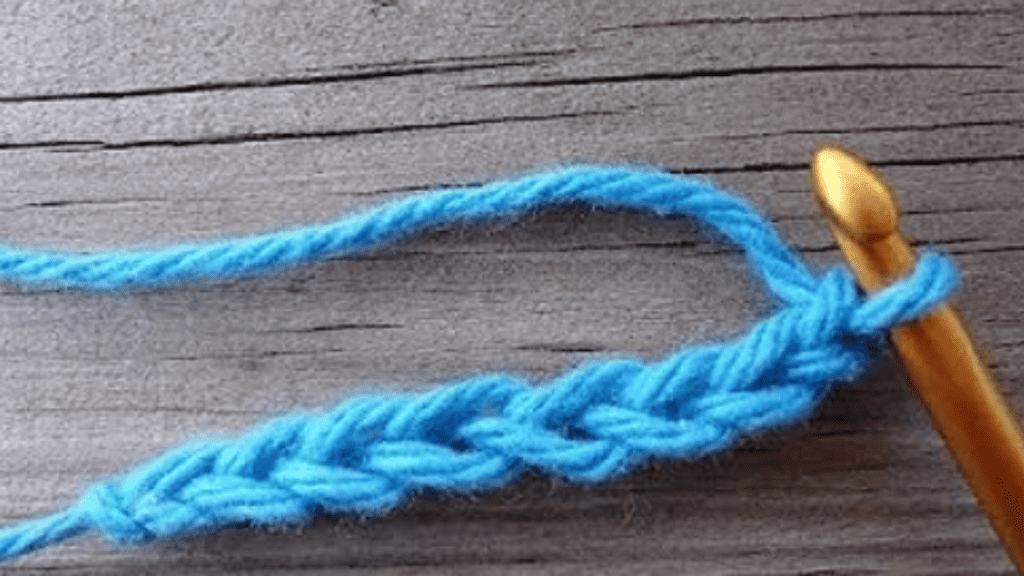
- Start your foundation chain: Yarn over and pull through to create your starting chain. The first loop on the hook does not count as a stitch.
Starting and Securing Stitches
When starting a crochet project, the foundation chain is the backbone. For slip stitch crochet:
- Create the starting chain: Make the number of chains your pattern calls for plus one for the turning chain.
- Insert the hook into the 2nd chain from the hook, yarn over, and pull through all loops to secure the first slip stitch.
Slip Stitch Techniques
There are different ways to slip stitch depending on the texture and elasticity desired:
- Working into the back loop or front loop: Insert your hook into either the back or front loop of the previous row’s stitch to vary the texture.
- Changing colors: To introduce a new color at the end of the row, draw the new color through the last loop of the current stitch.
Choosing Hooks and Materials
Selecting the right hook size and materials is essential:
- Hook sizes: Use a smaller hook than usual to keep your slip stitches tight and neat.
- Materials: Opt for smoother yarns to help see and enter each stitch clearly.
Understanding Crochet Patterns

Finally, interpreting crochet patterns is crucial:
- Reading crochet charts and patterns: Look for the symbol that represents a slip stitch (sl st) and follow the pattern as indicated.
- Using tutorials: Step-by-step or video tutorials can provide additional clarity and often include free patterns to practice with. Be wary of affiliated links and choose resources that enhance your learning.
Applications of Slip Stitch Crochet
Slip stitch crochet can transform your projects with subtle texture and strong seams. It’s a versatile technique that you’ll find invaluable for both assembling pieces and adding decorative touches.
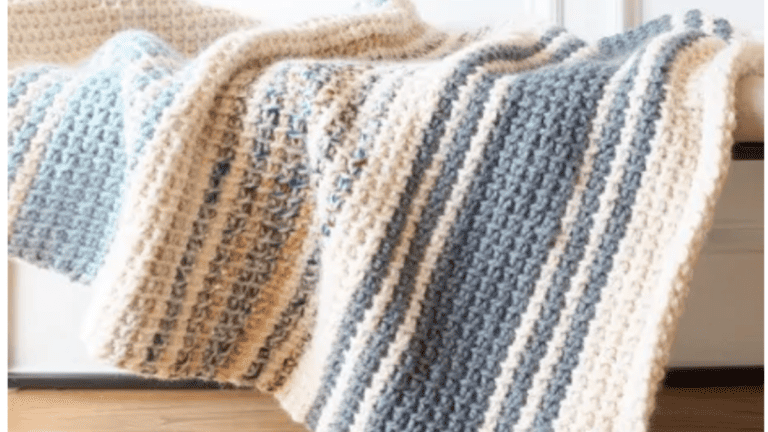
Crochet Projects Featuring Slip Stitch
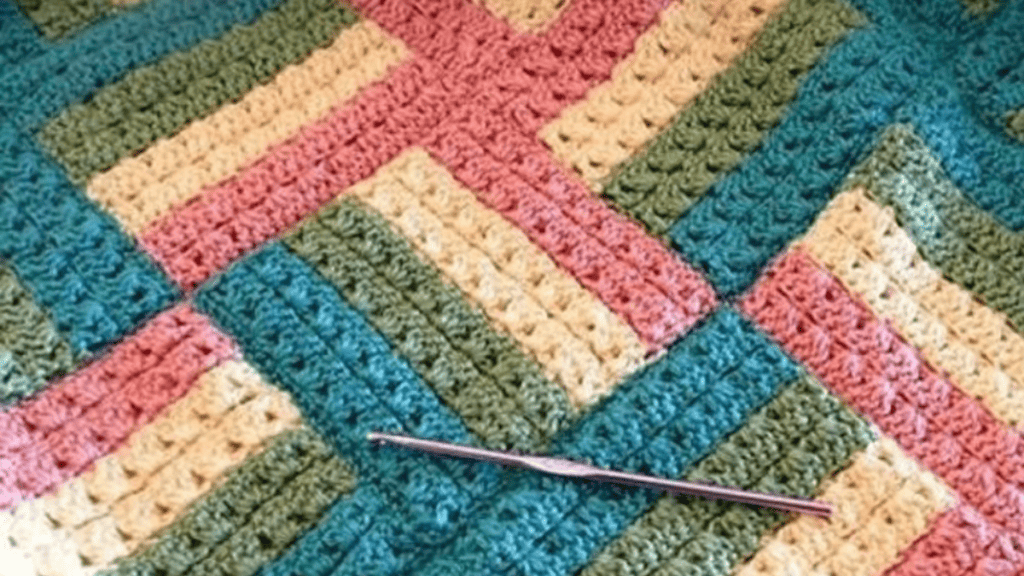
You’ll find slip stitch crochet creating cozy textures in patterns like granny squares and crochet blankets. It’s particularly handy when you’re working on multi-piece projects.
For example, a slip stitch seam is robust and less bulky, ideal for joining shoulder seams in a sweater where you want a flat, smooth connection.
Also, if you’re crafting a piece of fabric that requires elasticity, such as cuffs or collars, slip stitch patterns provide the stretch you need.
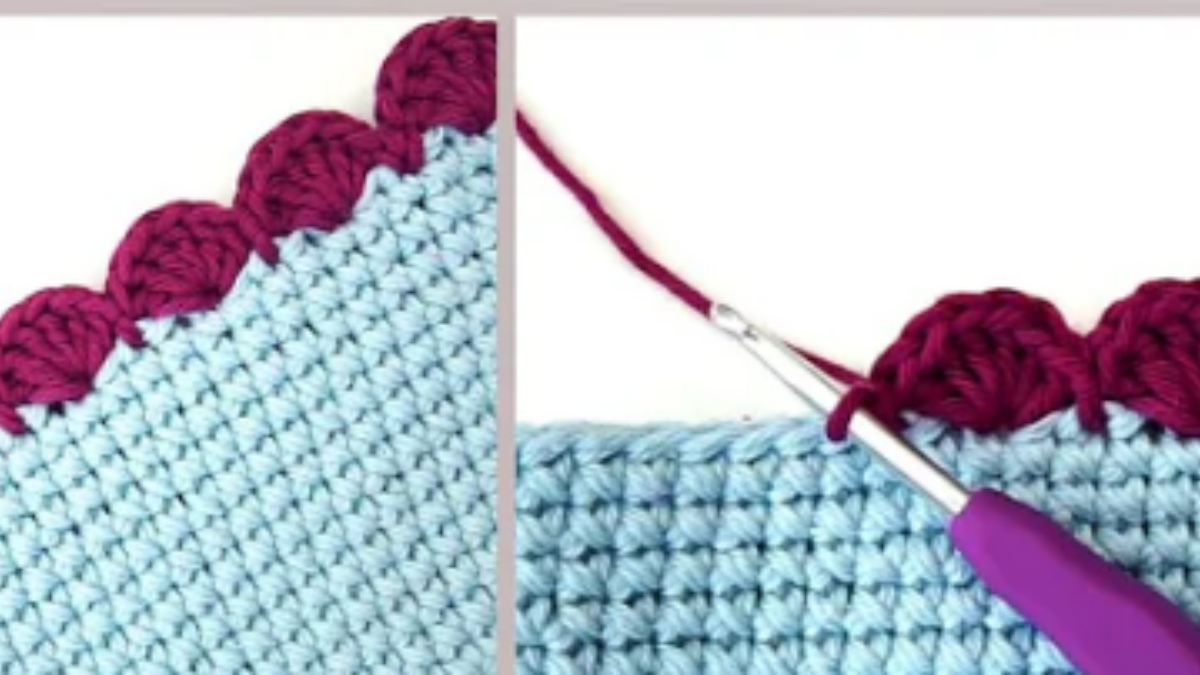
Decorative and Functional Uses
The slip stitch not only connects pieces but also adds flair. Surface crochet with slip stitches lets you create intricate patterns, like the embroidery chain stitch, on the finished piece.
Plus, with the wrong side facing, slip stitches can be worked to create a hidden or invisible stitch, perfect for discreetly joining fabrics.
- Decorative Uses:
- Adds texture to crochet blankets
- Mimics embroidery chain stitch on finished pieces
- Creates surface stitches for added detail
- Functional Uses:
- Joins granny squares with a less bulky joining stitch
- Strengthens shoulder seams with a slip stitch seam
- Provides an invisible stitch or ladder stitch for seamless looks
Finishing Techniques
Slip stitches can be your go-to for edging; a slip stitch edge provides a neat and firm border to prevent stretching. When the details matter and you want a finished piece to look polished, slip stitch joins are a fantastic choice.
They lay flat, which makes pieces align neatly without any added bulk or distortion. Remember, when you’re working the slip stitch edge, keep the wrong side facing you to make the finish as neat as possible.
Advanced Slip Stitch Crochet
Taking your slip stitch crochet skills to the next level means exploring complex patterns and innovative joining techniques. This section dives into how you can enhance your crochet repertoire with advanced slip stitch methods.
Complex Patterns and Variations
If you’ve got the basics down, it’s time to try some complex patterns. Slip stitch can be a stand-alone technique, creating dense and intriguing textures. Bosnian crochet is one variant which relies heavily on slip stitches.
It creates a thick, warm fabric, perfect for cold weather. You can experiment by working into the back loop or front loop of a stitch. Doing this alters the surface, creating ridges or a knitted appearance.
For free crochet patterns utilizing slip stitch, look for those that incorporate short rows. These rows, when combined with slip stitching, create curves and shapes that can add dimension to your fabric. Think hats, socks, or even creative amigurumi!
Incorporating Slip Stitch in Knitting
Yes, you can mix slip stitch crochet into your knitting! Try working a slip stitch edge on a garter stitch piece to get neat, firm edges. Similarly, a purl slip stitch can be used along edges to prevent curling.
Moreover, using slip stitch crochet within a knitted piece can help you create intricate color patterns or even weave in a new row without picking up needles. Knitters sometimes refer to this as “crochet on knitting,” which offers a unique blend of both crafts within the same project.
Joining and Seaming Techniques
Crocheting pieces together using slip stitch is super simple but gives a great stitch finish that’s as strong as if you used a sewing machine.
When joining two pieces, you can slip stitch through the top loops of the stitch on both pieces, effectively hiding the seam.
For a more decorative edge or to add a design element, the slip stitch can act as a joining stitch that’s visible on the right side of the work.
This technique works well for shoulder seams or when you’re seaming parts of a garment that’ll be a feature, like on the outside of a sleeve or where pockets attach.
If you prefer a join that’s nearly invisible, a whip stitch is your go-to, especially if you’re working with pieces that don’t align with perfect edges, like when creating amigurumi or assembling motifs.
Insert your hook through the first chain on one piece and the second chain on the next, alternating as you go, and you’ll create a seam that’s part of the fabric and nearly invisible.
Crochet Stitches


7 Comments