Double Crochet Stitch: How To Tutorial For Beginners
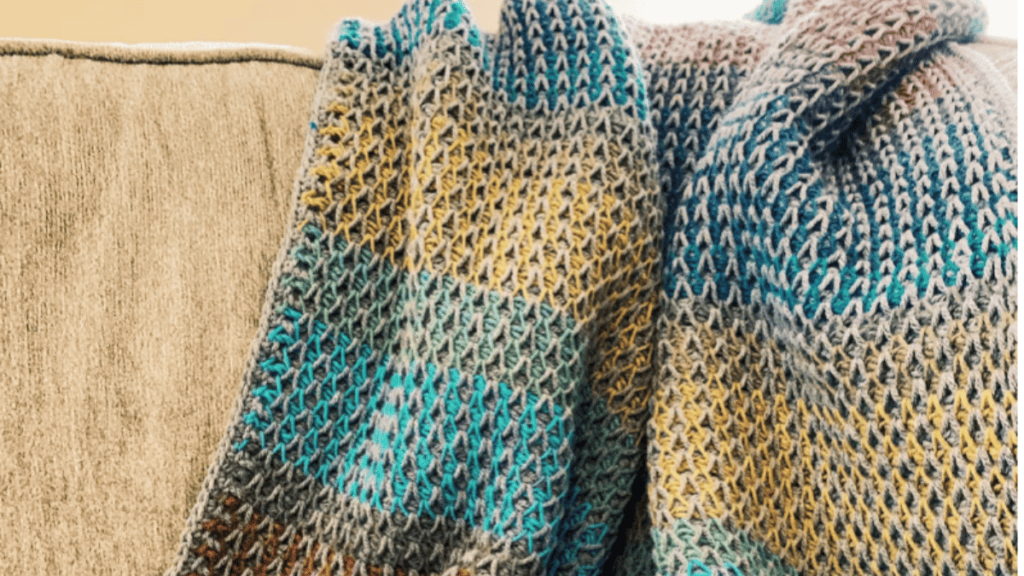
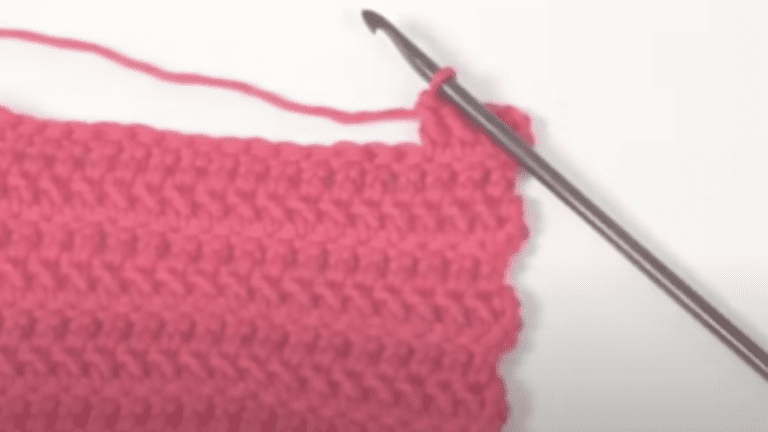
The double crochet stitch is a cornerstone in the world of crocheting, and it’s one you’ll want to have in your repertoire. It’s taller than a single crochet, making it a favorite for blankets, scarves, and hats because it works up quickly.
Once you get the hang of it, you’ll see why it’s a go-to for adding height and elegance with just a bit more yarn and, of course, double the loop action compared to the single crochet.
If you’re new to crochet or just need to brush up on your skills, there’s a wealth of crochet tutorials out there. You can easily find a step-by-step video tutorial that will guide you through the motions.
Having a visual aid is invaluable, as it allows you to see the stitch from different angles and to follow along at your own pace.
Whether it’s the yarn over, the hook insertion, or the final pull through, each step is crucial to mastering this versatile stitch.
Remember, practice makes perfect. As you work on the double crochet stitch, you’ll begin to appreciate its rhythm and versatility.
It’s one of the basic crochet stitches that serve as the building block for more complex patterns and designs.
Before you know it, you’ll be breezing through your projects, creating cozy blankets and stylish garments with this fundamental technique.
Table of Contents
Getting Started with Double Crochet Stitch
Double crochet is a versatile stitch that creates a slightly taller and more open fabric than single crochet.
To begin, you’ll need to master a few fundamental steps: forming the foundation chain, piercing into the yarn for the first time, and uses these basic stitches to complete your crochet patterns.
Understanding the Basics
First things first, you’ll want to familiarize yourself with the slip knot and how it’s the starting point for your crochet journey.
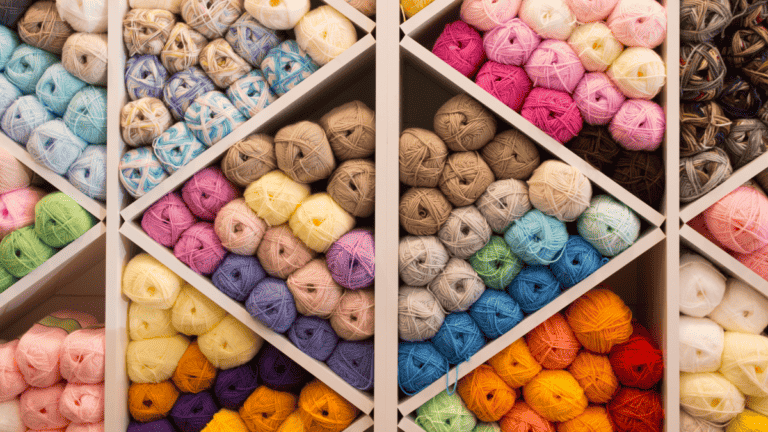
Your hook size should be appropriate for your yarn weight—this information can usually be found on the yarn label.
Remember, US terms and UK terms for crochet stitches can differ; in this case, the US double crochet is equivalent to the UK treble crochet.
How to Start Chain Crochet Stitches
Learn more: How To Start Chain Crochet
To kick things off, here’s how to create a slip knot and foundation chain:
- Make a slip knot on your hook.
- Yarn over (wrap the yarn over your hook).
- Pull through to create the first chain. This is not counted as a stitch in double crochet.
- Continue to create as many chains as your pattern requires, keeping your tension even.
Number of Chains Needed for the Double Crochet Stitch:
- US Terms: Foundation chains should be a multiple of your pattern repeat, plus three additional chains for the turning chain.
- UK Terms: Add three chains for the turning stitch (counts as one treble crochet).
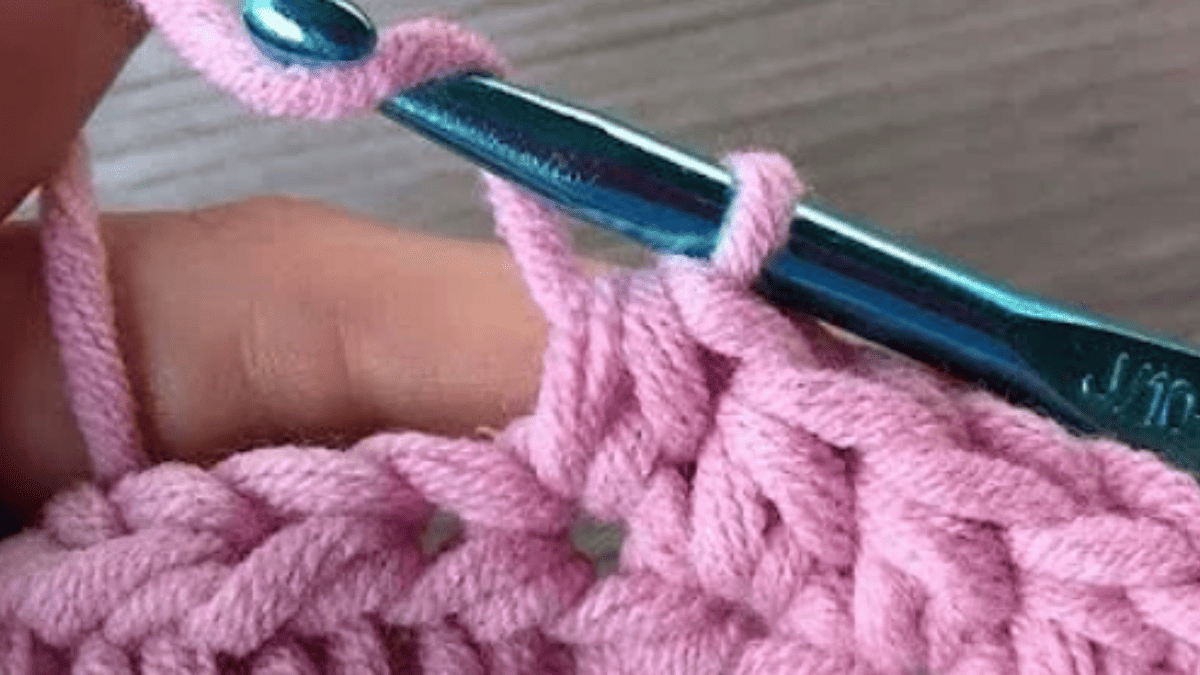
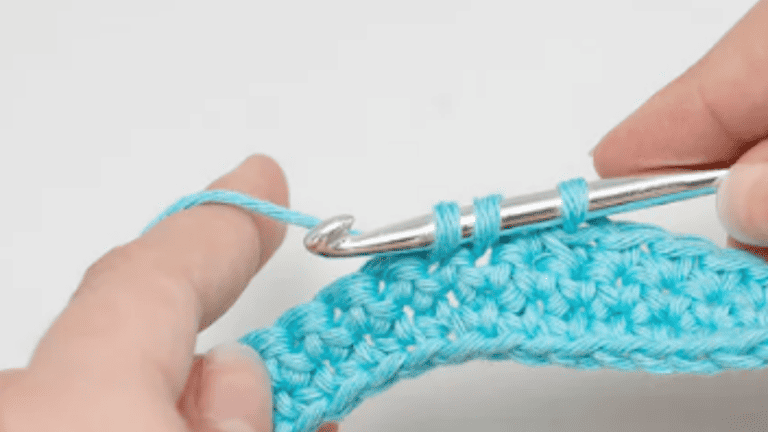
The First Double Crochet Stitch
Before you dive into the full double crochet stitch, you’ll need to do the following:
- Yarn over.
- Insert hook into the 4th chain from your hook (the first three chains count as your first double crochet).
- Yarn over again and pull through the chain with repeat steps. You will have three loops on the hook.
- Yarn over once more and pull through the first two loops on the hook—two loops left.
- Yarn over a final time and pull through the remaining two loops. You’ve now completed your first stitch.
For the second stitch and every stitch thereafter, simply repeat these steps, making sure to insert your hook under both the top loops of the next chain in your foundation. Keep going until you reach the end of your chain, and you’ve got the basics of double crochet row!
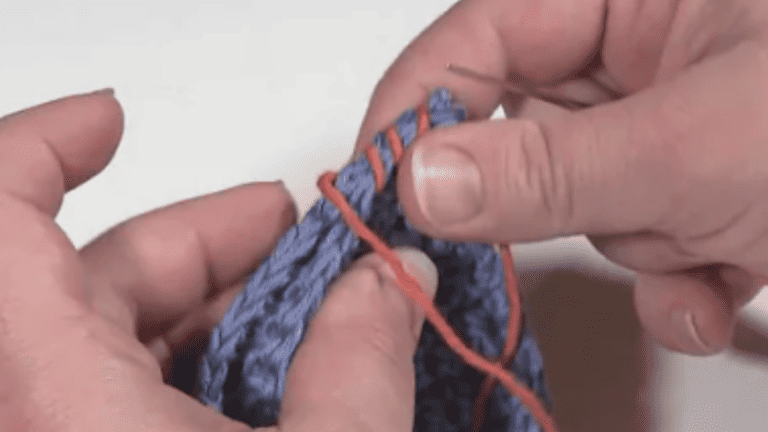
If you are a visual learner, here’s the best YouTube video on creating a Double Crochet Stitch (dc stitch).
Double Crochet Techniques
When you’re leveling up your crochet skills, mastering various double crochet techniques is essential.
From working in different loops to cleverly increasing or decreasing stitches, there’s a lot you can do to give your project dimension and shape.
Working in Different Crochet Loops

You’re probably familiar with the standard top loops where you normally insert your hook. But did you know you can create different textures and strengths by changing where you work your stitch?
- Back Loop Only (BLO): By crocheting into the back loop, you’ll get a ribbed texture which is great for stretchy fabrics. To do this, you simply:
- Insert your hook under the back loop of the next stitch at the beginner of the row.
- Yarn over and pull up a loop, you now have 3 loops on your hook.
- Yarn over and pull through two loops, twice, completing the double crochet.
- Front Loops Only (FLO): This technique gives you a smoother, more defined front to your fabric. The steps are:
- Insert your hook under the front loop of the next stitch.
- Yarn over and create your stitch as you would normally.
- Third Loop: Looking for a unique texture? Try the third loop method. It’s found just below the back loop and using it will push the top two loops forward, creating a braided look.
Increasing and Decreasing Crochet
Adjusting the size of your work is straightforward once you know how to increase and decrease stitches properly.
- Double Crochet Increase: To make your fabric wider, you’ll add more stitches, known as increasing.
- Into the same stitch, simply work two double crochets.
- Insert your hook into the next stitch, yarn over, and draw up a loop.
- Finish each double crochet as you normally would.
- Double Crochet Decrease: Conversely, to taper your fabric, you’ll decrease the number of stitches.
- Yarn over and insert your hook into the next stitch.
- Yarn over again and pull up a loop (3 loops on hook).
- Yarn over and pull through two loops (2 loops remain on the hook).
- Yarn over and insert the hook into the following stitch.
- Yarn over, pull up a loop (4 loops on hook), yarn over, and pull through two loops (3 loops remain).
- Finally, yarn over once more and pull through the remaining loops on your hook.
Remember to keep your tension consistent, especially when working different techniques, to maintain an even fabric. Here’s a great step-by-step tutorial on how to do double crochet stitch increasing and decreasing.
Crocheting Rows and Rounds
In double crochet, creating seamless rows and joining rounds are critical steps to shape your project correctly. You’ll need to pay attention to turning chains and where to place your hook at the beginning and end of each row or round.
Starting a New Row
When you’re ready to start a new row, you’ll usually begin with a turning chain to get the height needed for double crochet. For a standard double crochet stitch, your turning chain count will typically be three chains.
This ch-3 turning chain serves as the first double crochet of the new row. You’ll then yarn over and insert your hook into the fourth chain from the hook (counting the chains on the hook as your ch-2 turning chain as part of the first row).
Make sure to yarn over and insert the hook into the last stitch from the previous row to prevent your work from shrinking in width. The turning chain is crucial because it helps maintain the edges of your work and prevents it from becoming uneven.
Joining Rounds In Crochet
When you’re working in rounds, rather than rows, and need to join a new round, find the top of the turning chain from the beginning of the round you just completed.
Normally, this will be a ch-3 that counts as the first double crochet of the round. You’ll join the round by inserting your hook into the top of the turning chain and creating a slip stitch. This method connects the end of the round with the beginning smoothly, creating a closed circle.
It’s essential to not tighten the joining slip stitch too much, as it can cause the round to bunch up. After joining, you will chain three (to count as your first double crochet) and continue with your next stitch into the first double crochet from the previous round.
This way, when you come to the end of the second row and subsequent rounds, you’ll see a consistent pattern without noticeable seams.
Remember, in each subsequent round, you’ll need to slip stitch into the 3rd chain of the initial turning chain from the previous round to keep a consistent height throughout your work.
Advanced Double Crochet Projects
When you’re ready to take your crochet skills to the next level, tackling advanced projects like intricate patterns and baby blankets can be both challenging and rewarding. Mastering these will allow you to create stunning, heirloom-quality items.
Creating Different Patterns
Patterns add life to any crochet project, and with advanced double crochet techniques, you can create an array of complex designs. For starters, try your hand at incorporating post stitches to add texture, or mix in some filet crochet for delicate openness in your work.
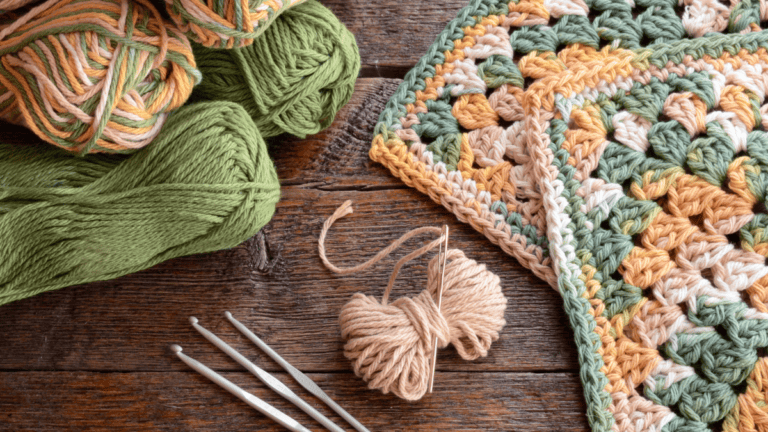
Crochet Baby Blankets
Download Patterns: Crochet Baby Blankets
Baby blankets are timeless crochet projects that not only appear intricate but also offer a loving touch to a practical item. Here’s a simple guide you can follow to start:
- Choose a soft, baby-friendly yarn.
- Select a size ‘H’ (5 mm) crochet hook or a size suitable for your yarn.
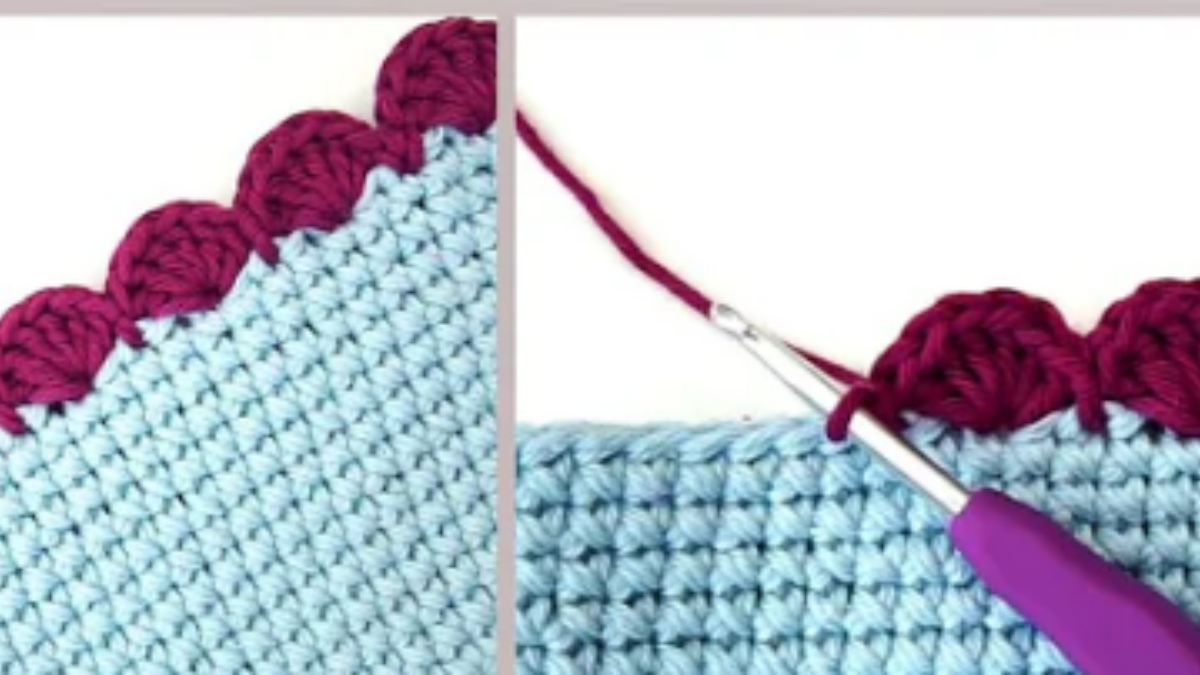
- Search for baby blanket patterns that challenge your skill level; you’ll find a variety with different stitch combinations and edgings.
- Begin with a chain that’s wide enough for a baby blanket — typically around 30 to 35 inches.
- As you crochet, remember to count your stitches and keep an eye on your tension to ensure the blanket doesn’t become misshapen.
With these advanced projects, you’ll not only refine your double crochet skills but also have the chance to craft treasures that are as much a pleasure to make as they are to give.
Tips and Tricks
When doing a double crochet stitch, maintaining an even tension is key to creating consistent stitches. If you grasp your yarn and hook in a relaxed way, you’ll find that your stitches look much smoother.
Here’s a quick checklist:
- Even Tension: It’s crucial—play around with how you hold your yarn to find what’s most comfortable for you.
- Hook Size: Make sure it matches your yarn weight. This will make your double crochet stitch look its best.
A good tutorial can make all the difference. If you’re a visual learner, consider watching a tutorial video on double crochet stitch. They’ll guide you through the process in a step-by-step manner.
For straight seams:
- Start with a chain 3 at the beginning of each row, which counts as your first double crochet.
- End each row with a double crochet in the top of the turning chain from the previous row.
To keep things simple, a list of the most common crochet stitches to include in your repertoire:
- Single crochet
- Half-double crochet
- Double crochet (you’re here!)
- Treble crochet
Crochet Patterns
Here are some of our favorite crochet patterns to practice all your crochet stitches on.
7 Comments