3 Easy Crochet Border Patterns With Video Tutorials
Crochet border patterns can elevate your projects from “homemade” to “handcrafted” with just a few extra stitches. Think of them as the perfect way to add a finishing touch that frames your work, much like a mat complements a painting.
Borders can range from intricate lacy border to a simple border, and they can be adapted to fit any project.
Whether you’re adding a sophisticated edge to a cozy blanket or a playful frill to a baby’s bib, the right border ties your entire piece together and creates the perfect finishing touch.
When you’re just starting out, an easy border can be the best choice. It’s approachable, quick to master, and still gives that sense of completion.
As you grow more comfortable with your hook and yarn, you might find yourself experimenting with more complex patterns.
Luckily, there’s an abundance of free crochet patterns to choose from. These free resources provide a playground for creativity and allow you to practice without the pressure of perfection.
Selecting the perfect crochet borders can be a fun challenge, and it’s one that rewards your effort with beautiful, tangible results.
It’s your project, so you make the rules: go as subtle or as bold as you like, play with colors, and make each pattern your own.
The borders you make today could become the signature touch that others recognize in your work tomorrow.
Crochet Border Patterns
When you decide to add a crochet border to your project, it’s crucial to get the details right. Choosing suitable tools and understanding the basics will set the foundation for a neatly finished edge.
Crochet Hook Size
Selecting the correct hook size can make or break the neatness of your crochet border. If you’re continuing from a project, the hook size should match what you’ve been using unless your border design calls for a change.
For lace-like borders, opt for a smaller hook for finer detail, while a larger hook will give you a looser, more open look. Here’s a simple way to remember hook sizes:
- Small hooks (2.00 mm to 3.50 mm): Ideal for thin yarns or threads, producing tight stitches.
- Medium hooks (3.75 mm to 5.5 mm): The go-to size for most projects, perfect with worsted-weight yarn.
- Large hooks (6.00 mm and up): Great for chunky yarns, creating a more loose and flexible border.
Crochet Stitches

Your crochet journey to borders starts with a solid grasp of basic stitches. You’ll often use single crochet (sc), double crochet (dc), or slip stitch (sl st) in border patterns. Here’s a quick breakdown:
- Single crochet stitches (sc): Insert hook, yarn over, pull through, yarn over, pull through both loops on hook.
- Double crochet stitches (dc): Yarn over, insert hook, yarn over, pull through, yarn over, pull through two loops, yarn over, pull through remaining two loops.
- Slip stitch (sl st): Insert hook, yarn over, pull through stitch and loop on hook.
Mastering these basic stitches will help you follow along with free tutorials or a video tutorial for a variety of border patterns.
Determining Specific Stitch Count
The stitch count for your border is necessary to avoid ruffling or buckling. To estimate the specific stitch count needed, consider the height and tension of the stitches already present in your project.
Here’s a quick guide to help you:
- Side edges: Align the number of border stitches with the rows of your project.
- Top and bottom: Match each border stitch to a stitch in the project’s final and initial rows.
Adjustments might be necessary, so always count and measure. For symmetrical and neat corners, make sure to add a precise number of stitches to each corner, typically three, but it may vary with your project and yarn weight.
Easy Crochet Border Patterns
Adding a crochet border is a great way to give your project a finished look and add a touch of personality. Each border offers a unique texture and depth to your work.
Simple Crochet Border
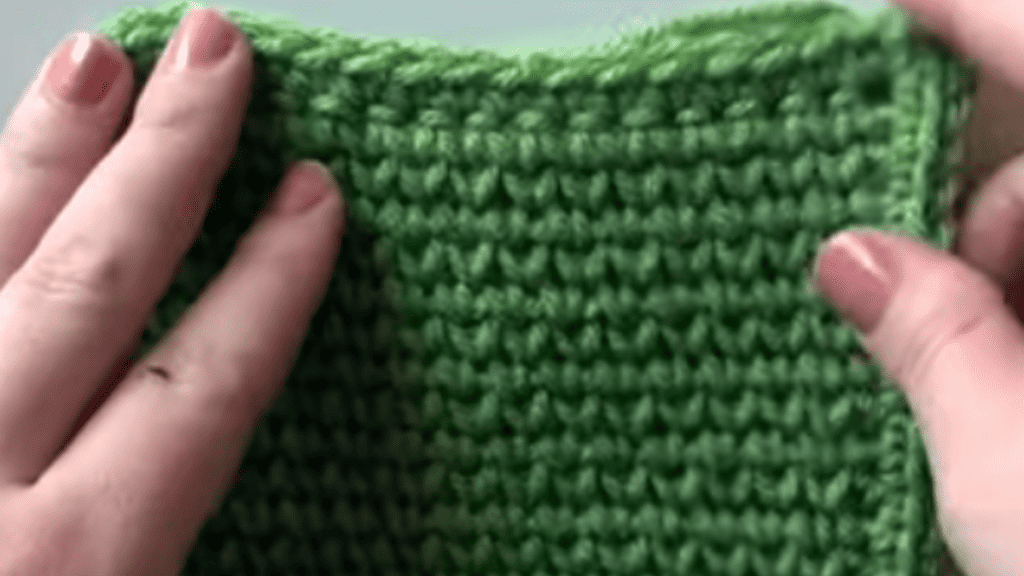
The simple single crochet border is the easiest way to clean up the edges of your project. You can work a single crochet stitch around the perimeter, using chain stitches at the corners to keep your work flat. This border is ideal for beginners or when you need a modest finish.
Here’s a free tutorial on how to make a simple crochet border.
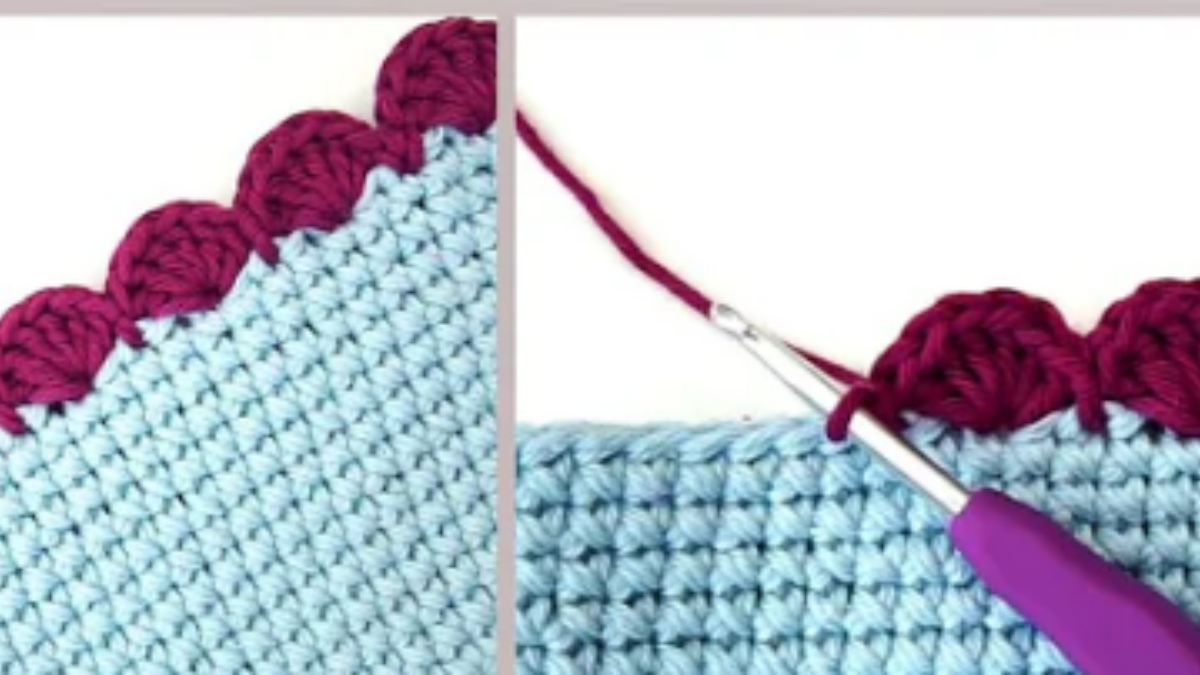
Picot Border Crochet
A picot border turns a plain edge into something more decorative. It’s created by chaining a small number of stitches and then slip stitching back into the base of the chain stitches.
The result is a row of small, delicate points which gives an elegant touch to any piece.
Here’s a free tutorial on how to make a Picot Border Crochet.
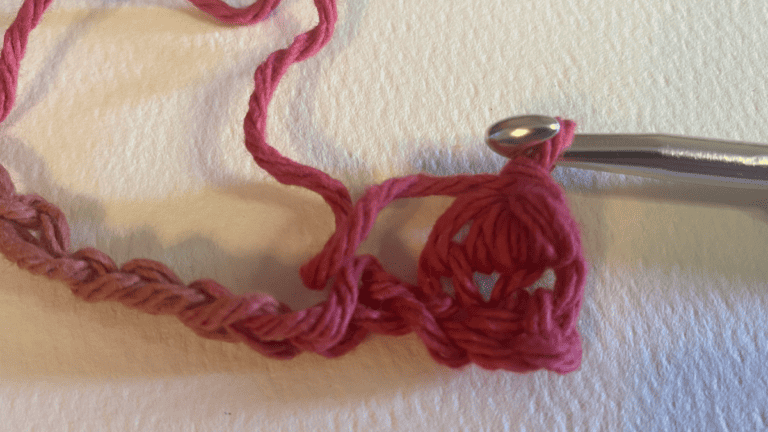
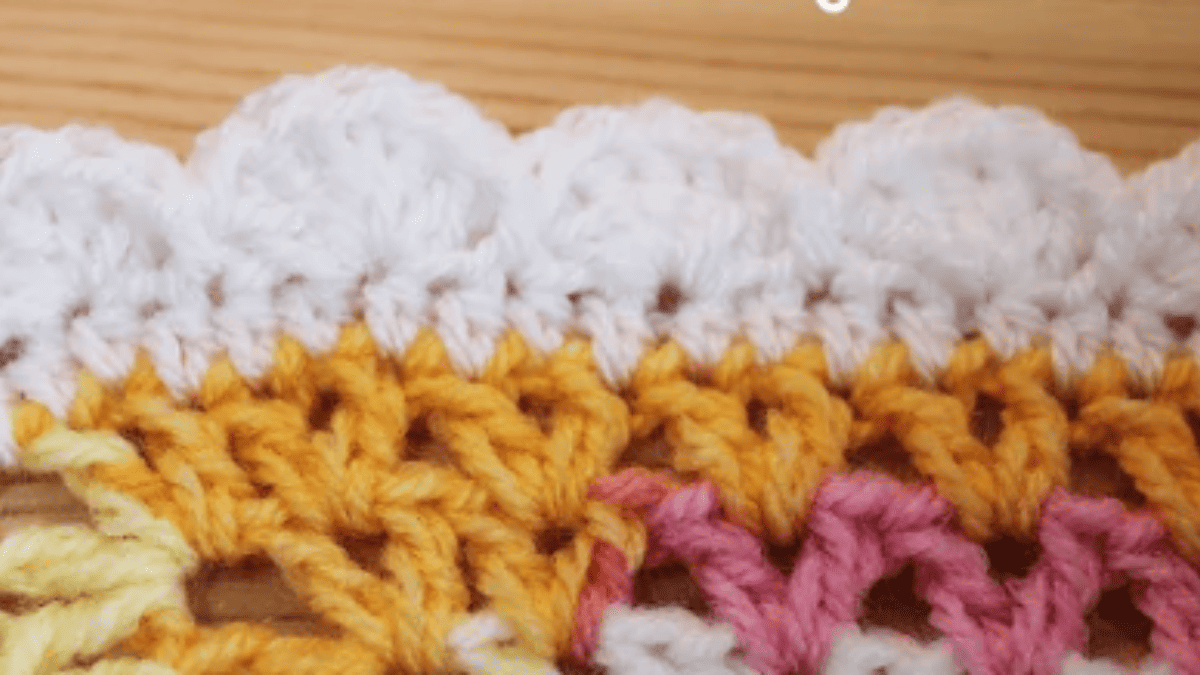
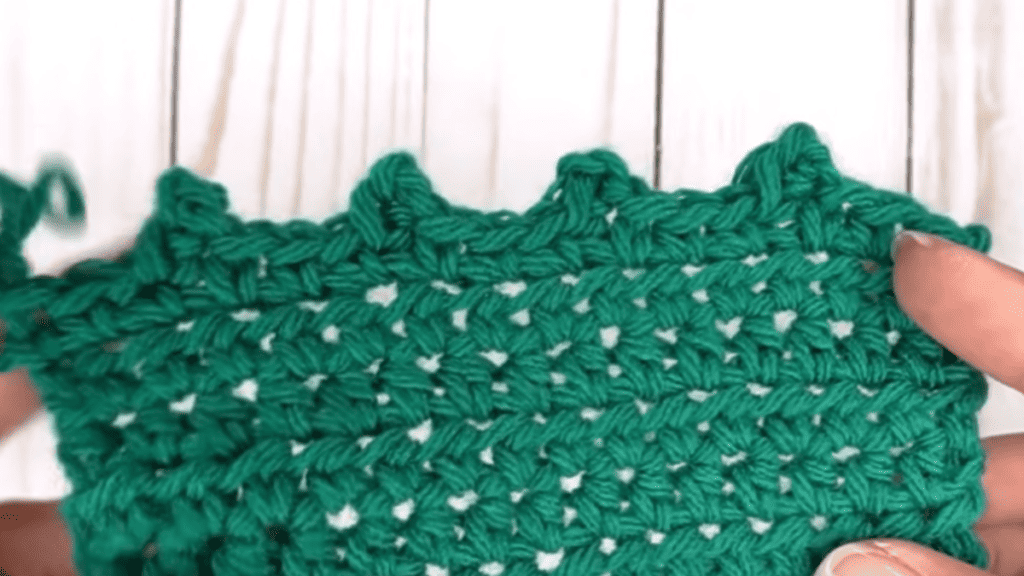
Shell Crochet Stitch Border

For a textured, scalloped edge, the shell stitch border is your go-to choice. It consists of groups of double crochets worked into the same stitch to create the “shell” look.
This border is versatile and can be adapted to various projects, giving a substantial and intricate edge.
Here’s a free tutorial on how to make a Shell Crochet Stitch Border
Adding a Creative Touch to Your Borders
When you want your crochet projects to really shine, it’s all in the borders. Adding a unique touch can transform your work from simple to stunning.
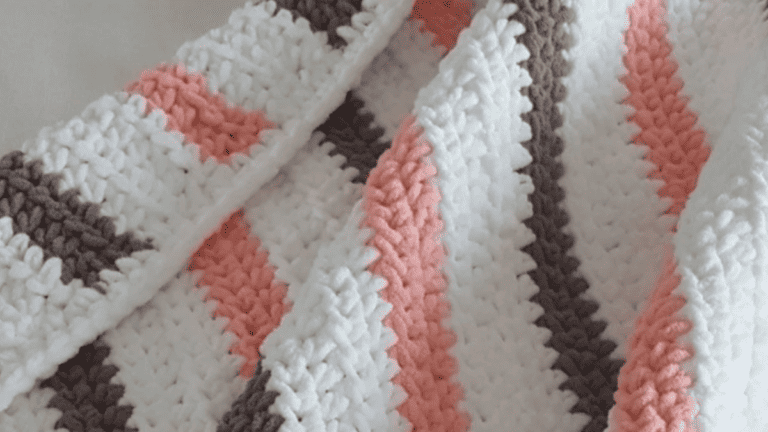
Incorporating Contrasting Colors
Contrasting colors can elevate the look of your crochet border. Choose a shade that stands out against your main color to add depth and interest. For instance:
- If your blanket is a soft blue, a navy or bright yellow border can make it pop.
- For a neutral base, try a bold red or a deep purple to give your piece that extra flair.
Using different colors in your edging can also highlight the intricate patterns of your stitches.
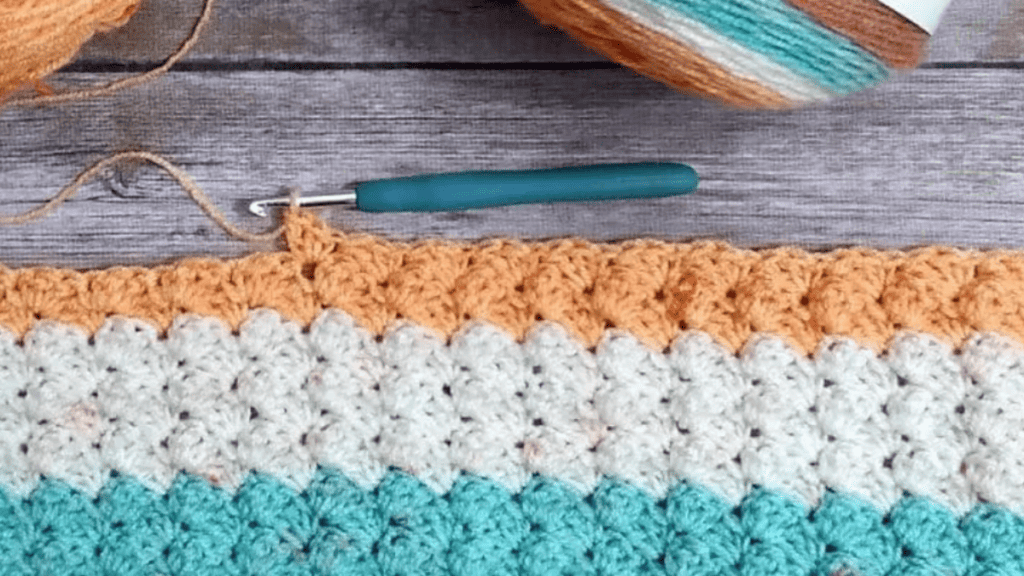
Experimenting with Bobble and Puff Stitches
A bobble border adds a playful dimension to your crochet projects. It’s a fun way to introduce texture. Here’s a quick how-to:
- Start with a chain in a contrasting color to your main project.
- Work a row of single crochet.
- Begin the bobble stitch by yarn over and inserting the hook into the stitch.
- Yarn over, pull through, and yarn over again, pulling through only two loops.
- Repeat steps 3 and 4 in the same stitch four more times.
- Yarn over and pull through all loops on the hook, then secure the bobble with a single crochet stitch.
Similarly, the puff stitch creates soft, pillowy bumps for a rich texture. The idea is the same: use it as an unexpected, tactile element in your border.
Making Your Border Pop with Fun Stitches
There are a variety of fun stitches that can make your crochet borders stand out. Consider trying the scallop or picot stitches for an elegant effect.
- For a scalloped edge, group together a number of double crochets in one stitch, then skip a space and single crochet to create the dip before your next shell.
- For tiny picots, the formula is as simple as chaining three and slip stitching back into the first chain.
Remember, when you play with edging, you’re not just finishing a piece; you’re enhancing the blanket design and every stitch is an opportunity to be creative. Keep experimenting with crochet edging patterns to discover the perfect border to complement your work.
Finishing Touches and Caring for Your Project
When you’ve completed the main part of your crochet project, it’s paramount to add that great finishing touch.
Whether it’s a cozy blanket or a decorative pillowcase, the right border can elevate your work to the next level.
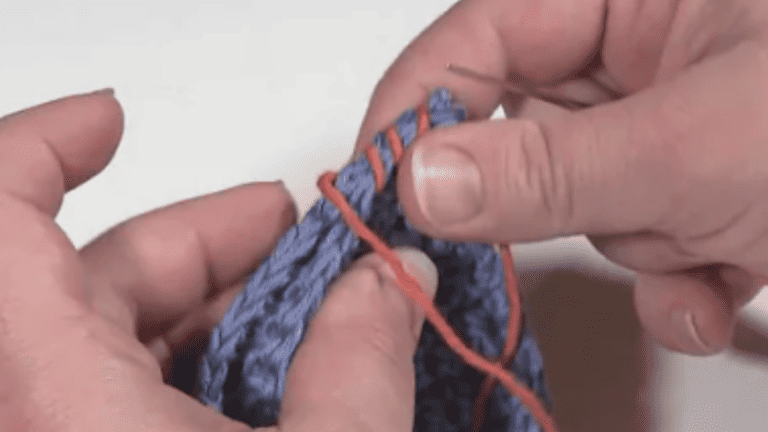
Securing and Hiding Loose Ends
Before adding borders to your project, ensure all loose ends are tidied up. For granny squares or joined pieces, like a blanket or baby blankets, weave in the ends with a tapestry needle to secure them.
Keep your stitches consistent with the pattern for a clean edge. If loose ends remain visible, they can be hidden within the border stitches as you add them.
Choosing Borders for Different Projects
Borders add both function and style, serving as a frame that compliments your work. Consider the final use of your item when choosing a border:
- Crochet blanket: A simple single crochet border offers a minimalist finish, while a scalloped edge provides a classic, decorative touch.
- Baby blankets: Opt for soft, snuggly borders that are not only pretty but also safe for little hands.
- Pillow case: Choose durable, tighter borders that withstand regular wear and the friction of being used.
Remember, a border that may suit a granny square throw might not be the best for a baby blanket. Always tailor your border to match the project’s design and intended use for that finished look.