How to Join Granny Squares: An Easy Quick Guide
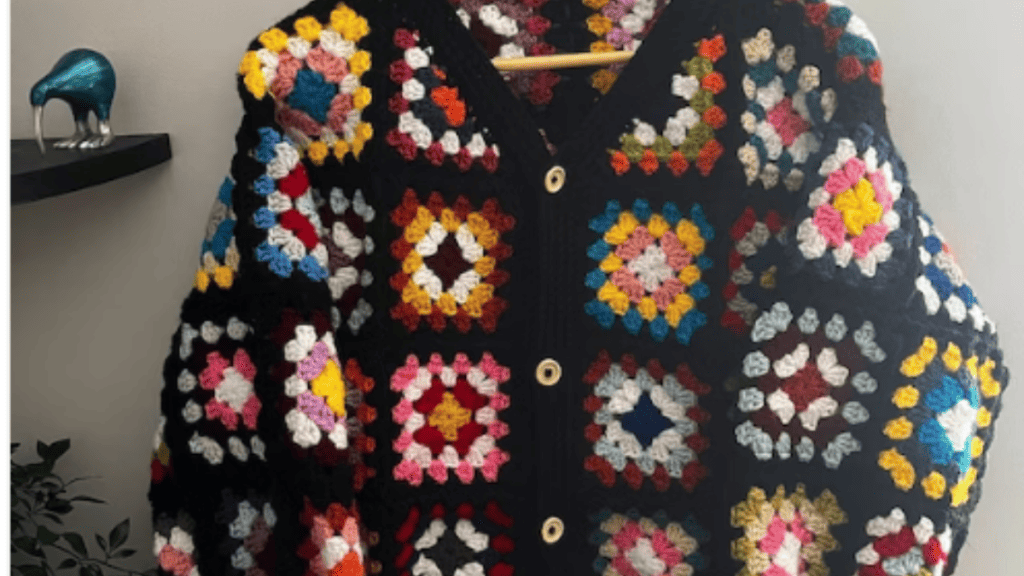
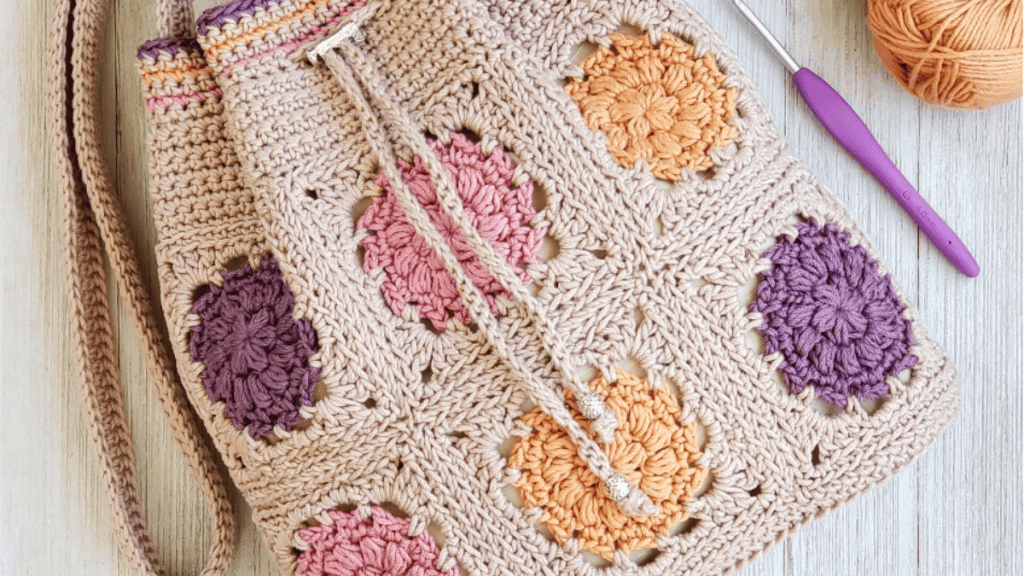
Crocheting granny squares is like assembling a puzzle—each piece is beautiful on its own, but when joined together, they create something spectacular. You’ve probably seen an array of colorful crochet projects, from warm blankets to chic bags, and noticed that they’re often made from these charming squares.
If you’re ready to tackle your own creation, knowing how to join granny squares is essential. It’s the critical step that turns individual crochet squares into a cohesive project.
Each method of joining granny squares adds a unique texture and character to your work. Whether you prefer the seamless look of the invisible stitch or the textured ridge of the crochet join, there’s a technique to fit your project’s aesthetic.
Sites like Bella Coco and Cypress Textiles offer a plethora of free crochet tutorials, providing clear, step-by-step guidance. And for inspiration, Repeat Crafter Me and Bunny Mummy are treasure troves of creative ideas that will have you hooking your squares together in no time.
While some crocheters opt for the speed of joining squares as they go, others enjoy the meditation of stitching them together at the end.
Your technique can vary based on the yarn, the final look you’re aiming for, or even just your mood as you sit down to bring those squares together.
No matter your approach, each joined square is a step toward a finished piece that’s as practical as it is personal.
Preparing Your Squares for Joining
Before you start joining your granny squares, make sure each square is shaped properly and you know which side you want to face outward. Choosing your joining method and having the right materials at hand will streamline the process.
Identifying the Right and Wrong Sides
To ensure your blanket or project looks its best, you’ll want to identify the right side (the side meant to be seen) and the wrong side (the side that faces inward) of your squares.
The right side is typically smoother and has more defined stitches, while the wrong side may appear bumpier. For consistency, make sure the right side of each square faces the same direction as you join.
How To Join Granny Squares
There are multiple ways to join granny squares, such as whipstitching, slip stitching, or single crocheting. Each method will give you a different texture and look.
Slip stitching is great for a flat seam, while single crocheting gives a decorative, raised edge. Consider the final appearance you’re aiming for, and select your method accordingly.
| Joining Method | Seam Appearance | Best For |
|---|---|---|
| Whipstitch | Flat, invisible | Quick, simple joining |
| Slip Stitch | Flat, less visible | Seamless look |
| Single Crochet | Raised, decorative | Textured edges |
Gathering Your Materials
To assemble your masterpiece, you’ll need a yarn needle or tapestry needle with a large eye and blunt tip to prevent splitting stitches. Ensure you have a crochet hook that matches the size used for your squares for consistency.
- Yarn needle/tapestry needle: Get one with a large eye and blunt tip for easy threading and safe stitching.
- Crochet hook: Use the same size as the one you crocheted your squares with to keep your stitch count consistent.
- Yarn: Choose a color that matches or provides an appealing contrast to your squares. Make sure you have enough yarn to join all of them, pulling through each back loop or front side as your method requires.
Gather all your materials and arrange your squares in the pattern you desire before you begin joining. Always start joining from the first square to the next granny, paying close attention when you reach the next corner. Keep in mind that different shapes may require slight adjustments in your joining technique.
Joining Techniques and Finishing Touches
When you’ve got your granny squares ready, joining them neatly is crucial for a polished look. Let’s dive into the popular methods and how you can give your project that clean, finished appearance.
Slip Stitch
Video tutorial: Slip Stitch
For a flat and tight seam, the slip stitch join is your go-to. It’s one of the easiest methods that produces a flat appearance. Here’s how you do it:
- Place two granny squares right sides together.
- Insert your hook through the corresponding stitches of each square.
- Yarn over and pull through all loops on the hook to complete a slip stitch.
- Repeat step for each stitch along the edge.
This method works great for afghan squares where you want a smooth texture.
Single Crochet Stitch
The single crochet join adds a ridge between squares, which can be a design feature in itself. Follow these steps:
- Place granny squares right sides facing out.
- Insert hook through both layers, yarn over and draw up a loop.
- Yarn over and pull through both loops on the hook.
- Continue with single crochet stitches evenly along the edges.
Give it a try if you’re after a textured look for a bag or blanket.
Mattress Stitch

Video Tutorial: Mattress Stitch
If invisible seams are your endgame, the mattress stitch is the best way to achieve them. It’s sewn with a tapestry needle working under the top loops of your stitches:
- Thread a tapestry needle with a length of yarn.
- Work alternately between the squares, going under the top two loops of each stitch to mimic a woven effect.
- Pull tight for an invisible join.
This method is excellent for projects where you want the patterns on your squares to be the star.
Unique Joining Styles for Different Looks
Varied approaches such as the flat braid join method can add flair. The scallop join, which creates a decorative edge, or the zig zag slip stitch join, which gives a unique zig-zag pattern, are both favorite ways to personalize your piece. To explore these techniques:
- Look for free patterns or video tutorials.
- Experiment with samples to find your favorite method.
Weaving in Ends
Video Tutorial: Weaving In Ends
Finally, don’t overlook weaving in the ends for the best results. This back-end work is what elevates your piece from homemade to artisan. A photo tutorial can guide you:
- Use a tapestry needle or crochet hook.
- Weave the ends back and forth through the stitches.
- Trim any excess yarn close to the work.
This step ensures your squares stay together beautifully, wear after wear.