Crochet Fidget Keychain Pattern
You will love this easy crochet fidget keychain pattern. It’s a great tool for kids who become anxious or for adults who stress out in traffic. You can easily pick up the supplies at your local Walmart or craft store.
Material Needed
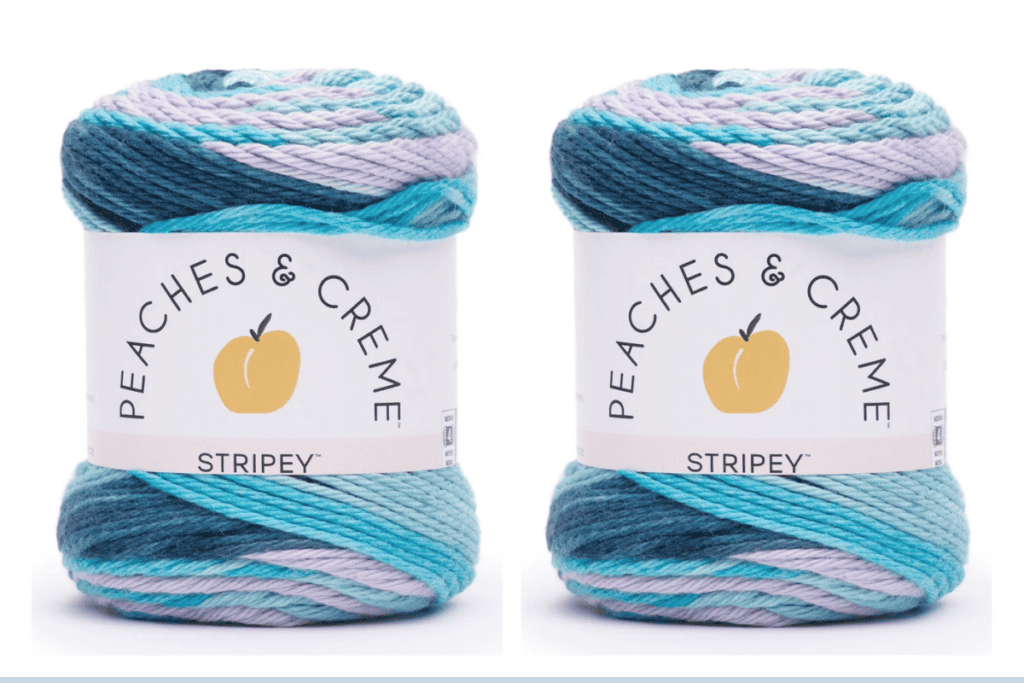
3 or 4 weight cotton yarn (This keeps it from getting fuzzy)
You can use Acrylic but make sure it is anti-pill for your Crochet Fidget Keychain Pattern.
Tools Needed
- Hook 3.75mm (must be able to fit through bead hole)
- Tapestry Needle
- Scissors
- Keyring
- Pony beads ( you need 6. Walmart has a bag of 500 in store normally. I picked them up with my Walmart pickup order)
Check out Today’s FREE Crochet Pattern:
Special Stitch for Beads

You will need this special stitch when it comes to the area of adding your beads. You will do a total of 6 beads for your Crochet Fidget Keychain Pattern so you will need to do the stitch 6 different times.
If you want more photos of each step, you can check out the Written PDF
Instructions for Crochet Fidget Keychain Pattern
The Ch 1 or Ch 2 at the end of each Row does
not count as a stitch in the beginning of the
next Row.
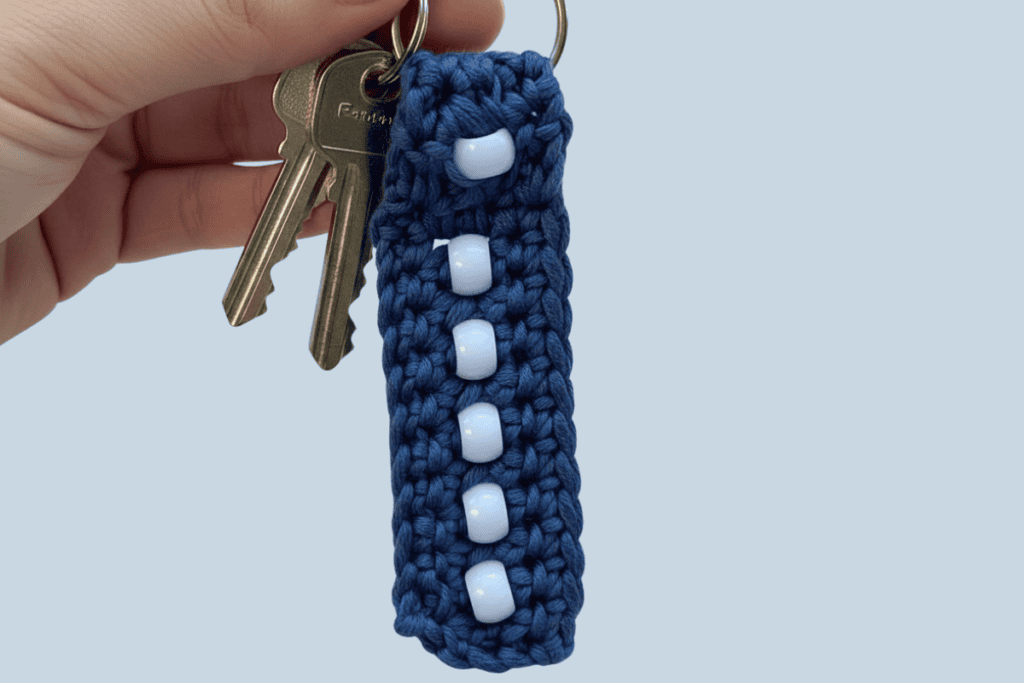
- Each “Bead” counts as a Hdc stitch. (PHOTO A)
Refer to Special Stitches on Page 2 for written
instructions. - You will need a total of 6 beads.
Ch 12 (12). Keep the chain loose.
Row 1: Starting in the 2nd ch from the hook, sc 11 (11).
Ch 2, turn.
Row 2: Dc 1, (Bead, hdc 1) x 4, Bead, dc 1 (11).
Ch 1, turn.
Row 3: Sc 11 (11).
Ch 1, turn.
Row 4: Sc 11 (11).
Do not turn—continue working along the side edge.
Working Along the Edge
Row 5: Ch 1 (counts as a stitch), sc 4 (5).
Ch 2, turn.
Row 6: Dc, skip 1 st, Bead, skip 1 st, dc inc (4).
Ch 1, turn.
Row 7: Sc 1, dec, sc 1 (3).
Ch 1, turn.
Row 8: Sc 3 (3).
Ch 1, turn.
Row 9: Sc 3 (3).
Ch 1, turn.
Row 10: Sc 1, inc, sc 1 (4).
Ch 1, turn.
Row 11: Sc 2, inc, sc 1 (5).
Fasten off, leaving a long tail for sewing.
Finishing

Place the key ring at the top of the tag and fold the top over.
With the folded side facing you, sew the front loop only (FLO) of Row 12 into the back post of Row 6.
Weave in all ends.
Congrats, you made a great pattern for yourself or make as a gift. PS these also sell well on Facebook Marketplace or a craft show.