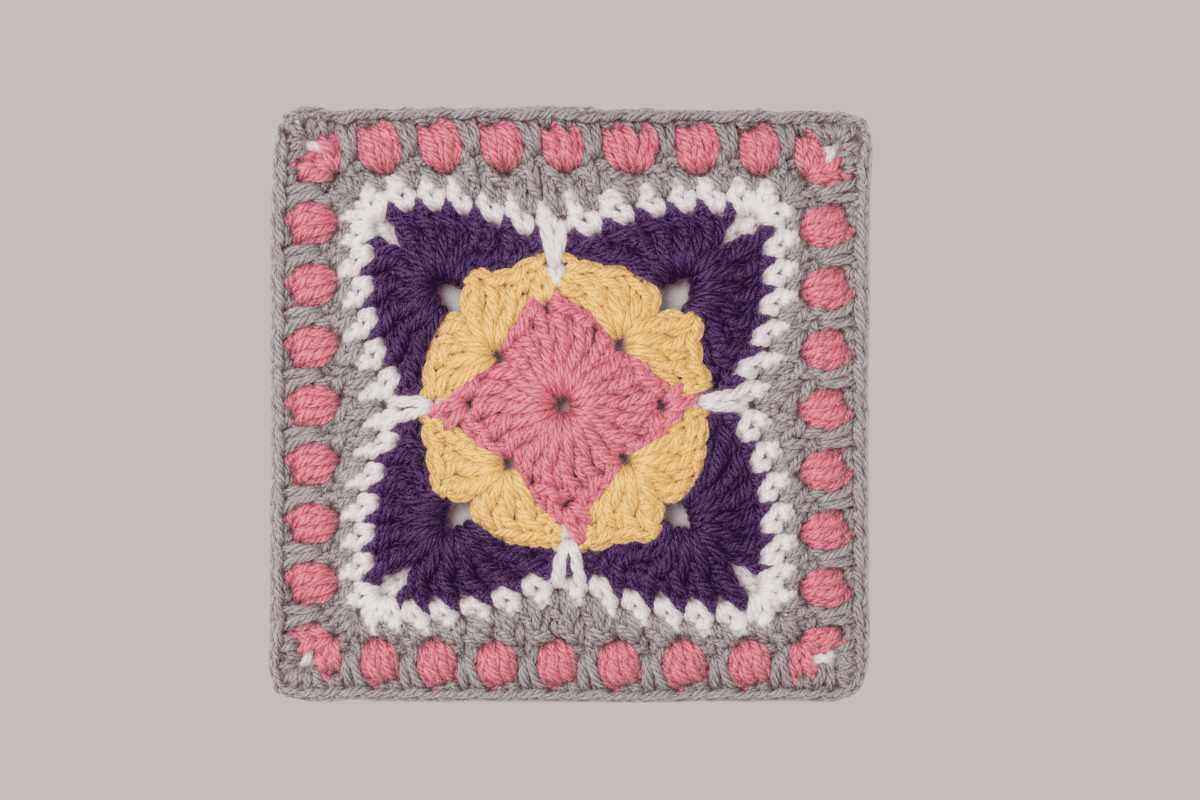
Flower Granny Square Pattern
There’s something so cheerful about crocheting flowers, and this Flower Granny Square Pattern is the perfect way to bring a little bit of spring into your home all year long. Whether you’re using bright, bold colors or soft pastel shades, each square blooms into a beautiful design that is fun to make and easy to customize.
This beginner-friendly crochet square is worked one round at a time, making it a relaxing project that’s perfect for using up leftover yarn. Create just one square for a coaster or mug rug, or stitch several together to make a cozy baby blanket, throw, pillow cover, or table runner. The possibilities are endless!
In this free crochet pattern, you’ll find step-by-step instructions, helpful tips, and a simple design that’s enjoyable for crocheters of all skill levels. Grab your favorite yarn colors, your crochet hook, and let’s start growing your own crochet flower garden!
Check out Today’s FREE Crochet Pattern:
Finished Size
Approximately 10 x 10 inches (25 x 25 cm) after blocking (size may vary depending on yarn and hook).
Skill Level
Easy to Intermediate Beginner
Supplies
- Worsted weight (#4) cotton or acrylic yarn in 5 colors:
- Color A
- Color B
- Color C
- Color D
- Color E
- 5.0 mm (H/8) crochet hook
- Yarn needle
- Scissors
Abbreviations
- ch – chain
- dc – double crochet
- hdc – half double crochet
- MR – magic ring
- PS – puff stitch
- sc – single crochet
- sl st – slip stitch
- st(s) – stitch(es)
- tr – treble crochet
Puff Stitch (PS)
Yarn over, insert hook into the indicated stitch, pull up a loop. Repeat this process until you have the required number of loops for your preferred puff stitch, yarn over and pull through all loops, then ch 1 to close the puff if desired by your pattern.
Instructions for Flower Granny Square Pattern
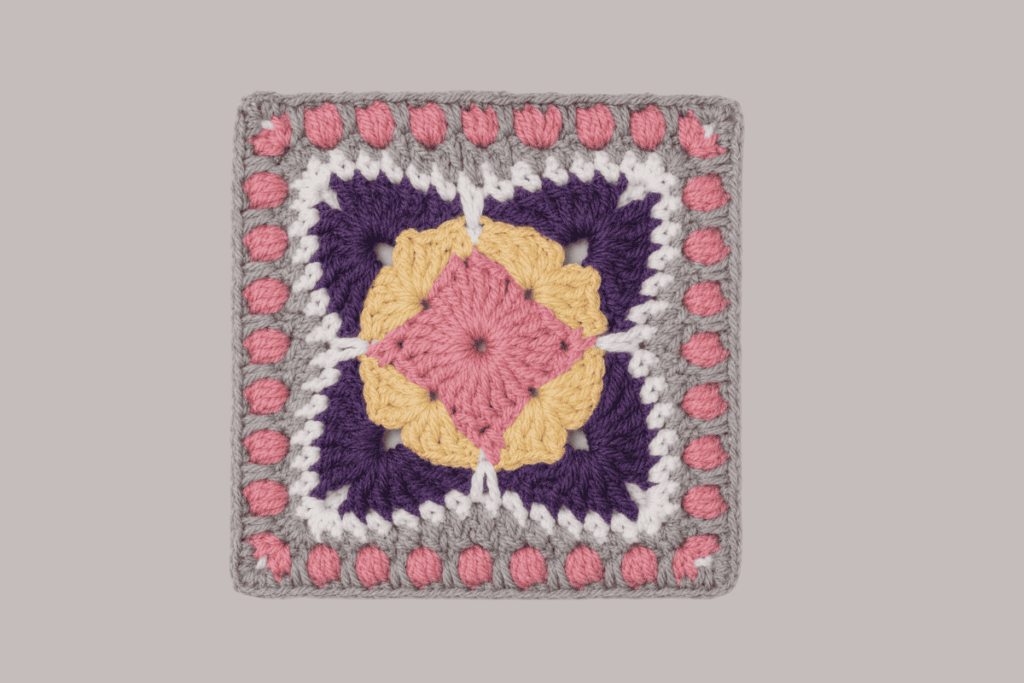
Round 1 (Color A)
Make a magic ring.
Ch 4 (counts as the first treble crochet), then work 5 dc into the ring.
(1 tr, 5 dc) into the ring 3 times.
Pull the magic ring closed.
Join with a sl st to the top of the beginning ch-4.
Fasten off Color A.
Stitch Count: 20 dc, 4 tr
Round 2 (Color B)
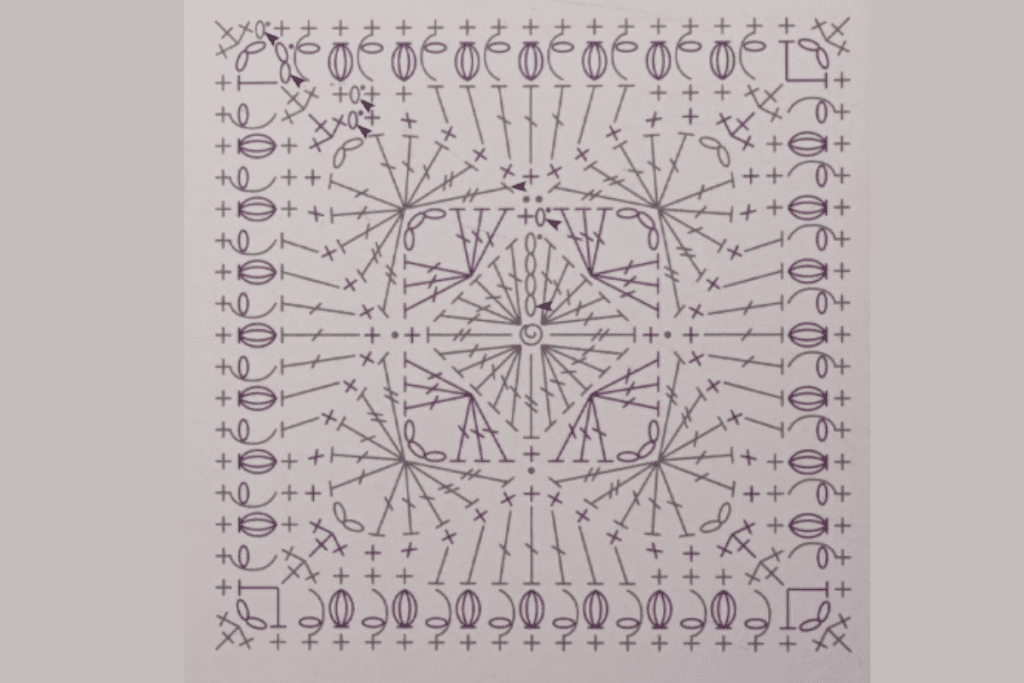
Join Color B in any treble crochet.
- Ch 1 (does not count as a stitch).
- Work 1 sc in the same stitch.
- Skip the next 2 stitches.
- In the next stitch work:
- 3 dc
- Ch 3
- 3 dc
- Skip the next 2 stitches.
- Work 1 sc in the next stitch.
Repeat Steps 3–6 around the square 3 more times.
Join with a sl st to the first sc.
Fasten off Color B.
Stitch Count: 28 stitches, 4 ch-3 spaces
Round 3 (Color C)
Join Color C with a sl st in any single crochet.
- Sl st in the same stitch.
- Skip the next 3 stitches.
- In the next ch-3 corner space work:
- 2 tr
- 3 dc
- Ch 2
- 3 dc
- 2 tr
- Skip the next 3 stitches.
- Sl st in the next sc.
Repeat Steps 2–5 around the square 3 more times.
Join with a sl st to the first slip stitch.
Fasten off Color C.
Stitch Count: 40 stitches, 4 slip stitches, 4 ch-2 spaces
Round 4 (Color D)
Join Color D in any ch-2 corner space.
- Ch 1 (does not count as a stitch).
- Work 3 sc in the same corner space.
- Work 1 sc in each of the next 5 stitches.
- Work 5 sc in the next corner space.
- Work 1 sc in each of the next 5 stitches.
Repeat Steps 4–5 two more times.
Work 2 sc in the final corner space.
Join with a sl st to the first sc.
Fasten off Color D.
Stitch Count: 56 sc
Round 5 (Color E)
Join Color E in any single crochet.
- Ch 1 (does not count as a stitch).
- Work 1 sc in the same stitch.
- Work 3 sc in the next stitch.
- Work 1 sc in each of the next 3 stitches.
- Work 1 hdc in each of the next 2 stitches.
- Work 1 dc in each of the next 3 stitches.
- Work 1 hdc in each of the next 2 stitches.
- Work 1 sc in each of the next 3 stitches.
Repeat Steps 3–8 around the square 3 more times.
Join with a sl st to the first sc.
Fasten off Color E.
Stitch Count: 64 stitches
Round 6 (Color A)
Join Color A in the second single crochet of any corner.
- Ch 4 (counts as the first tr and the ch-2 corner space).
- Work 1 hdc in the same stitch.
- Ch 1.
- Skip the next stitch.
- Work 1 PS in the next stitch.
- Ch 1.
- Skip the next stitch.
- Work 1 hdc in the next stitch.
- In the next stitch work:
- 1 tr
- Ch 2
- 1 tr
- Work 1 hdc in the next stitch.
- Ch 1.
- Skip the next stitch.
- Work 1 PS in the next stitch.
- Ch 1.
- Skip the next stitch.
- Work 1 hdc in the next stitch.
Repeat Steps 3–16 around the square 3 more times.
Join with a sl st to the top of the beginning ch-4.
Fasten off Color A.
Stitch Count: 36 stitches, 36 chain spaces
Round 7 (Color E)
Join Color E in any ch-2 corner space.
- Ch 1 (does not count as a stitch).
- Work 3 sc in the same corner space.
- Work 1 sc in the next hdc.
- Work 5 sc around the next ch-1 space and puff stitch together.
- Work 1 sc in the next hdc.
- Work 1 sc in each of the next 5 stitches.
- Work 1 sc in the next hdc.
- Work 5 sc around the next ch-1 space and puff stitch together.
- Work 1 sc in the next hdc.
Repeat Steps 3–9 around the square 3 more times.
Join with a sl st to the first sc.
Fasten off Color E.
Stitch Count: 80 sc
Blocking
Weave in all yarn ends. Lightly block your square to open the stitches and square the corners. Your finished motif is ready to use on its own or join with additional squares for blankets, pillows, bags, or other crochet projects.
Pillow Pattern
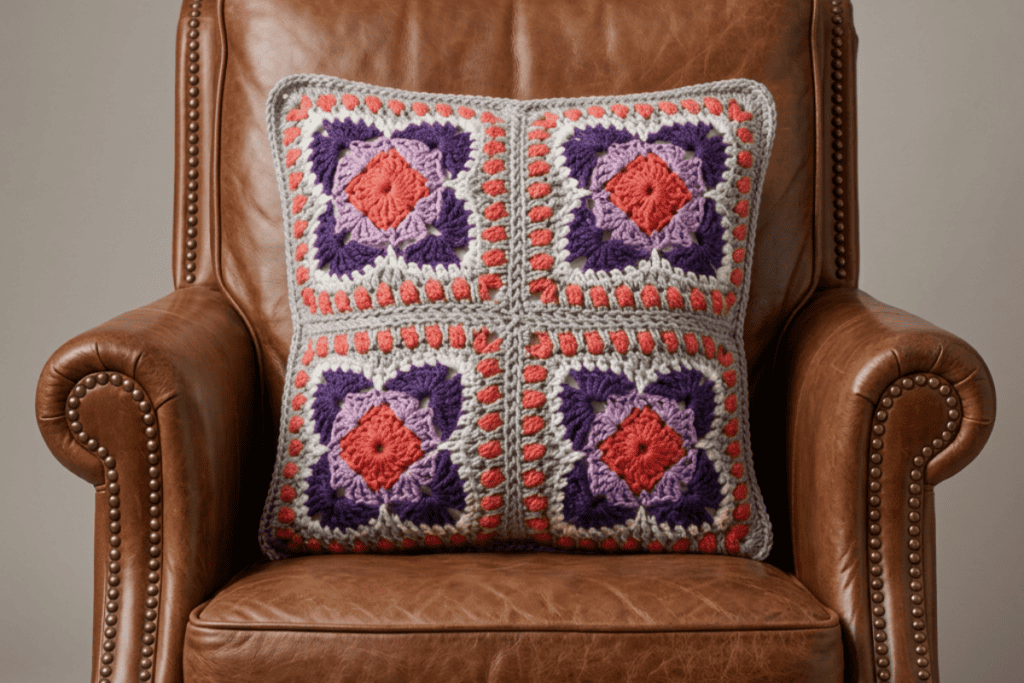
Edging – Round 1
Place the front and back pillow panels together with the wrong sides facing each other (the right sides should be facing out).
Using Color D:
- Join your yarn in any stitch along one side.
- Ch 1 (does not count as a stitch).
- Work 1 sc in each stitch across the side.
- When you reach a corner, work 3 sc in the corner stitch.
- Continue working 1 sc in each stitch along the next side.
- Work 3 sc in each corner as you come to it.
Important:
Do not crochet all the way around the pillow. Leave the fourth side open so you can insert the pillow form or zipper later.
When you’ve reached the end of the third side, join with a slip stitch to the first sc.
Fasten off.
Helpful Tip
- Wrong sides together means the pretty sides of both panels are on the outside.
- Crocheting the panels together as you work the edging joins them into a pillow cover.
- The open fourth side makes it easy to insert your pillow form before closing i
Edging – Round 2
Join Color E in any stitch.
- Ch 1 (does not count as a stitch).
- Work 1 sc in each stitch around the pillow.
- When you reach a corner, work 3 sc in the center stitch of the corner.
- Continue working 1 sc in each stitch around, placing 3 sc in the center stitch of each corner.
Join with a slip stitch to the first sc.
Fasten off Color E.
Helpful Tip
- Working 3 single crochets in each corner helps the edging lie flat and creates nicely rounded corners.
- If your pillow cover is still open on one side for a zipper or pillow insert, work this round only after the opening has been closed, or stop and finish the opening according to your pattern instructions.
Free Crochet Pattern Library
Here is another fun free crochet pattern to make next.