How To Join Yarn In Crochet: Step-By-Step Tutorial
Have you ever been in the middle of a crochet project and run out of yarn? Or perhaps you want to switch to a different color of yarn for your project?
Whatever the reason, learning how to join yarn in crochet is an essential skill to have.
It allows you to continue your project seamlessly without any noticeable breaks or knots.One popular method for joining yarn is the magic knot.
This technique involves tying a knot between the old and new yarn, and then weaving in the ends to hide the knot. Another method is simply tying a knot and weaving in the ends, but this can sometimes create a bulky or noticeable knot in your project.
If you’re new to joining yarn in crochet, don’t worry! There are plenty of resources available to help you learn.
From step-by-step tutorials to video demonstrations, you’ll be able to find a method that works best for you and your project. So grab a new ball of yarn and let’s get started!
Table of Contents
Yarn Knots
This is the easiest method, but it can create a bulky knot that may be visible in your finished project.
The Weaving Method
This method involves weaving the ends of the old and new yarn together, which creates a smooth transition but can be time-consuming.
The Russian Join Technique
This method creates a very strong join and is seamless, but it can be tricky to master. No worries, though, here’s a video on how to join your ends. You can also watch the Russian Join video
The Magic Knot Method
This method creates a knot that is virtually invisible, but it can be difficult to use with slippery yarns.
Here’s a great video that walks you through it step-by-step.
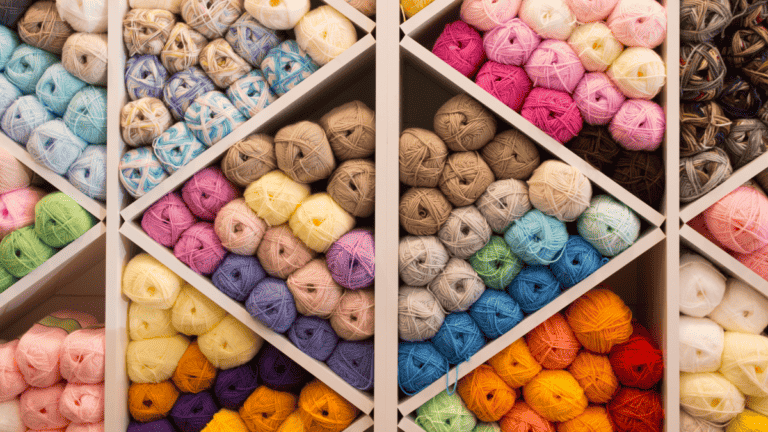
Choosing the Right Type of Yarn
When choosing a new skein of yarn to join to your project, it’s important to consider the type of project you’re working on and the type of yarn you’re using.
Some yarns are better suited for certain projects and joining methods than others.
For example, if you’re working on a larger project like a blanket or sweater, you may want to choose a yarn that comes in larger skeins to minimize the number of joins you need to make.
If you’re working with a slippery yarn, you may want to choose a joining method that creates a very secure join, like the Russian Join Technique.
By understanding the basics of yarn joining methods and choosing the right type of yarn for your project, you can ensure a neater appearance and a smoother crocheting experience.
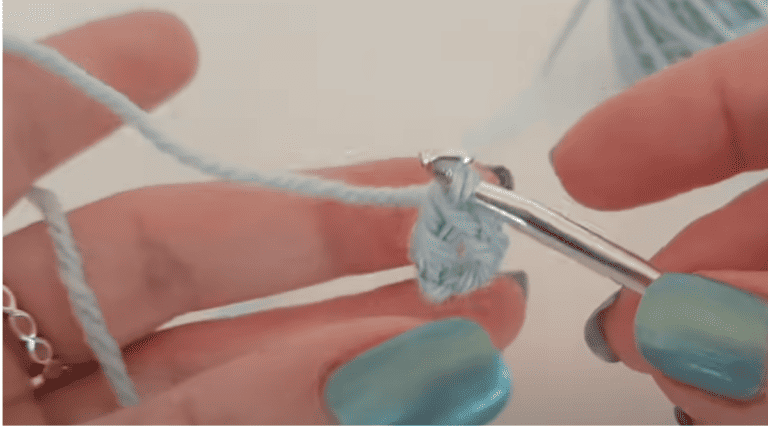
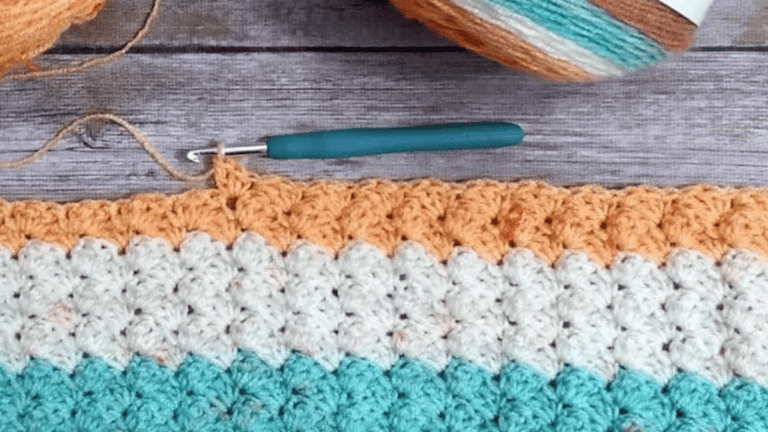
How to Join Yarn In Crochet
Crochet projects often require joining yarns together. Whether you are adding a new color or changing to a new skein of yarn, it is important to know how to join yarn in crochet. Here is a step-by-step guide to help you do it right.
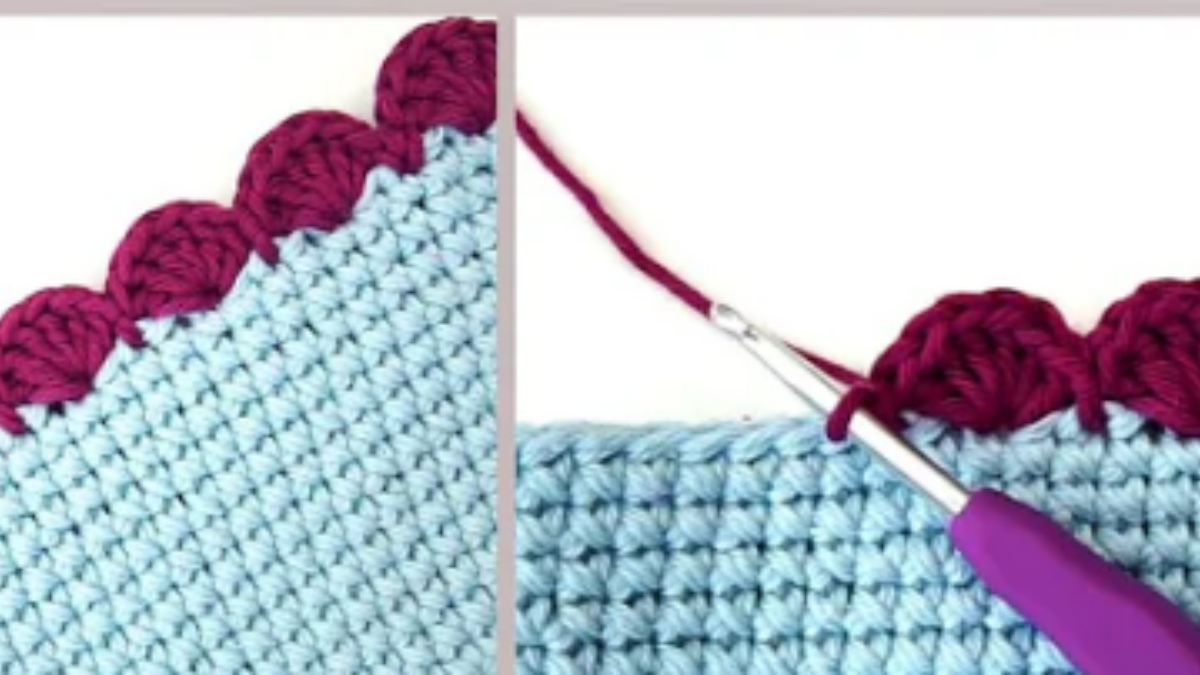
Joining at the End of a Row
When you reach the end of a row, you will need to join the new yarn. Here’s how:
- Finish the last stitch with the old yarn.
- Cut the old yarn, leaving a little bit of yarn tail.
- Take the tail of the old yarn and the end of the new yarn and tie them in a knot.
- Insert your hook into the next stitch with the new yarn and continue crocheting.
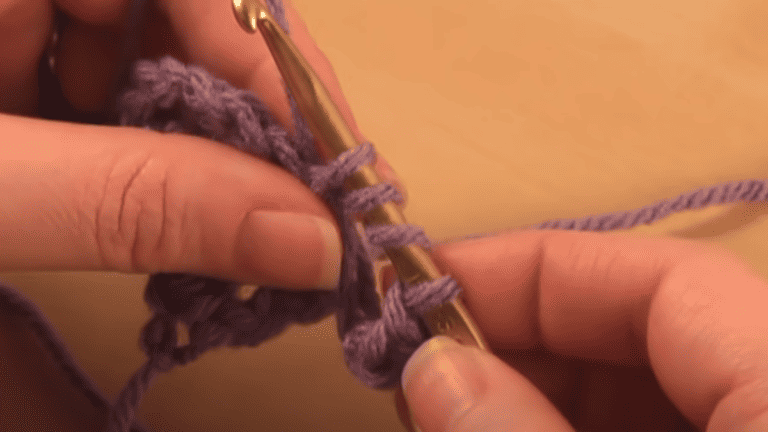
Joining in the Middle of a Row
If you need to join the new yarn in the middle of a row, follow these steps:
- Stop crocheting with the old yarn and cut it, leaving a little bit of yarn tail.
- Take the tail of the old yarn and the end of the new yarn and tie them in a knot.
- Insert your hook into the next stitch with the new yarn and continue crocheting.
Adding a New Color
Adding a new color is a great way to create interesting designs in your crochet projects. Here’s how to do it:
- Finish the last stitch with the old color.
- Cut the old yarn, leaving a little bit of yarn tail.
- Take the tail of the old yarn and the end of the new yarn and tie them in a knot.
- Insert your hook into the next stitch with the new color and continue crocheting.
Different kinds of projects may require different methods of joining yarn. For tapestry crochet or scrappy projects, you may want to weave in the ends of yarn as you go.
For other types of projects, you may want to knot the ends of the yarn together and then weave in the ends at the end of the project.
When joining yarn, it is important to use the same type of yarn and the same weight of yarn. This will ensure that your project looks consistent and professional.
With these simple steps, you can easily join yarn in crochet and create beautiful designs with different colors.
Yarn Tails
When you join a new skein of yarn in crochet, you will be left with yarn tails that need to be dealt with. These tails can be unsightly and can get in the way of your work.
To avoid this, you can weave in the ends of the yarn tails using a yarn needle. This will give your project a neater appearance and will prevent the yarn tails from getting tangled or caught on anything.
If you are working on a larger project, it is important to weave in the ends of the yarn tails as you go. This will save you time and effort in the long run, as you won’t have to weave in a large number of ends at the end of your project.
Here’s a video tutorial that we found that walks you through how to join yarn in crochet, so if you are a visual learner, you can see it.
Whether you are doing a color change or a seamless join of 2 skeins of yarn, you can use various techniques above. You simply have to find the one that works best for you.
Crochet Patterns
Now that you know how to join yarn in crochet patterns, here are a few patterns to work on.
One Comment