
How To Start Chain Crochet Stitches for Beginners
Starting to crochet can be an exciting venture, whether you’re aiming to make cozy blankets, potholders, or beanies and scarves to keep you warm during the winter months.
The very first step in any crochet project is learning how to start chain crochet stitches (also called a chain stitch). This foundational technique is easy to pick up, and once you’ve got it down, you’re well on your way to creating all sorts of handmade treasures.
The chain stitch acts as the backbone for crochet, as it’s used to begin the majority of projects.
As a beginner crocheter, you might feel a bit overwhelmed by all the patterns and stitches out there, but don’t worry.
Every skilled crocheter started exactly where you are now, with a hook in hand and a yarn to loop. The key is to take it one stitch at a time.
Remember, practice makes perfect, and patience is your best friend. Before long, you’ll find that the hook feels like an extension of your hand, and the yarn weaves effortlessly into beautiful, intricate patterns.
Table of Contents
How to Start Chain Crochet
Before you dive into the world of crochet projects, the first thing to do is to select the right hook and yarn for your project and master the initial slip knot.
Crochet Hook
Check Prices: Crochet Hook
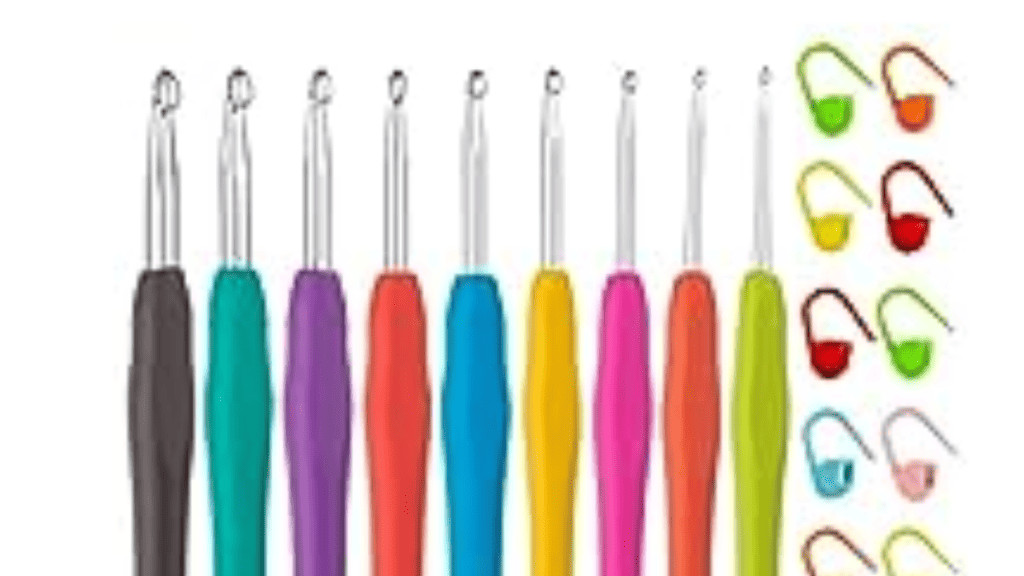
First things first, you need to pick a crochet hook that feels comfortable in your hand. Crochet hooks come in different sizes, which will affect the size of your stitches and the overall look of your project.
When I started, it was with a simple metal crochet hook and now I use this hook that has a larger and softer handle.
The larger hook handle made a significant difference. I highly recommend them. The tip of the hook are the same size as the metal hook but the handle is simply easier to handle.
Crochet Hook Size Chart:
| Metric Size (mm) | US Size | Common Projects |
|---|---|---|
| 2.25 mm | B-1 | Fine lace and delicate projects |
| 3.5 mm | E-4 | Baby clothes, light throws |
| 5 mm | H-8 | Sweaters, scarves, hats |
| 6.5 mm | K-10.5 | Blankets and larger items |
For beginners, a size H-8 (5 mm) crochet hook is a versatile and user-friendly choice.
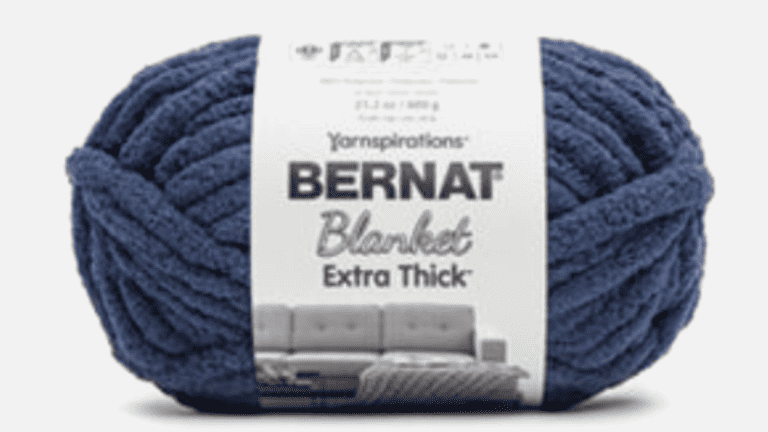
When it comes to yarn, there are many types to choose from. Acrylic yarn is great for beginners due to its affordability and ease of handling. Cotton yarn is also a popular choice as it gives a neat, clean finish to your project and is durable. Look at the label on the yarn for recommended hook sizes.
Recommendations:
- Beginner-friendly: Acrylic yarn
- Durability: Cotton yarn
Slip Knot Crocheting

To get started with your crochet, you’ll need to make a slip knot on your hook.
Steps to Create a Slip Knot:
- Hold the end of the yarn in your left hand and wrap the yarn around your right-hand index finger twice.
- The next step is to pull the back loop over the front loop on your finger.
- Now pull the second loop (the one now in the front) completely off your finger and tighten it by pulling on the yarn ends.
This should leave you with a loop with a knot below it on your hook. Ensure that the knot is not too tight or too loose; you should be able to slide it up and down the hook with ease.
Here’s a video tutorial on slip knot crocheting
Foundation Chain Crochet
The foundation chain is your first step into the world of crochet; think of it as laying the groundwork for your project. It’s crucial to learn it well, as it will determine the size and tension of your work.
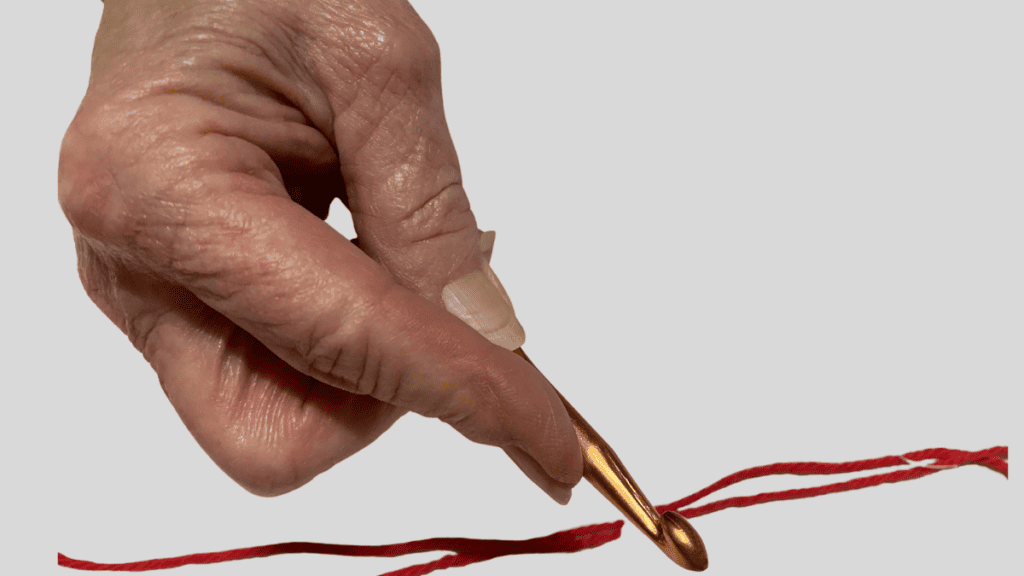
Forming the First Chain
To start your foundation chain, make a slip knot on your hook. Here’s how you get that done:
- Make a loop with your yarn, ensuring the tail end hangs behind your working yarn.
- Insert your hook into the loop from front to back.
- Secure the loop on the hook by pulling on both ends of the yarn.
Now, hold your hook with your dominant hand—right hand for most, left if that’s your strong side. Your other hand will control the yarn and tension. Wrap the working yarn around your index finger of the non-dominant hand to maintain an even flow.
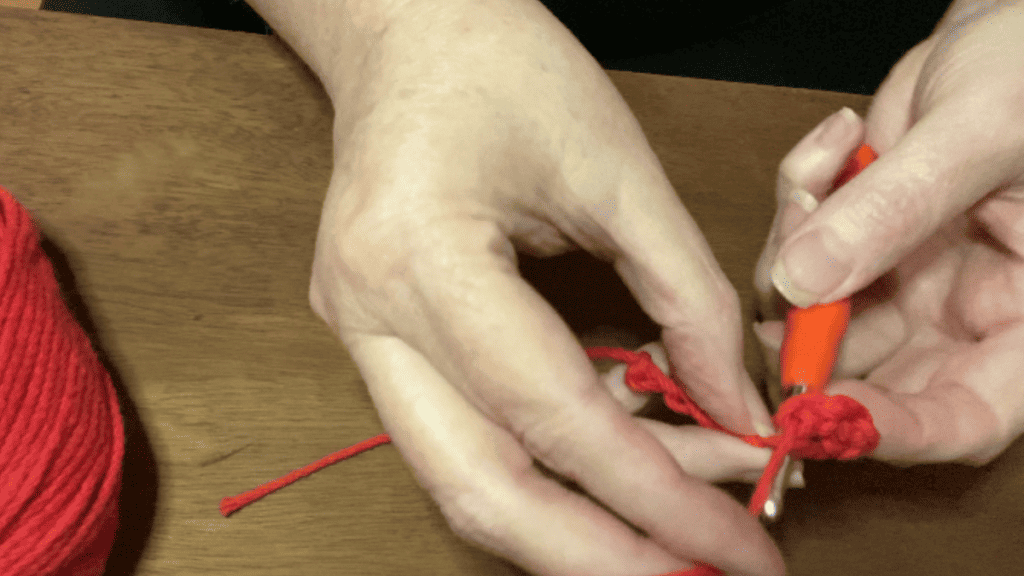
To actually form the chain:
- Grip the base of the slip knot between the thumb and middle finger of your non-dominant hand.
- Yarn over (yo): Wrap the working yarn over your hook from back to front.
- Pull through: Draw the wrapped yarn through the loop on the hook, creating your first loop chain.
Repeat the yarn over and pull through steps to continue adding your next chain, keeping your tension consistent.
How to Hold Crochet Yarn
There’s more than one way to hold the working yarn, and your choice can impact your tension and speed. There are so many different ways so find the ones that works best for you.
Here are two common methods:
- The Over-Index Method: (Knife Grip)
- Rest the strands of yarn over your non-dominant index finger.
- Guide and tension the yarn using your middle finger and thumb.
- The Wrap-Around Method:
- Wrap the yarn around your non-dominant pointer finger once or twice.
- Control the flow by how tightly you wrap, using your middle finger as an anchor.
Experiment with these methods to find what feels comfortable for you. Remember, your grip should be firm but relaxed to allow the yarn to move freely as you work on your chain.
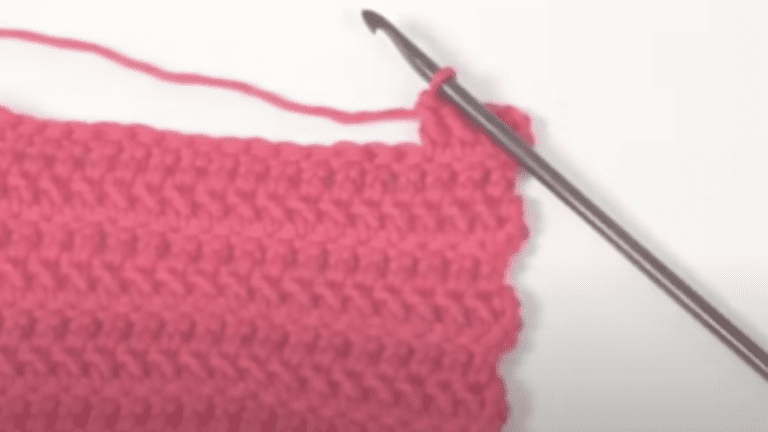
Mastering Basic Crochet Chain Stitches
When you start crocheting, the chain stitch forms the backbone of your work, laying the groundwork for your entire project.
Identifying the Top and Bottom Loops
Every crochet chain stitch has a top loop and a bottom loop. When you look at your chain, you’ll notice a V-shape.
The top loop is the part of the V that is furthest away from you, and the bottom loop is the one closest to you. Some patterns will require you to insert your hook under both loops or just one. Here’s how you can identify them:
- Top Loop: The loop that, when the chain is facing you, appears on top.
- Bottom Loop: The loop that sits at the bottom when the work is facing you.
Additionally, on the backside of the chains, you’ll find the back bump, which can also be used in certain crochet techniques to give a different edge to your foundation row.
Extending the Chain for Different Projects
Your project dictates the length of the chain required. Some may need only a few chains, while others will require many more. To extend the chain:
- Make a slip knot at the end of your yarn.
- Insert your hook into the loop of the slip knot.
- Yarn over (wrap the end of the yarn over your hook from back to front).
- Pull the hooked yarn through the loop to create your first chain.
Repeat steps 3 and 4 to continue adding chains. Remember that the first chain from the hook is never counted when you’re crocheting the foundation row.
- To make a scarf, you might need a longer chain, whereas a coaster would need fewer stitches.
- Always count your chains carefully to avoid having to undo your work. If your project specifies an additional chain, it usually serves as the turning chain to help you start the next row.
Keep practicing these steps until you’re comfortable with the motions and can create even chains with consistent tension, as this will set the tone for the rest of your project.
Advancing to the First Row
Now that you’ve mastered the foundation chain, it’s time to turn your work and begin building the first row of stitches that will form the base of your crochet project.
Understanding Turning Chains
Before you start crocheting into the foundation chain, you need to make a turning chain. This step lifts your yarn to the height of the new stitches you’ll be making. The size of your turning chain will differ based on the type of stitch you’re using:
- For single crochet (sc): Chain 1
- For half double crochet (hdc): Chain 2
- For double crochet (dc): Chain 3
Remember: Your turning chain often counts as the first stitch in your row. Always consult your stitch pattern for specific instructions.
Starting Your First Crochet Stitches
After you’ve made your turning chain, it’s time to insert your hook into the foundation chain and create your first row of stitches. Here’s how to start with basic stitches:
- Identify the second chain from your hook if you’re doing single crochet.
- Insert your hook, yarn over, and pull up a loop.
- Yarn over once more and pull through both loops on your hook.
- For double crochet stitches:
- Yarn over and insert your hook into the fourth chain from your hook (counting the turning chain as the first double crochet).
- Yarn over, pull through to have three loops on your hook.
- Yarn over, pull through two loops, then yarn over again and pull through the final two loops.
Work your way across the foundation chain, and after the last stitch, you should have your first row completed.
This establishes the basis for your second row of single crochet stitches and sets the rhythm of your stitch pattern.
Following each row, you’ll create a new turning chain to maintain the height and structure for subsequent rows.

3 Comments