Tunisian Crochet: An Easy Beginner’s How To Guide
Have you ever heard of Tunisian crochet? It’s a unique form of crochet that creates a dense and textured fabric that looks more like knitting than traditional crochet.
Also known as Afghan crochet, this technique uses a long hook that resembles a cross between a crochet hook and a knitting needle.
Unlike traditional crochet, Tunisian crochet keeps all of the stitches on the hook until the end of the row.
This allows for a wider range of stitch patterns and textures, including the Tunisian simple stitch, Tunisian knit stitch, and Tunisian purl stitch.
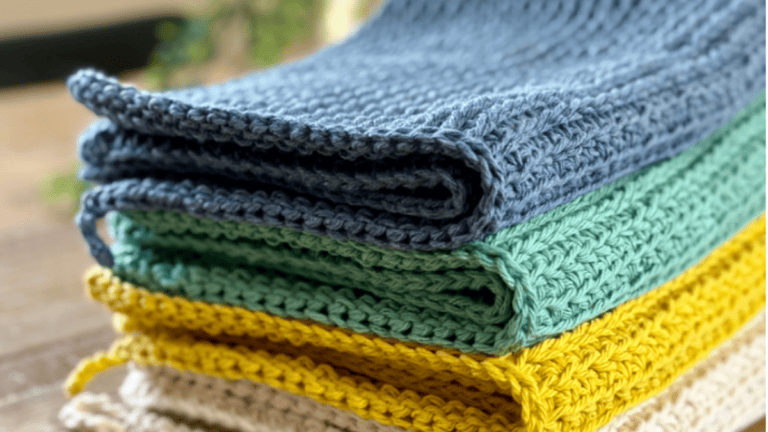
The resulting fabric is thicker and more durable, making it perfect for blankets, scarves, and other cozy accessories.
If you’re looking to expand your crochet skills or try something new, Tunisian crochet is a great place to start.
With just a few basic stitches, you can create a wide variety of patterns and textures that will impress your friends and family. So grab a Tunisian crochet hook and some yarn, and let’s get started!
Table of Contents
Tunisian Crochet

The main difference between Tunisian crochet and traditional crochet is the tool used. Tunisian crochet requires a long hook, similar to a knitting needle, and the fabric is worked back and forth on the hook, rather than in rounds or rows.
If you’re trying Tunisian crochet for the first time, it may take a bit of practice to get used to the new tool and technique. However, once you get the hang of it, you may find that Tunisian crochet is a fun and versatile way to create beautiful and unique crochet projects.
To get started with Tunisian crochet, you’ll need a few basic supplies, including a Tunisian crochet hook, yarn, and to practice the Tunisian crochet stitches.
Overall, Tunisian crochet is a great way to add a new skill to your crochet repertoire and create beautiful and interesting projects that look like you knit them when you simply used a crochet hook.
Tunisian Crochet Hook
Check Prices: Tunisian Crochet Hook
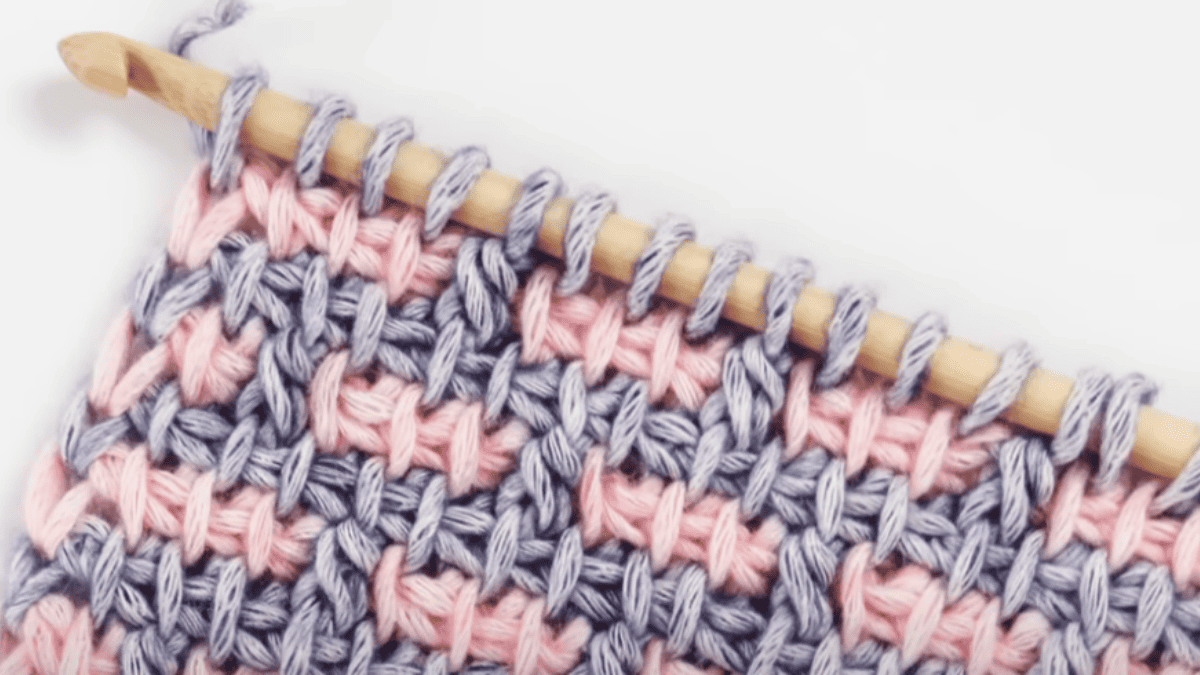
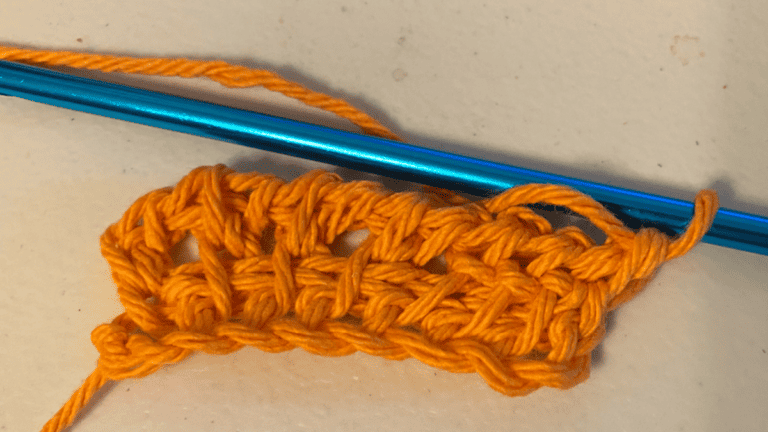
Tunisian hooks are longer hook than traditional crochet hooks. You will need the right hook size to do a Tunisian full stitch. I found 10 common stitches that I learned through each video tutorial and became comfortable doing the stitches before I did a Tunisian crochet project.
Tunisian Crochet Stitches
If you’re new to Tunisian crochet, it can be overwhelming to learn all the different stitches and techniques. But don’t worry, with some practice, you’ll be able to create beautiful projects in no time!
Here are some basic techniques to get you started. Make sure and check out our full Tunisian crochet stitches guide for photos and video tutorials to help you learn 10 basic stitches.
Foundation Chain
The foundation chain is the first stitch in Tunisian crochet. It’s similar to the starting chain in regular crochet, but it’s worked differently.
To create a foundation chain, you’ll need to make a chain of loops using a regular crochet hook. Then, you’ll insert your Tunisian crochet hook into each loop to begin your first row.
First Row
The first row in Tunisian crochet is called the foundation row. It’s important to keep your tension consistent throughout this row to ensure that your project doesn’t become too tight or too loose. After you’ve completed your foundation row, you’ll start working on your stitch pattern.
Basic Stitches
There are many different stitches in Tunisian crochet, but the most basic ones are the Tunisian simple stitch, Tunisian knit stitch, and Tunisian purl stitch.
These stitches are worked by inserting your hook into different parts of the previous row’s stitches. We have an entire post with the Tunisian crochet stitches with a video tutorial for each.
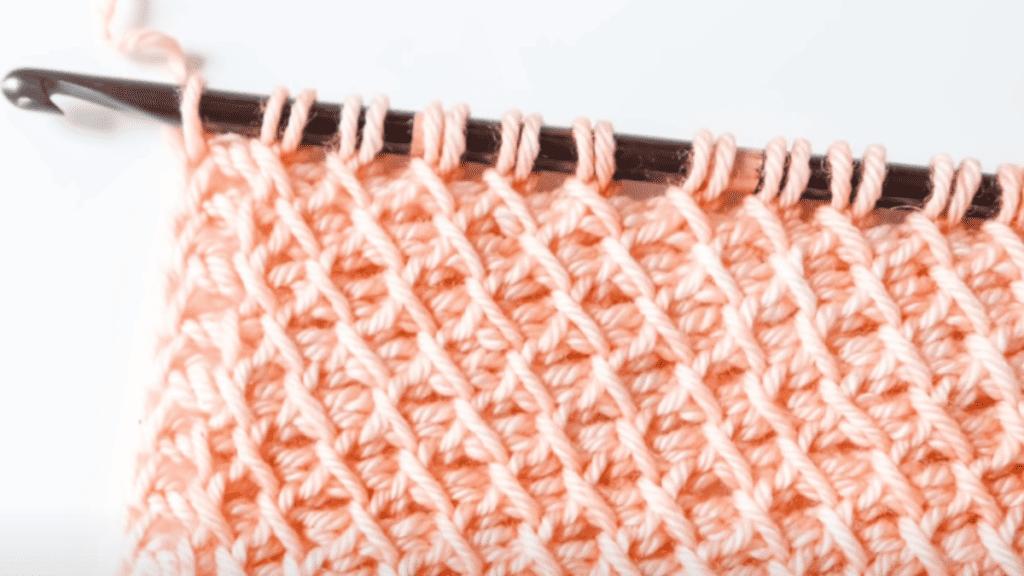
Vertical Bars
In Tunisian crochet, you’ll be working with vertical bars. These bars are the loops that run up and down the length of your project. You’ll need to learn how to identify the different types of vertical bars to create different stitch patterns.
On our Tunisian Crochet stitches post, several of the videos show you have to do vertical bars, and you can see photos of the vertical bars.
Forward Pass and Return Pass
The forward pass is when you work from right side to left, creating your stitches. The return pass is when you work from left to right, creating the final loops that will be on your hook for the next row.
All of the videos we provide on our post Tunisian Crochet Stitches show you how to do both passes. It is different than regular crochet stitches so make sure and practice this a few times before beginning a pattern.
End of the Row
At the end of each row, you’ll need to work your last stitch. This stitch is usually worked into the last two loops on your hook. Definitely watch the YouTube videos to watch how they do the end of the row.
Tunisian Crochet Patterns
If you are new to Tunisian crochet, the best way to learn is by working on projects. Start with small projects, such as dishcloths or coasters, to get comfortable with the technique.
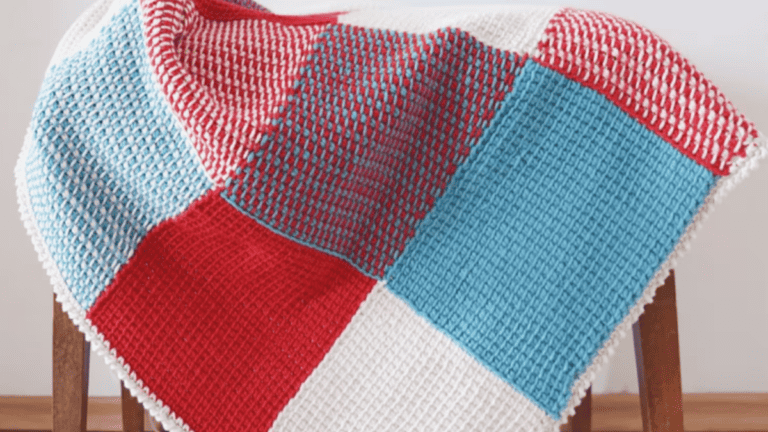
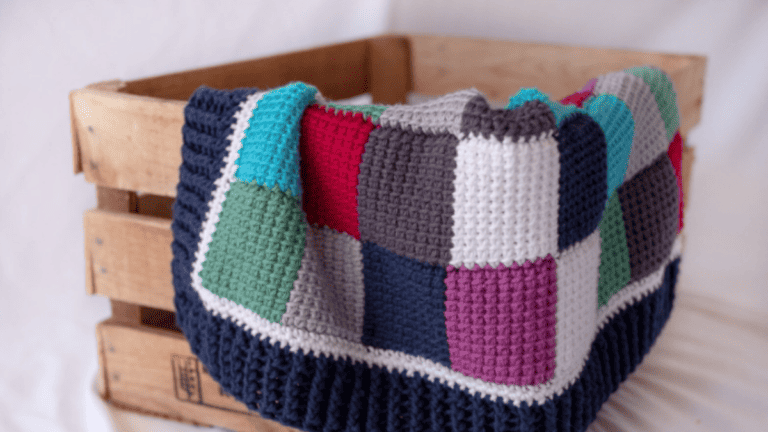
Once you have the basics down, you can move on to a variety of projects, including bigger projects like a baby blanket or a larger afghan.
When selecting your first project, choose something that only requires one color. This will help you focus on the stitches and technique without having to worry about changing colors. A simple scarf or cowl is a great place to start.
As you become more comfortable with Tunisian crochet, you can start to experiment with different stitch patterns and color changes. Tunisian crochet is great for color work, and you can create beautiful designs by changing colors at the beginning of each row.
When working on larger projects, it’s important to keep your tension consistent. You don’t want your stitches to be too loose or too tight. Use a larger hook than you would for regular crochet to help keep your tension even.
Overall, the best way to learn Tunisian crochet is by doing. Start with small projects and work your way up to bigger ones. Don’t be afraid to experiment with different stitch patterns and colors. With practice, you’ll become a pro in no time!
Here are the Tunisian crochet patterns we have gathered to help you once you have learned the basic stitches. Remember, new skills take time, so watch each video tutorial and practice the basic Tunisian crochet stitches before starting a pattern
Free Tunisian Crochet Patterns

Free Tutorials: Free Tunisian Crochet Patterns
If you aren’t sure if you want to make Tunisian crochet a part of your regular crocheting, here are a few free patterns that will help you practice creating Tunisian crochet fabric.
They have a limited number of stitches and there is a Facebook group on social media that can help you if you get stuck.
Each step-by-step tutorial walks you through the pattern. A small project is a great way to get started. You can also find patterns and video tutorials on this YouTube channel.
Tunisian Crochet Scarves

Tunisian crochet is perfect for scarves. The afghan stitch, as it is also known, creates beautiful scarves. People will comment that they look knitted, but instead, they are done with the special crochet hook.
We have an entire post with a photo of each scarf, so you can make the decision before you choose. All of them are beautiful, so you truly can’t go wrong with anyone you pick.
Tunisian Crochet Patterns

Free Tutorials: Free Tunisian Crochet Patterns
If a scarf is not your favorite pattern, we have included several patterns for you to try. We have an entire post here with photos to help you decide which pattern to try.
Again, practice the basic Tunisian crochet stitches and then find an easy pattern to start with. We have no doubt that, with a little bit of practice, you will get the hang of it and be making beautiful gifts for your friends and family and, of course, yourself.
Tunisian crochet may be new to you, but we promise that with some practice you will get the hang of it and be able to make beautiful texture projects that people will definitely ooh and aah over. If you have questions definitely ask in the Facebook group.

3 Comments