Crochet For Beginners: Easy Step-by-step Guide
So you want to know about crochet for beginners? We are walking you step by step how to get started. Crochet is a craft that can transform a simple strand of yarn into almost anything you can imagine, from cozy scarves to cute amigurumi. If you’re an absolute beginner looking for a new hobby, you’ve picked a rewarding one.
Crocheting is not only enjoyable but also relatively easy to start. You don’t need an arsenal of tools—just a crochet hook, some yarn, and the willingness to learn some basic stitches.
Your first step into the world of crochet involves learning a few foundational techniques. These include creating a slip knot, which is the starting point of almost every crochet project, and mastering the chain stitch, the most basic stitch that acts as the backbone for many patterns. Once you’ve got these down, you’ll be ready to tackle your first project.
Remember, everyone starts somewhere, and mistakes are just a part of the learning curve. Take it one stitch at a time, and you’ll be surprised at how quickly you improve.
Crocheting is a skill that rewards patience and practice, so grab your hook, choose a comfy spot, and let’s get those hands busy.
Crochet For Beginners
Getting started with crochet is all about selecting the right tools and grasping the essentials of handling your materials effectively.
Yarn and Hook Selection
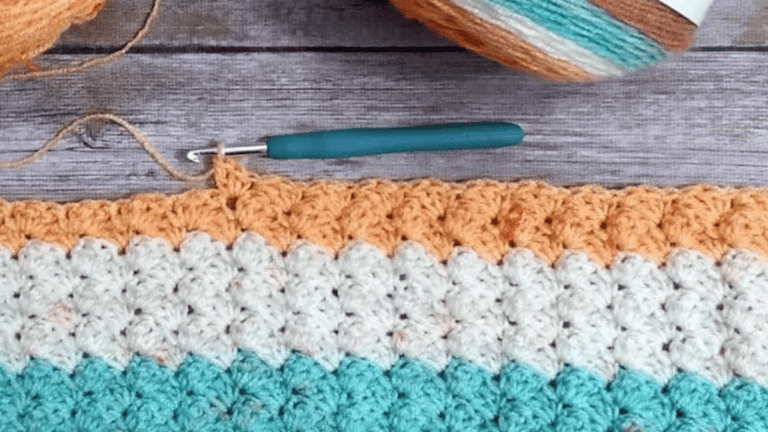
Your crochet journey begins with picking the right tools: a hook and yarn. The first thing I did when choosing a hook as absolute beginners was to get an ergonomeic hook.
It has a bigger handle and is much easier on your hands. When choosing a hook, ensure that it complements the weight of the yarn you’ll be using—this information can be found when you read the yarn label.
The label usually recommends a hook size that pairs well with the yarn to create a good fabric tension.
Types of Yarns:
- Cotton yarn
- Wool
- Acrylic yarn
- Blends
Each type has its unique properties; for example, cotton is sturdy and great for dishcloths, while acrylic is versatile and widely used for various projects.
Yarn Weight:
- Fine (great for delicate projects)
- Medium (the most commonly used weight)
- Bulky (for quick and cozy items)
A thicker yarn leads to faster work but also makes for bulkier projects, whereas finer yarns are for more detailed work.
Holding the Yarn and Hook
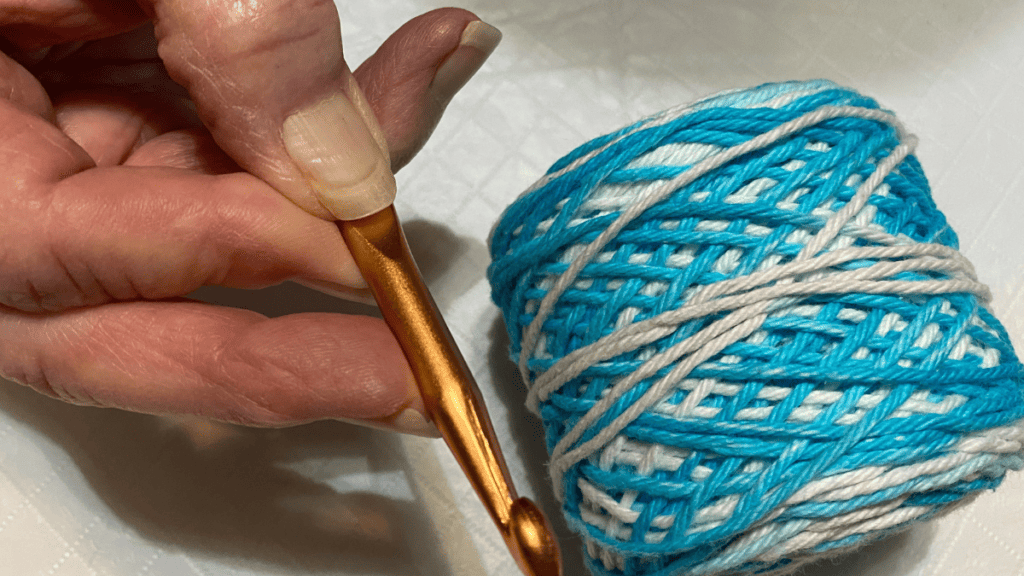
Tutorial: How to hold your Crochet yarn
Holding the Hook:There are primarily two ways to hold your crochet hook: like a pencil or like a knife using your index finger and middle finger. Your dominant hand will do the job of navigating the hook:
- Pencil Grip: Hold your hook as you would a pencil, for finer control.
- Knife Grip: Grip the hook as if it’s a knife for more relaxed movements.
Holding the Yarn:Your left hand (or non-dominant hand if you’re left-handed) controls the yarn tension. Loop the yarn over your fingers in a way that feels comfortable to you, maintaining a constant tension for even stitches.
Remember to choose the grip that feels the most natural to you – comfort is key! Your hands should work in harmony, with the hooked needle in your dominant hand slipping through loops and the other hand guiding the yarn.
Crochet Stitches
To embark on your crochet journey, you’ll need to get the basics down: forming your initial slip knot and creating a solid foundation chain. These two steps are your launchpad to all crochet projects.
How To Make A Slip Knot
Video tutorial: How To make a slip knot
Your crochet adventure always begins with a slip knot, the first loop that anchors your yarn to your crochet hook. Here’s how you do it:
- Lay the yarn down: The tail (short end) should be on the left, stretching out for about 6 inches or so; the working yarn (long end) to your right.
- Make a loop: Pinch the working yarn, and loop it over itself, making the tail cross over the working yarn.
- Insert the hook: Push the crochet hook through the loop, hooking onto the tail end of the yarn.
- Tighten: Pull both the tail and working yarn in opposite directions to tighten the slip knot around your hook, not too tight, so it slides easily.
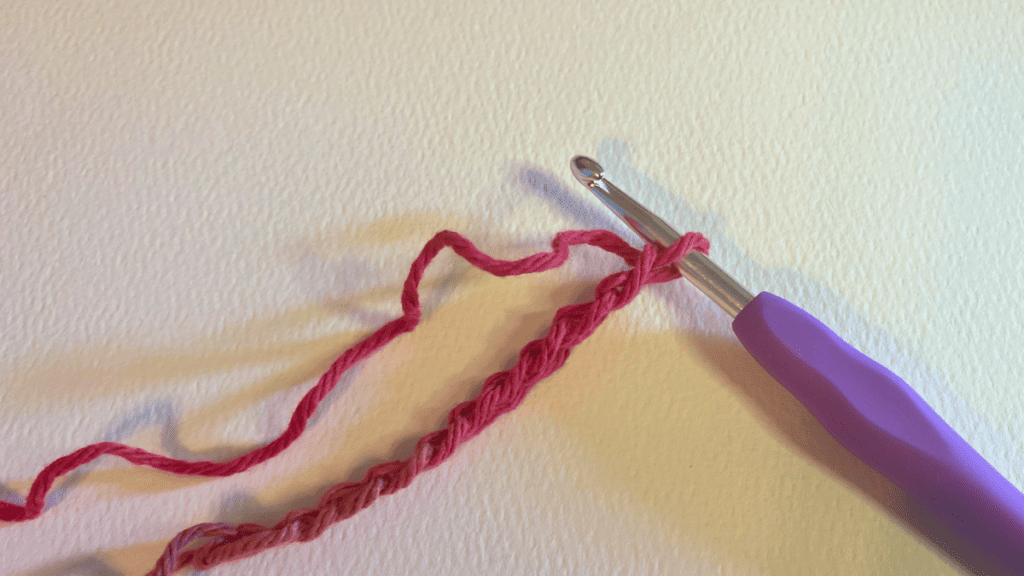
Crochet Foundation Chain
Video Tutorial: Crochet Foundation Chain
Once your slip knot is secure, you’re ready to make a foundation chain—the starting point of most projects.
- Hold your hook: With the slip knot on the hook, grip the hook with whichever hand feels more comfortable, usually your dominant hand.
- Yarn over: Wrap the yarn from back to front over the hook.
- Pull through: With the hook, pull this loop through the slip knot loop.
Repeat the yarn over and pull through steps as many times as needed to create your starting chain. The number of chains will depend on your project’s requirements. Keep your tension consistent for an even, neat foundation chain.
Basic Crochet Stitches
Our team would tell you that as a complete beginner, you will want to practice again and again these crochet stitches. As a beginner, you’ll mostly use single and double crochet stitches to create various projects.
Single Crochet
Video Tutorial: Single Crochet
Single crochet stitches are the most common way to create tight, sturdy fabric with minimal gaps. To begin:
- Make a slipknot and chain any number of stitches.
- Insert your hook into the second chain from your hook.
- Yarn over (wrap the yarn around your hook) and pull it through the chain. You now have two loops on your hook.
- Yarn over once more and pull through both loops on the hook.
Your first single crochet stitch is complete. Continue across the chain for a solid foundation row. The tighter you make these stitches, the denser your crochet fabric will be.
Double Crochet
Video Tutorial: Double Crochet
Double crochet stitches are taller and create a more open, airy fabric compared to the single crochet. They’re also crucial in creating various designs in your projects. Here’s how to execute a double crochet:
- Yarn over and insert your hook into the fourth chain from your hook.
- Yarn over again and pull it through the chain. Three loops on the hook now.
- Yarn over, pull through the first two loops on your hook, leaving two loops.
- Yarn over one last time and pull through the remaining two loops.
That’s a double crochet stitch. It’s generally used for quicker builds up in height and is commonly found in patterns for blankets, scarves, and more. Make sure to keep even tension for a neat look.
Beginner Crochet Projects
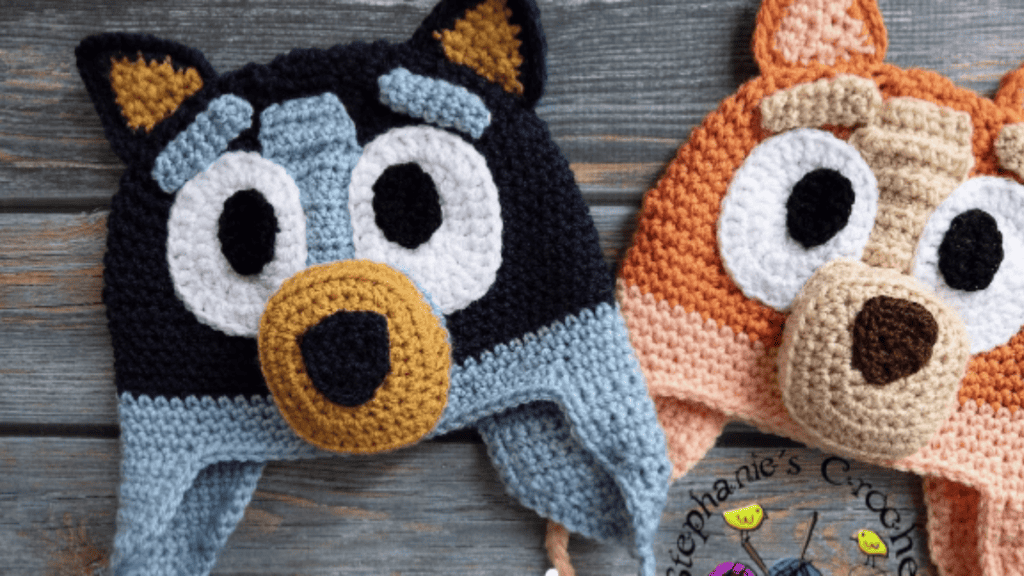
All of us start somewhere and we would recommend that you get comfortable with your basic stitches. We have a simple pattern to help you get started.
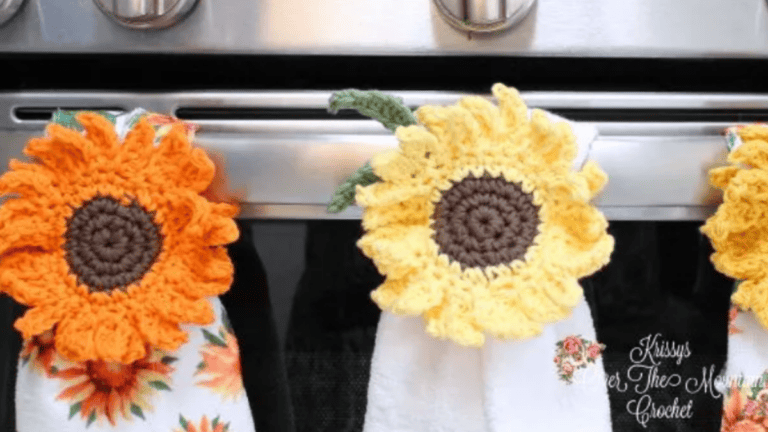
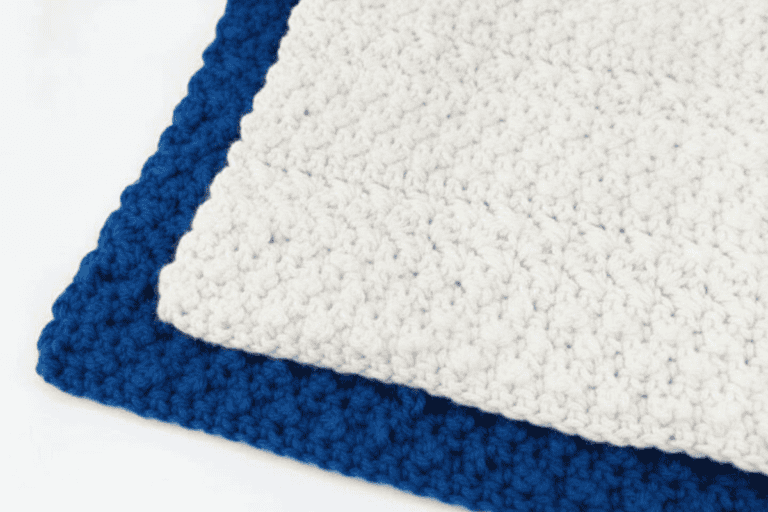
This dishrag or washcloth (you choose how to use it) is the perfect first time beginner crochet patterns. You will practice you Single crochet and Double crochet stitches again and again and it helps you get really good at those stitches.
You can download the pattern below The coupon gives you 75% off the pattern and 2 bonus patterns that let you practice your stitches even more.
First Project Advice
For your first project, keep the following pointers in mind:
- Start with Good Yarn: Choose a medium-weight yarn (look for the number 4 on the label) which is easier to handle.
- Hook Size Matters: A larger hook (size H-8 or 5mm) will make the first stitches and first row more visible and simple to work with.
- Practice Makes Perfect: Before starting the actual project, practice making chains and the first row to get a feel for the tension and stitch size.
- Be Patient: Your first stitches might not be perfect, and that’s okay. It’s all part of the learning process!
Crochet Techniques
Crochet is all about practicing your stitches and understanding how they come together. Let’s break down these skills you’ll be using over and over again.
How To Crochet Rows
Video Tutorial: Foundation Chain
When you’re starting off, you’ll be working either in rows or rounds. For rows, you’ll make a foundation chain and crochet back and forth. At the end of each row, you do a turning chain; this is crucial because it helps you keep the edges straight and sets you up for the next row. Here’s a quick breakdown for a single crochet:
- Make a foundation chain.
- Insert your hook into the second chain from the hook.
- Yarn over (yo) and pull up a loop.
- Yo again and pull through both loops on the hook.
Starting a new row? Always remember your turning chain!
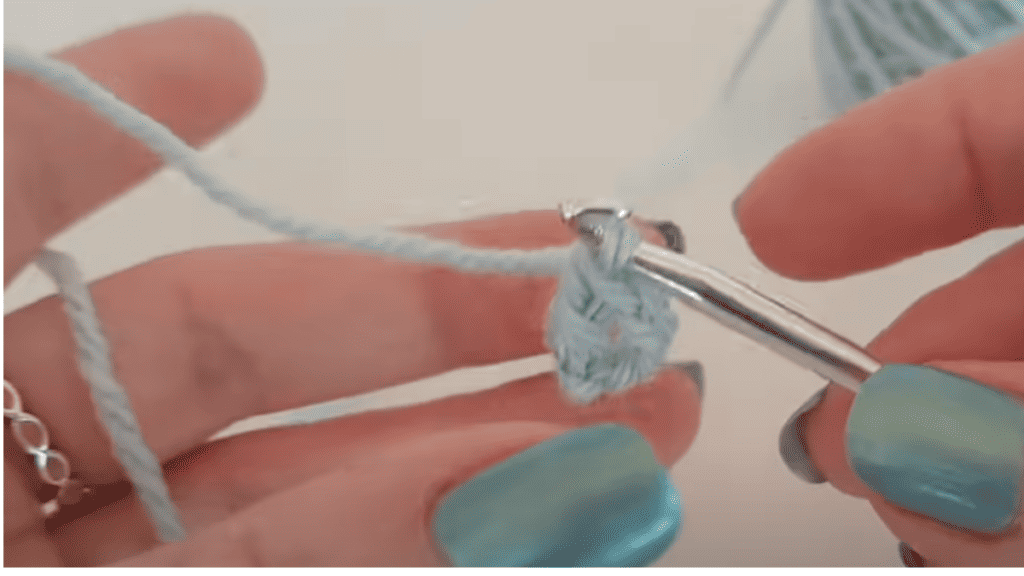
Crochet Rounds
Video Tutorial: Magic Circle
When working in rounds, like making a hat or a doily, you might use a technique called a magic ring or magic circle. This trick allows you to pull the yarn tail to tighten the center of your work, eliminating any gap.
To create a magic circle:
- Lay yarn over your fingers, tail hanging down.
- Wrap yarn into an “X.”
- Insert hook under the first loop, grab the second.
- Pull it through and chain up to start your stitches.
At the end of each round, join with a slip stitch to your first stitch, unless you’re instructed otherwise.
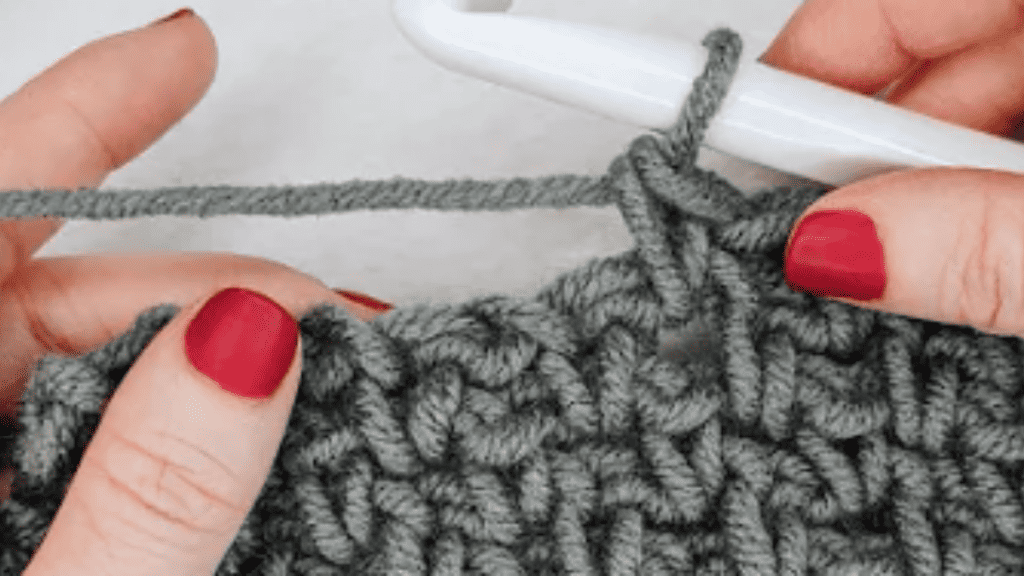
Changing Yarn Colors
Tutorial: How to change yarn colors
Adding new colors can make your project pop. Here’s a helpful way to change yarn colors without knots:
- Work your stitch until the last two loops are on the hook.
- Drop the old color; leave a short tail.
- Pick up the new color, leaving a tail.
- Yo with the new color and pull through the loops to complete the stitch.
Now, you’re ready to work with the new color! Weave in the ends later for a neat finish.
Remember, picking up a new skill like crochet requires a bit of patience and a lot of practice. It gets easier with every row you complete. If you’re more of a visual learner, look up a step-by-step guide or video tutorial; there are many out there that demonstrate these techniques in different ways. Happy hooking!
Enhancing Your Skills
Once you’ve got the basics down, it’s time to add some flair to your crochet work. You can start creating intricate textures and patterns, or dive into the colorful world of granny squares patterns. These skills will amp up your projects and add that ‘wow’ factor.
Creating Textures and Patterns
Creating various textures and patterns might seem daunting, but with a few basic techniques, you’ll be surprised at how easy it can be. Here’s how you can get started:
- Learn new stitches: Beyond single and double crochet, try mastering half-double, treble, or slip stitches.
- Follow a pattern: Grab a pattern that incorporates multiple stitch types to practice transitioning smoothly.
- Experiment with yarns: Different thicknesses and types of yarn can change the whole look of your work.
Crochet Granny Squares Pattern
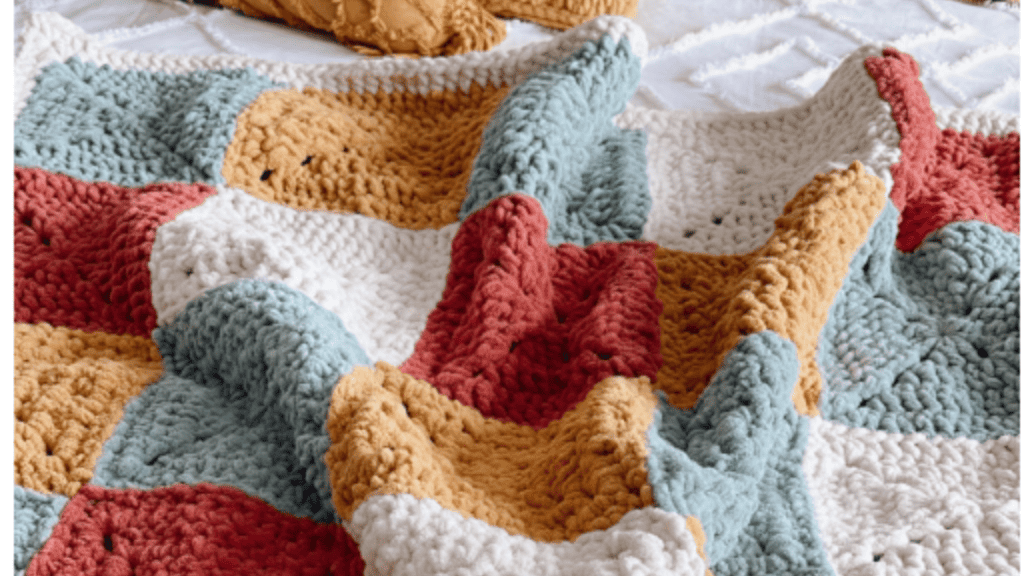
Granny squares are a fun and easy skill that can be used in so many ways, from blankets to crochet hats. Let’s break down how to master them:
- Start with a chain: Make a slipknot and chain four, then join with a slip stitch to form a ring.Round 1Round 2 and BeyondChain 3 (counts as first DC).Join new color in any chain space.3 double crochets into ring.Chain 3 for first corner.Chain 2 for corner space.3 double crochets in same space.Repeat 3 DC + 2 CH three times.Corner: 2 CH, 3 DC, 2 CH in corner space.Join with slip stitch.Slip stitch to first chain of round.
- Experiment with sizes and colors: Try different sizes, from tiny squares to larger ones, and play with color combinations for a decorative element.
- Join your squares: Learn basic joining techniques to bring your squares together into a stunning project.
Finishing Techniques
Once you’ve completed the crocheting of your piece, the right finishing techniques can make all the difference. They ensure your work is neat and stays intact over time.
Weaving in Ends
Video Tutorial: Weaving in Ends
After the last stitch is made, you’re left with loose ends of the tail of the yarn that need to be neatly tucked away. Here’s how to do it:
- Thread your yarn needle with the loose end.
- Weave the needle discreetly through the stitches, following the pattern of the work—try to stay close to the end of the row for a cleaner look.
- After several inches, change direction to secure the yarn.
- Trim any excess yarn close to the work.
Remember, the goal is to make these ends invisible while making sure they do not unravel with use.
Blocking and Caring for Projects
Blocking is the final touch that shapes and sets your crochet masterpiece.
- Lay your piece flat on a padded surface.
- Using stitch markers, pin it gently into shape.
- Apply steam or mist, avoiding direct heat on the fibers.
- Allow it to dry completely without disturbance.
For long-term care:
- Hand wash or follow the yarn label’s instructions.
- Dry it flat to maintain its shape.
- It’s a good idea to store it properly to avoid creases or damage.
Taking It Further
As you grow more confident in your crochet skills, dive into the tons of patterns on our website. We add new projects weekly so make sure you are on our email to get the first look at new patterns.
We review each pattern we choose and give you advice on each one. Look for projects that say for beginners.
Exploring Patterns and Projects
Once you’ve got the basics down, dive into the vast world of crochet patterns and projects. Start simple, maybe with a scarf or beanie using different yarn weights to get a feel for how they work up.
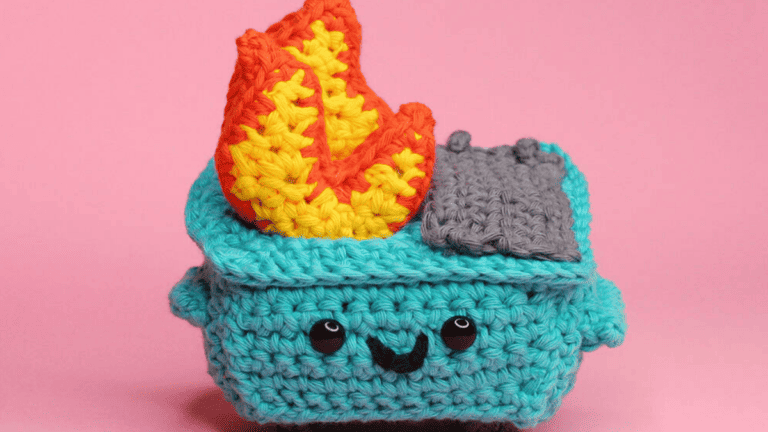
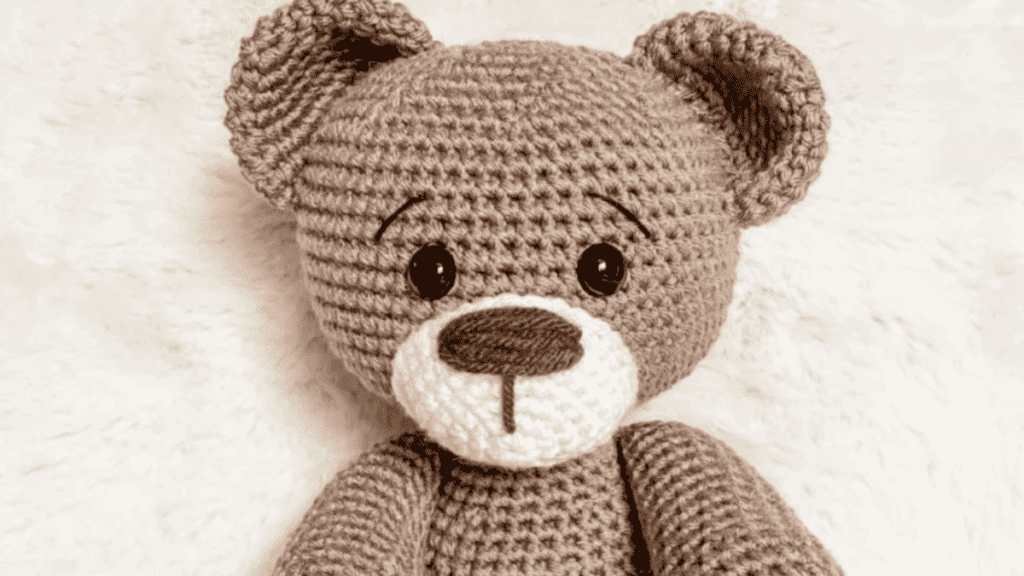
Then, you might want to try out a more complicated pattern, like an amigurumi or a sweater. Here’s a basic guide to help you choose your next project:
- For beginners: Scarves, coasters, dishcloths
- Intermediate: Beanies, amigurumi, simple shawls
- Advanced challenges: Sweaters, intricate shawls, lace patterns
Finding a crochet tutorial that walks you through a project step-by-step is a great way to learn. Look into crochet courses that offer structured learning—many are available online and in craft stores.
Crochet For Beginners
If you are like us, you have a ton of questions when it comes to crochet as a beginner. The next step is to learn more crochet things. We have a series we think you will enjoy.