Moss Stitch Crochet Tutorial: Easy Written and Video
Moss stitch crochet is a simple yet versatile stitch that adds texture and interest to your crochet projects. It’s a perfect choice for beginners due to its straightforward pattern.
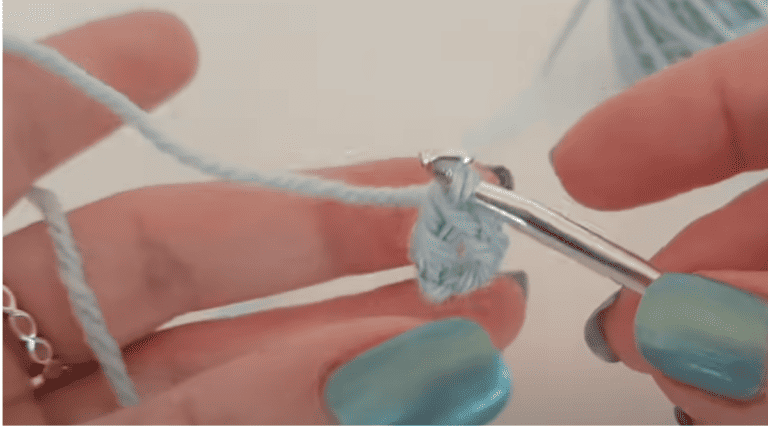
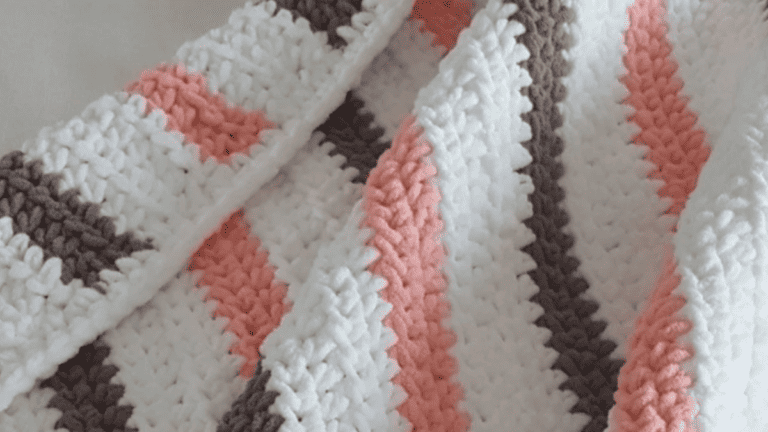
You’ll appreciate its dense, woven appearance which is achieved by alternating single crochet stitches and chain spaces.
This technique results in a fabric that is firm and has a lovely, pebbly texture. It works well for a variety of crochet items like blankets, scarves, and dishcloths.
To get started with moss stitch, all you need is some yarn and a suitable crochet hook.
You’ll mostly be using basic crochet stitches that are easy to pick up, even if you’re relatively new to the craft. Moreover, this stitch is attractive on both sides, making it ideal for projects where both the front and back are visible.
Moss stitch is also known for its ability to blend colors effectively, which can be a fun way to play with different yarn hues in your creations.
Moss Stitch Crochet
Video Tutorial: Moss Stitch Crochet
Moss stitch crochet is a straightforward technique that creates a beautifully textured fabric. Ideal for beginners and seasoned crocheters alike, it relies on a simple repetition of basic stitches.
Your journey to mastering moss stitch begins with comprehension of its basics, gathering the necessary tools and materials, setting up your foundation row, and learning the essential stitch variations.
Understanding the Basics
Moss stitch, also known as granite stitch, linen stitch, or even moss stitch, is a textured pattern achieved by alternating single crochet stitches and chain stitches across rows. You’ll need to remember one key rule – you work a single crochet into the chain space from the previous row and create a chain stitch over the single crochet from the row before.
Stitch Pattern Overview:
- Row 1: Single crochet, chain one, skip the next stitch, single crochet in the next stitch, and repeat.
- Row 2: Chain one, single crochet into the first chain space, chain one, skip the first single crochet, and single crochet into the next chain space.
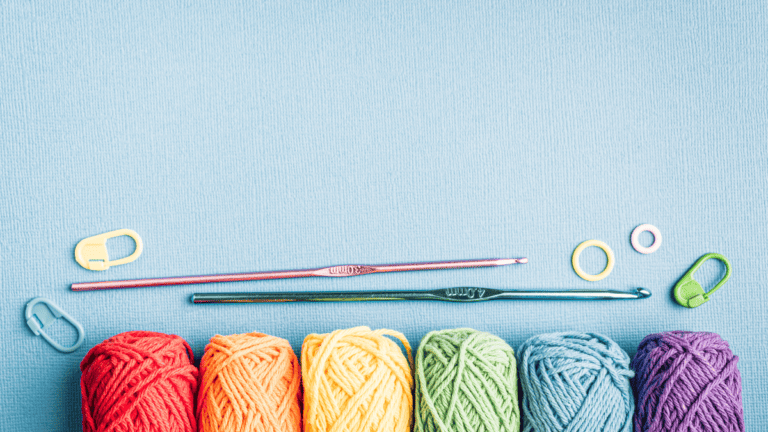
Crochet Supplies
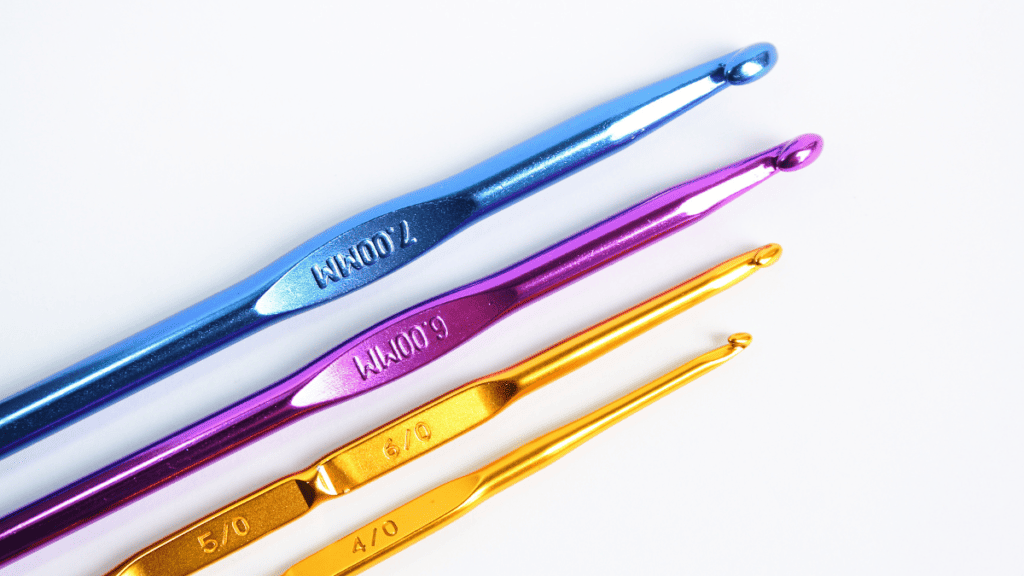
Before you start crocheting, make sure you have the right size crochet hook for your yarn. If you’re not sure, check the yarn label as it often suggests an appropriate hook size.
Tool Checklist:
- Crochet hook – Size appropriate for your chosen yarn.
- Yarn – Pick a color and type to suit your project.
- Scissors – For cutting yarn when needed.
- Yarn needle – To weave in ends once your project is complete.
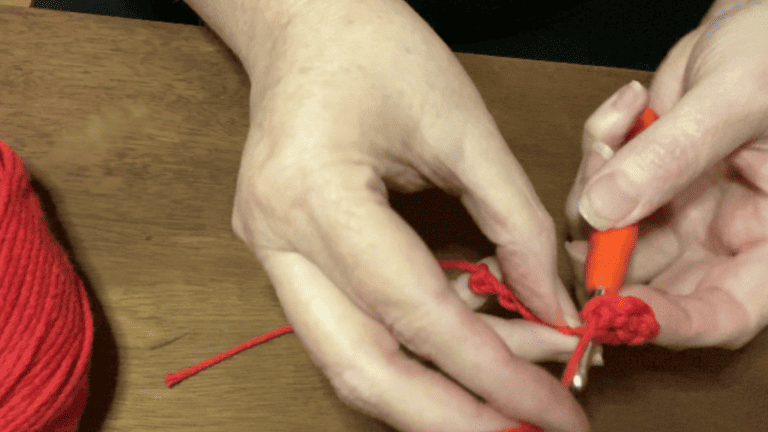
Creating the Foundation Row
Your moss stitch crochet project starts with a foundation row. Begin with an even number of chains; this ensures you have the correct stitch count throughout your work. The first stitch you work into is referred to as the second chain from the hook, so remember to neglect the first chain closest to the hook as you start your first row.
Foundation Row Steps:
- Make a slip knot and chain an even number of stitches.
- Single crochet into the fourth chain from the hook.
- Chain one, skip the next chain, and single crochet in the following chain.
Variations
Once you’ve got the hang of the basic moss stitch, play around with variations. You might alter the number of chain stitches between single crochets or change the number of rows before changing colors with new yarn. These variations keep moss stitch crochet fun and can lead to unique crochet patterns.
Remember:
- Always end the row with a single crochet stitch.
- Start each new row with a chain stitch, which counts as your first chain space.
Now grab your tools and let your creativity flow as you dive into the world of moss stitch crochet. Happy crocheting!
Moss Crochet Stitches

Video tutorial: Moss Crochet Stitches
Moss stitch crochet is an excellent choice for your next project if you’re looking for a fabric with a nice drape that’s simple yet attractive.
This section will guide you through mastering the moss stitch, tweaking rows for shape, and working with both flat rows and rounds, all while keeping your tension consistent.
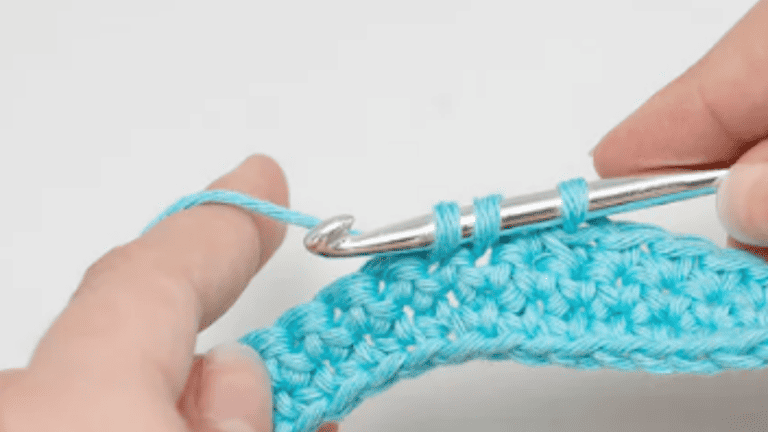
The Basic Moss Stitch Pattern
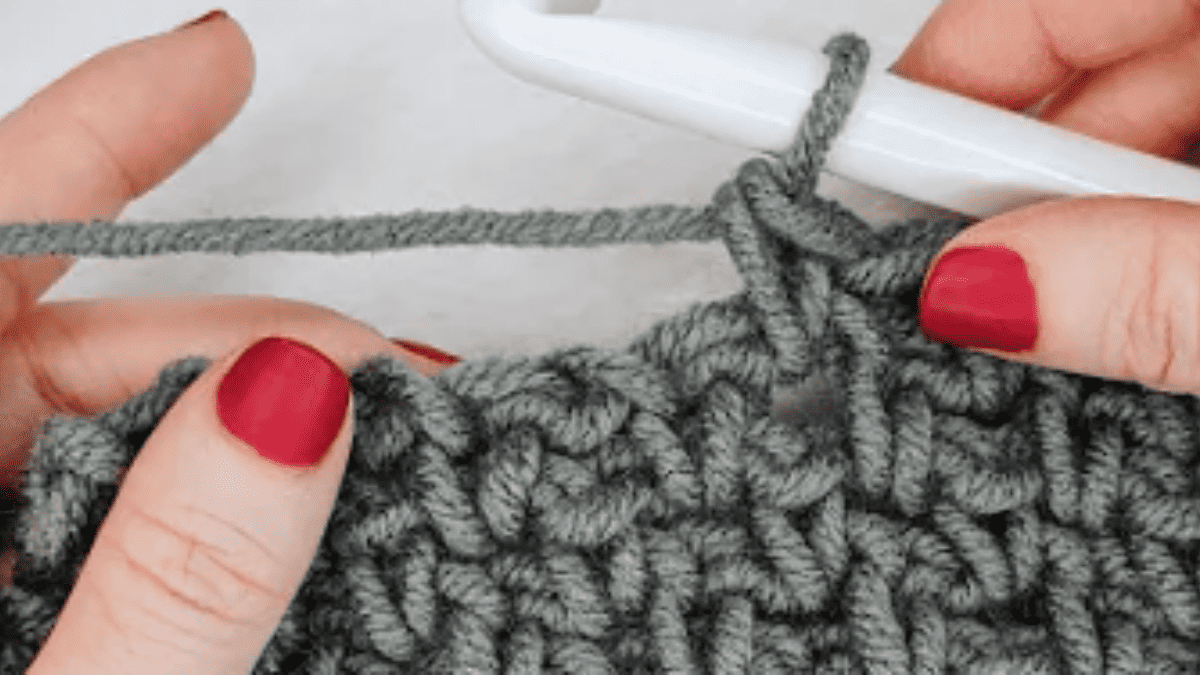
To start off with the basic moss stitch, you’ll create a foundation chain that’s an even number. Remember the last chain in your foundation row is your turning chain. Work a single crochet (sc) into the fourth chain from the hook.
This forms your first sc. Chain 1, skip the next chain, and sc in the following. You’ll repeat this pattern for the rest of the row, ending with a single crochet in the last chain. For the next and all subsequent repeat rows, chain 1, turn your work, and sc into the next chain space.
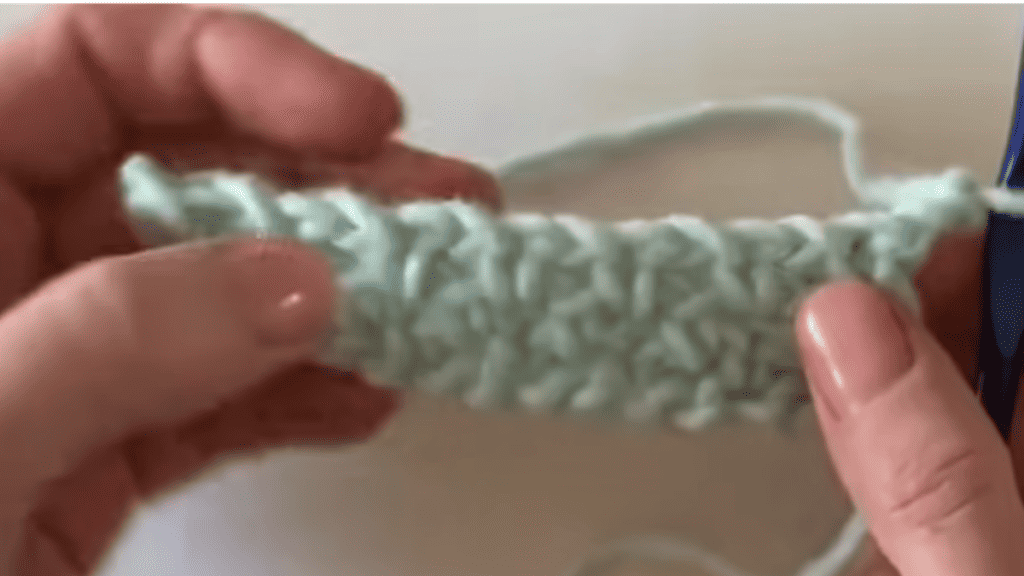
Chain 1, skip the next sc, then sc in the next chain space. Repeat this until you end the row with a single crochet in the turning chain space.
Increasing and Decreasing Rows
When you want to increase rows, simply start or end with two sc’s in the last stitch or chain space. For decreasing rows, omit the last sc and complete a slip stitch (sl st) into the last single crochet of the previous row instead.
This creates a more tapered edge. It’s critical to remember to make these adjustments at the end of each row to maintain the pattern’s consistency.
Working in Flat Rows and Rounds
If you’re making an afghan or baby blanket, you’ll probably stick to flat rows. However, moss stitch crochet also works beautifully in rounds, perfect for creating hats or baskets.
To crochet in rounds, you can begin with a magic ring or by creating a small chain and joining it with a slip stitch. Use a stitch marker to keep track of the beginning of each round.
As you work in rounds, ensure that you chain 1 and work into the chain spaces of the previous row — continuous rounds will create a spiral unless you are joining with slip stitches at the end of each round.
Tips for Maintaining Tension and Gauge
Achieving a perfect pattern with moss stitch crochet means paying attention to your tension. To maintain a uniform gauge, practice making your stitches consistently the same size.
Yarn choice plays a role too; for a nice drape, opt for a yarn that’s not too stiff. Take the time to work up a swatch and measure your gauge before beginning your project to avoid unexpected size changes, especially important for fitted garments.
Exploring Moss Stitch Variations
You might be familiar with the classic moss stitch, but have you tried mixing things up with different yarn weights or hook sizes to add a twist to your favorite stitch? Experimenting with variations can give a modern look to familiar items. For instance:
- Using bulky yarn: This can create a more pronounced and cozy texture.
- Altering hook size: A smaller hook can make the stitch tighter and more defined, while a larger hook can yield a softer, drapier effect.
Creating Larger Projects
Moss stitch isn’t just for small items. You can absolutely tackle larger projects like afghans or baby blankets. Here’s a quick guide to help you plan your project increases:
| Project Type | Starting Chain | Increase Rows |
|---|---|---|
| Baby Blanket | Multiples of 2 + 1 | Every other row |
| Afghan Pattern | Multiples of 2 + 2 | As needed for width |
A free pattern can guide you through the process, but don’t be afraid to modify it to fit your desired dimensions.
Combining Moss Stitch with Other Stitches
Incorporating moss stitch with other techniques can result in beautiful textures that make your work stand out. Combining the simplicity of single crochets with the height of double crochet stitches can add a rhythmic pattern to your piece. Consider these combinations:
- Moss & Cable: Work rows of moss stitch between braided cable stitches for an intricate design.
- Moss & Lace: Insert a lace stitch pattern within moss stitch panels for a delicate touch.
Remember, part of the fun is finding the perfect stitch pattern that resonates with your style. Enjoy the process and watch as the combination of favorite crochet stitches adds complexity and beauty to your projects.
Binding Off and Adding Finishing Touches
To ensure your work doesn’t unravel, securely bind off the last stitch. Weave in any loose ends with a tapestry needle for a neat finish at the end of the row. If you’re creating a wearable or an accessory, consider adding buttons, lace, or other decorative elements to elevate your design.
For a seamless transition between rows, a transition row may be necessary to maintain the pattern’s integrity. If you’re looking to add a professional touch, refer to a detailed tutorial to help you master these finishing techniques. Remember, it’s these small details that make your work stand out.
Crochet Patterns
Crochet Blanket Patterns
Download Crochet blanket patterns
Our favorite blanket patterns that can be baby blankets or to warm up on a cold night.
Amigurumi Crochet
Download Amigurumi Crochet Patterns
Our favorite crochet animal patterns that are super fun to make.