Reverse Single Crochet Stitch (rsc) With Tutorial
The reverse single crochet, also known as the crochet crab stitch, is a nifty little crochet techniques that can add a finished look to the edges of your crochet projects.
It’s like a final flourish that gives your work a neat, corded edge. It’s a great stitch to learn/
You work it from left to right, which might feel a bit awkward at first if you’re used to the more common right-to-left motion.
But it’s just like learning to ride a bike—strange at first, but once you get it, you’ve got it for good.
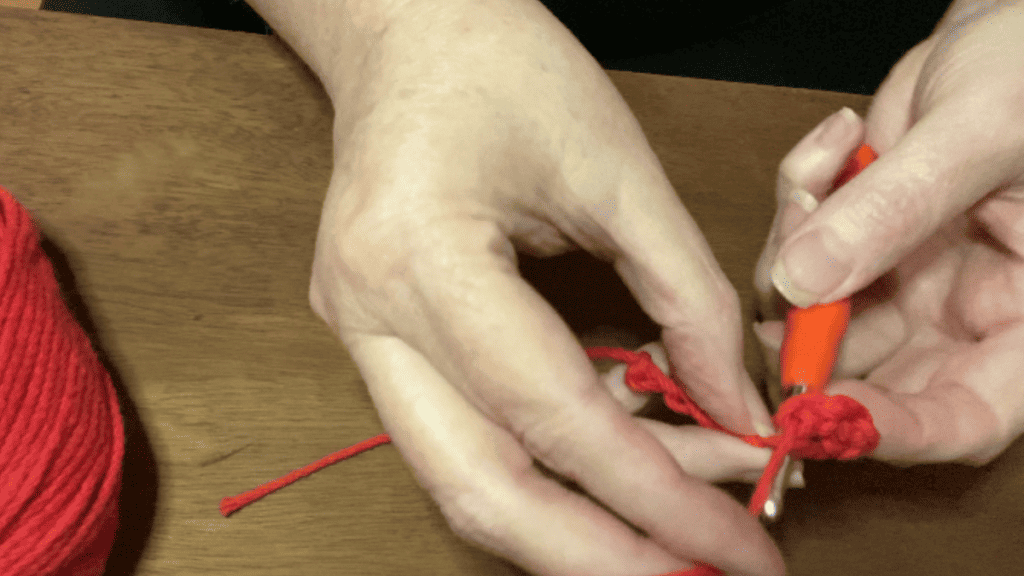
To start your reverse single crochet, you’ll want to have your project finished up to the point where you’re ready to add this edging.
Make sure your last row is completed and your yarn is still attached.
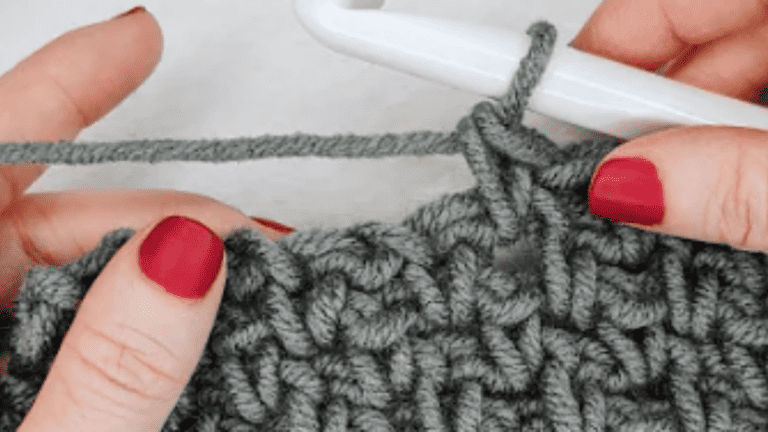
Instead of turning your work, you’ll actually be crocheting in the opposite direction. You insert the hook into the stitch to the right, yarn over, pull through, and then yarn over again and pull through both loops on the hook. Just like that, you’ve created your first reverse single crochet.
It’ll take a bit of practice to get comfortable with the movement, especially if you’re a seasoned crocheter set in the traditional ways. The trick is to keep your tension consistent, not too tight or too loose.
After a few goes, you’ll find your rhythm, and that charming, rope-like texture will start to take shape along your project’s edge. Keep at it, and soon you’ll wonder how you ever finished your projects without it!
Reverse Single Crochet

Video Tutorial: Reverse Single Crochet
Reverse Single Crochet (RSC) adds a beautiful, corded edge to your crochet projects. It’s also known as the crab stitch and is perfect for a sturdy single crochet border for your crochet project.
Understanding the Basics
To start, you should already be familiar with the most basic crochet stitches. The reverse single crochet is essentially a single crochet stitch worked in the opposite direction.
Additionally, instead of moving left to right, you’ll be moving right to left for right-handed crocheters, and the reverse direction for left-handed crocheters.
Beginning Your Reverse SC
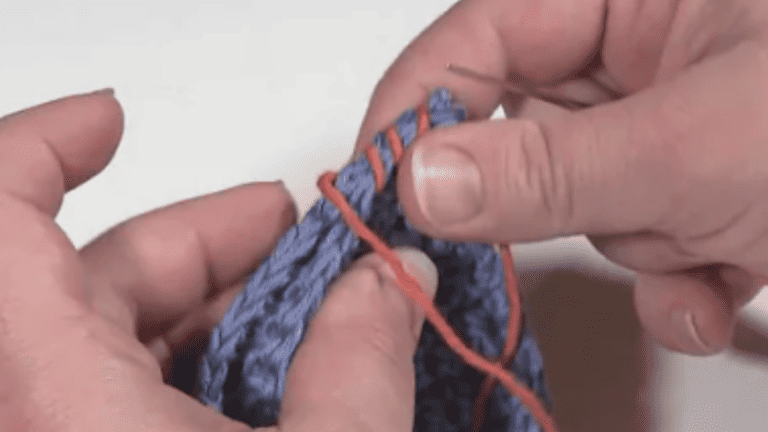
Here are step-by-step instructions to make it easy to create a crab stitch border The first step is to make sure the right side of your work is facing you. You should already have a regular single crochet border or edging completed.
To begin a reverse SC, you don’t need a new chain stitch; you work directly into the last stitch of the entire row.
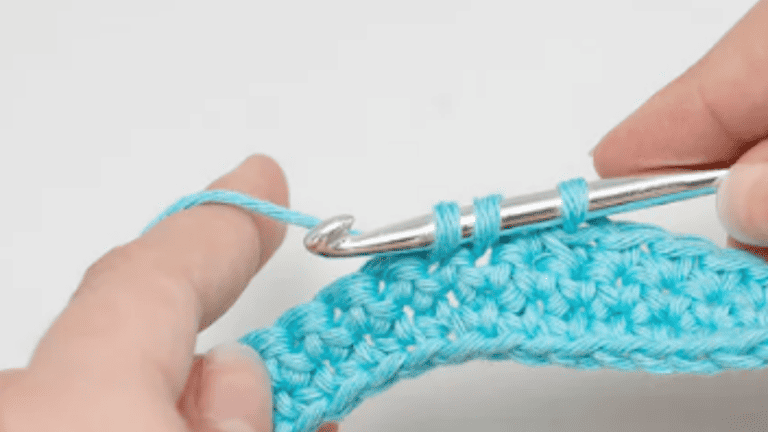
Insert your crochet hook into the next stitch to the right (for right-handers) or left (for left-handers). The motion is a bit more awkward than a regular single crochet stitch because you’re working in the reverse direction, but with a little practice, it becomes much easier.
Completing the Stitch
Here are the basic steps to complete a reverse single crochet stitch.
To see the entire process if you are a visual learn, check out this YouTube channel with a video tutorial our team loves on Reverse Single crochet
- Insert hook into the first stitch from front to back using your right hand.
- Yarn over (wrap the yarn over your hook from back to front).
- Draw through a loop. You’ll have two loops on your hook.
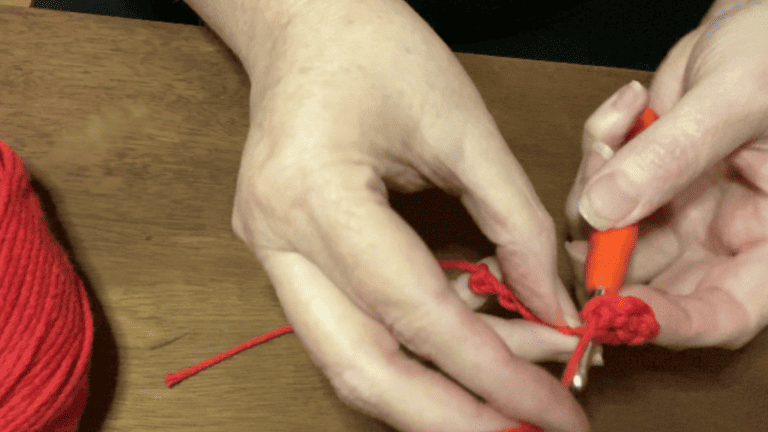
- Yarn over once again and pull through both loops on the hook.
- One reverse SC complete! Continue this process for the entire row for a consistent single crochet edging.
As you progress, ensure your stitches aren’t tight stitches; this keeps the border flexible. Tight stitches can lead to a stiff and non-compliant edge.
Troubleshooting Common Challenges
If you’re facing issues such as:
- Tightness, try using a larger hook or loosening your grip.
- Inconsistency, remember to maintain even tension throughout.
- Difficulty seeing where to place the next stitch, work slowly and double-check that you’re inserting your hook into the entire stitch, not just part of it.
Remember, reverse SC is a bit trickier than the standard single crochet stitches. Patience and practice are your best friends here. With some time, the back of your work will soon boast a finished look that’s as tidy as the front loop!
Finishing and Beyond
After mastering the reverse single crochet (often called the crab stitch), you’re ready to give your projects a unique and charming finish.
Let’s explore how you can add this beautiful texture to your edges and share some insider tips for expanding your crochet skills.
Creating Edges and Borders
When you’re looking to add a quick border that’s both simple and visually engaging, the reverse single crochet is your go-to technique.
It’s perfect for a neat and twisted single crochet finish that adds a touch of sophistication to any piece. Here’s a basic breakdown:
- Start at the corner of your work.
- Work an entire row of reverse single crochet, or crab stitch, around the item.
- Join with a slip stitch to your starting stitch.
This method creates a simple finished edge with a beautiful texture that’s sure to draw attention.
Crochet Stitches