Crochet Bean Stitch: Easy Video and Written Tutorial
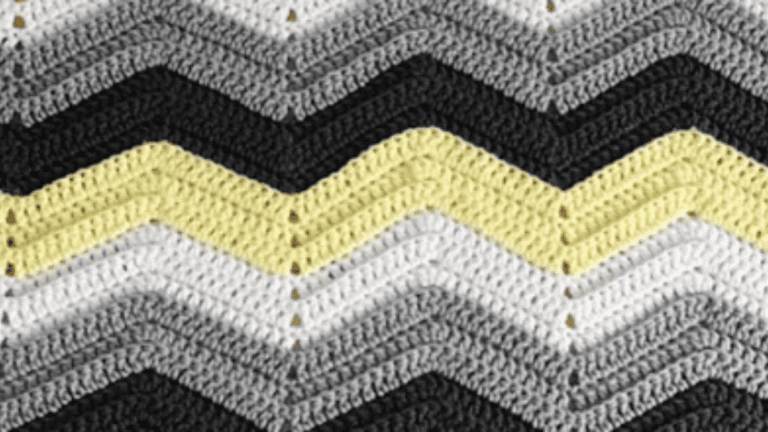
Crochet bean stitch is a staple for adding incredible texture to your projects, bringing about a deeply puckered fabric appearance that looks much more intricate than it actually is.
It resembles the popular puff stitch but with a tighter, more knit-like feel that’s particularly appealing for blankets, scarves, and Crochet hat patterns. If you’re aiming for a project that has a cozy and cushiony quality, the bean stitch is your go-to technique.
Learning the crochet bean stitch might appear daunting at first, but you’ll be pleasantly surprised at how quickly you can pick it up, especially with a variety of free crochet tutorials available online.
These step-by-step guides are great for visual learners and ensure that you can follow along at your own pace. As you work through the tutorials, you’ll be able to see your skill grow and the pattern begin to take shape under your fingertips.
By integrating this stitch into your crochet repertoire, the texture of your creations will be taken to a new level. Whether you’re looking to make a snuggly blanket or a chic beanie, mastering the bean stitch will provide an extraordinary touch to your handcrafted pieces.
Grab your hook and yarn, and get ready to transform your crochet projects with the rich texture of the bean stitch.
Crochet Bean Stitch
Video Tutorial: Crochet Bean Stitch
Before you dive in, know that the bean stitch is a textured pattern great for scarves and blankets.
It’s created using a series of loops and yarn overs that you’ll get familiar with quickly. We have also included written instructions below.
Understanding the Basics
The bean stitch, sometimes referred to as the puff shell stitch, imparts a rich texture to your crochet work. It provides amazing texture while being a fascinating stitch.
Think of it as a cousin to the puff stitch but with its own unique twist. When you’re ready to begin, remember to keep your tension consistent to ensure even, beautiful textures throughout your work.
Crochet Supplies
Hook Size: Choose a hook that matches your weight yarn for the best results. If you’re using a medium weight yarn, an H/8 (5mm) hook often works well.
| Yarn Weight | Suggested Hook Size |
|---|---|
| Light | E-4 to H-8 (3.5 – 5mm) |
| Medium | H-8 to J-10 (5 – 6mm) |
| Bulky | K-10.5 to M-13 (6.5 – 9mm) |
Insert Hook: As you’ll constantly be inserting your hook into stitches and chains, ensure it’s smooth and free of snags to make your experience more pleasurable.
Creating the Foundation Row
For the bean stitch, you’ll want to start with a foundation row consisting of an odd number of crochet stitches to shape your piece correctly from the get-go.
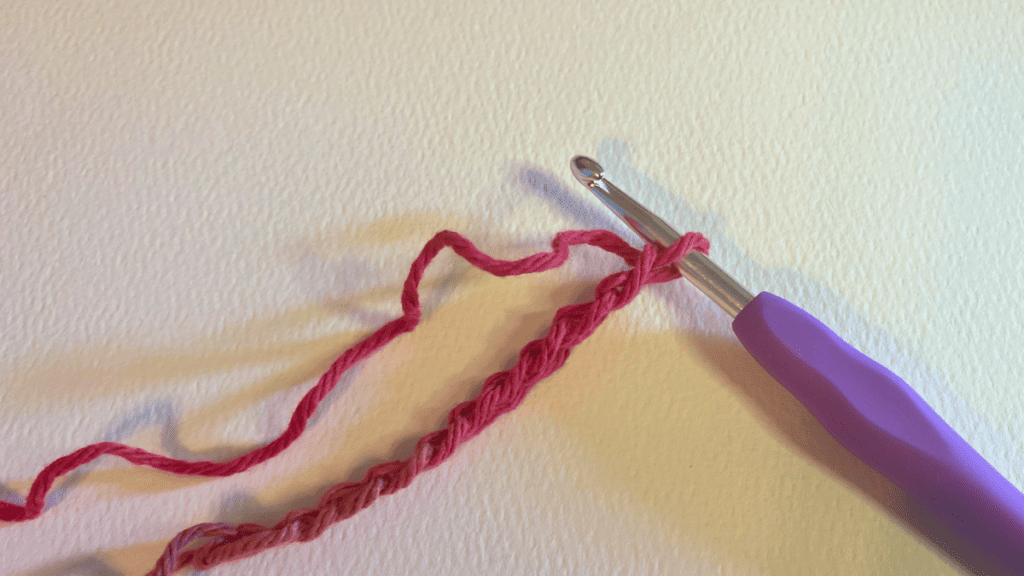
- Make a slip knot and chain an odd number.
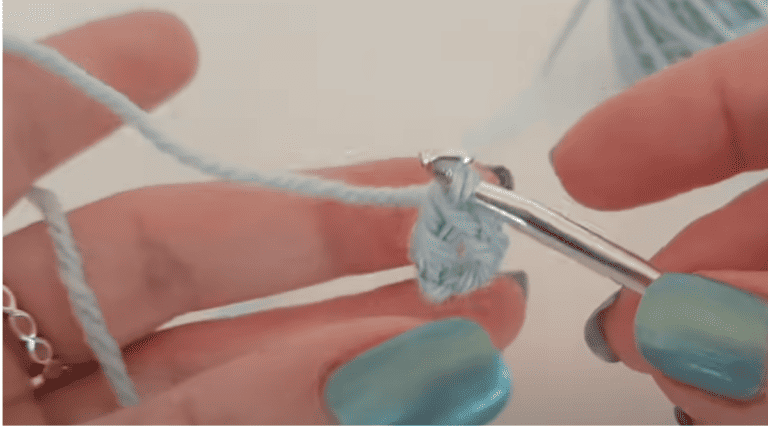
- Insert your hook into the second ch from the hook, yarn over and pull up a loop.
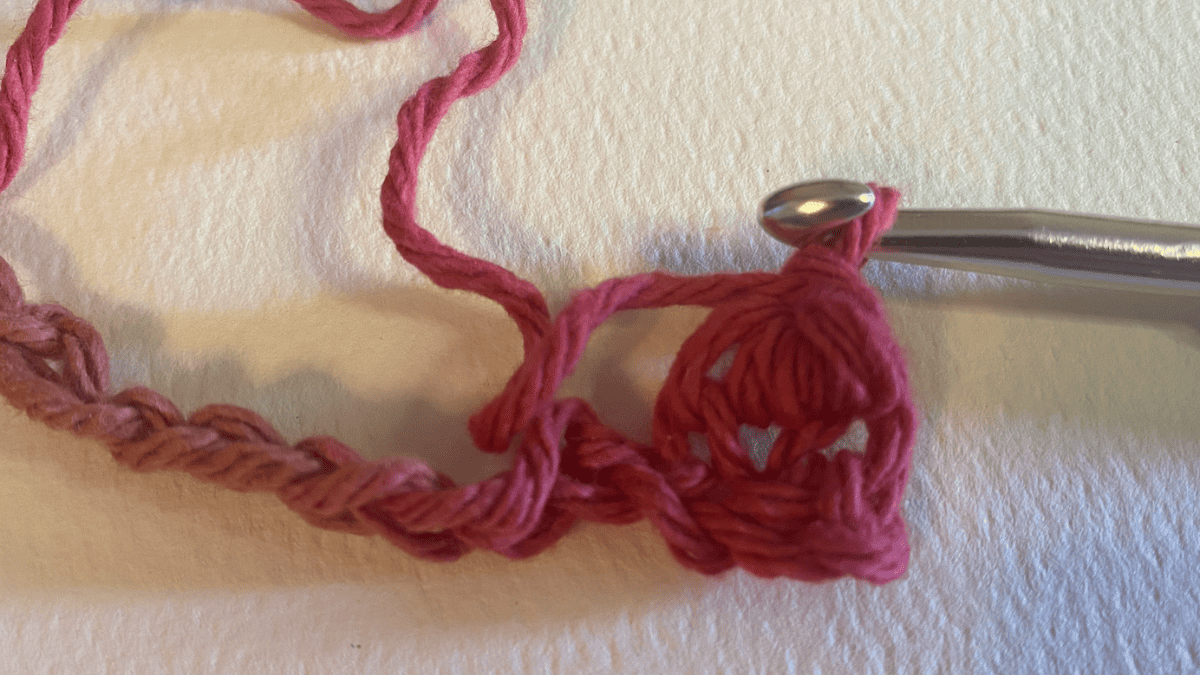
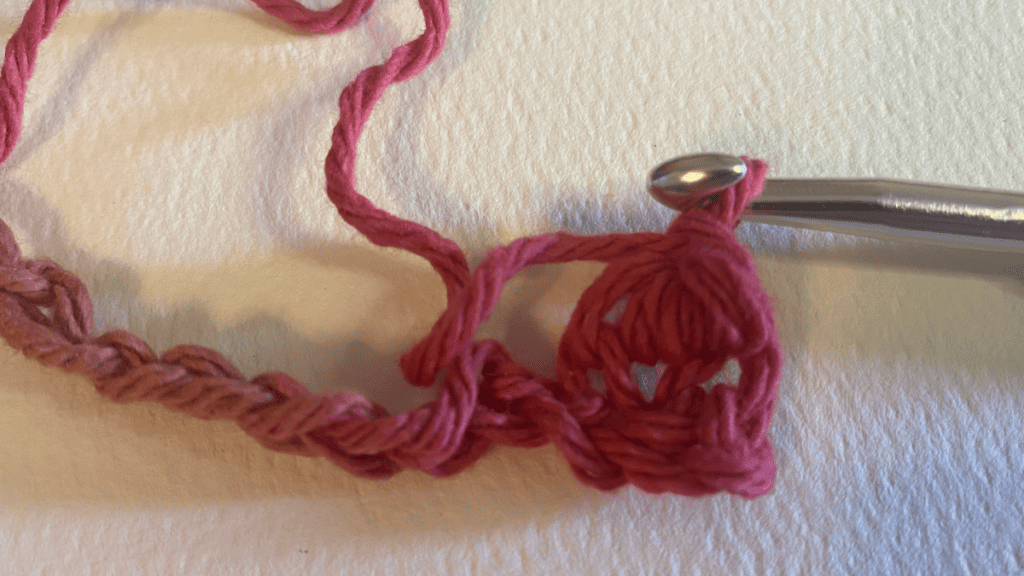
- Yarn over, insert the hook into the same ch, pull up another loop. You should have three loops on your hook. This is your first stitch.
- Yarn over and pull through all three loops. This completes the first bean stitch. Continue down the row, making sure to chain 1 in between each bean stitch.
Bean Stitch Crochet
The crochet Bean Stitch pattern is a textured pattern that’s both snug and visually appealing. It’s built on a simple concept but creates a dense fabric that’s perfect for a cozy crochet project.
Step-by-Step Tutorial
- Setup Row: Start by chaining an even number of stitches. Turn your work to begin the first row.
- First Bean Stitch:
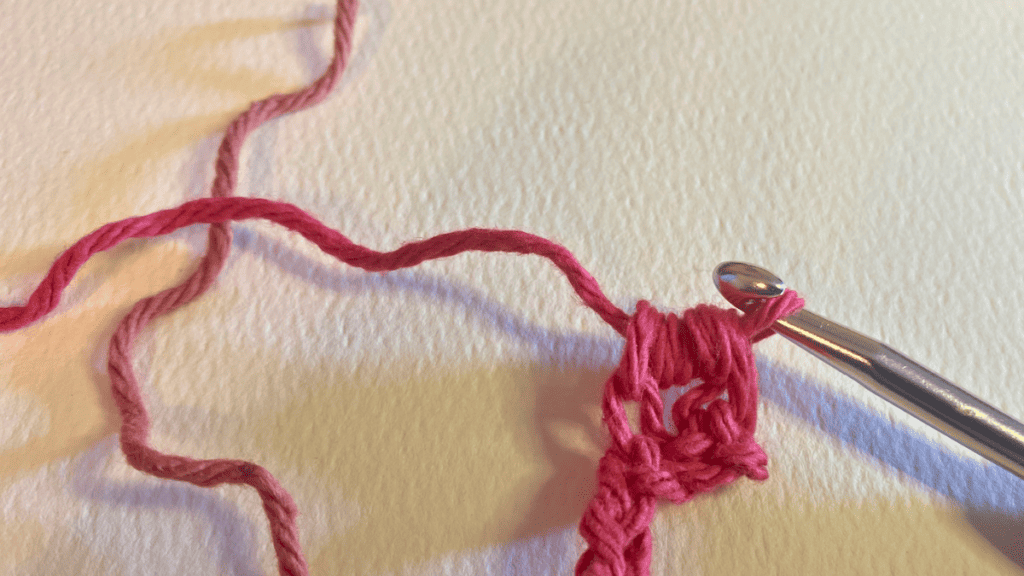
- Insert your hook into the 3rd chain from your hook.
- Yarn over and pull up a loop. You now have two loops on your hook.
- Yarn over, insert the hook into the same chain space, yarn over and pull up another loop. You should have four loops on your hook.
- Repeat once more in the same chain space for a total of six loops on your hook.
- Yarn over and pull through all six loops on your hook.
- To secure the bean stitch, chain 1.
- 2nd ch:
- Skip the next chain and insert your hook into the following chain, beginning the steps to create the next Bean Stitch.
- Continue this process across the row. Remember to chain 1 after completing each bean stitch to secure it.
- End of the Row:
- When you reach the last stitch of the row, if you have an extra chain left, finish with a single crochet.
- Turn your work to start the next row.
- Repeat Row:
- You’ll start the repeat row by chaining 2.
- Perform the bean stitch as described above, but instead of going into the chains, you’ll work into the spaces you created by chaining 1 in the previous row.
- Continue:
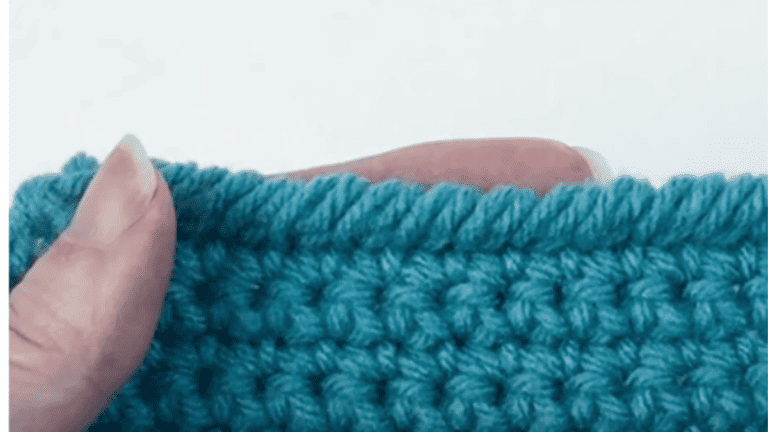
- Keep repeating the pattern until you’ve reached your desired length. Ending your project typically involves a row of single crochet for a neat edge.
Troubleshooting Common Issues
- Tight Stitches: Ensure you’re not pulling the yarn too tightly after completing each bean stitch. This might make working into the spaces more difficult in the next row.
- Inconsistent Size: It’s important to maintain consistent tension throughout your work. If bean stitches vary in size, try counting the loops on your hook before pulling through to make sure you always have six.
- Missing Chains: If your pattern seems off, check that you haven’t missed the chain 1 that secures the bean stitch, as this can throw off your work for the next row.
Variations of the Bean Stitch
- Modify Size: Play with different hook sizes and yarn weights to create variations in the bean stitch texture and size.
- Alternate Stitches: Combine bean stitches with other crochet patterns, like single crochet or double crochet, to create unique patterns.
- Color Changes: Introduce new colors at the end of a row for a striped effect or change colors within a row for a speckled look.
Advanced Techniques and Projects
Once you’re comfortable with the basics of the crochet bean stitch, you can spice up your projects with special stitches and unique designs. Let’s get into how you can take your bean stitch game to the next level.
Incorporating Special Stitches
To add a twist to your bean stitch, try throwing in some special stitches. For example:
- Front Post Double Crochet (FPDC): This stitch gives your fabric a raised texture that’s visually appealing.
- Bobble Stitch: Mix in a bobble stitch to create a pop of 3D texture among the beans.
It’s like cooking; these stitches are your spices! You can alternate these with bean stitches to create patterns or strategic texture. Start with simpler patterns and gradually work your way up to more complex designs.
Bean Stitch Crochet Patterns

Now that you have mastered the crochet bean stitch, how about a few patterns to help you practice this great stitch? Here are some of our favorites.
One-skein-wonder-cowl patterns
See all One-skein-wonder-cowl patterns
One-skein-wonder cowl patterns are super fun and have so many choices to help you practice your bean stitch.
Single Wrap Cowl
See all Single Wrap Cowl patterns
If you love color, don’t forget that any pattern can be made in colourful yarns.
Pot Holders
We love these pot holders made with a 4 mm crochet hook. These have such a great textured stitch and are perfect for your kitchen. This awesome stitch makes such beautiful social media-worthy projects.