Crochet Hat Size Chart: Easy Guide For Perfect Hats
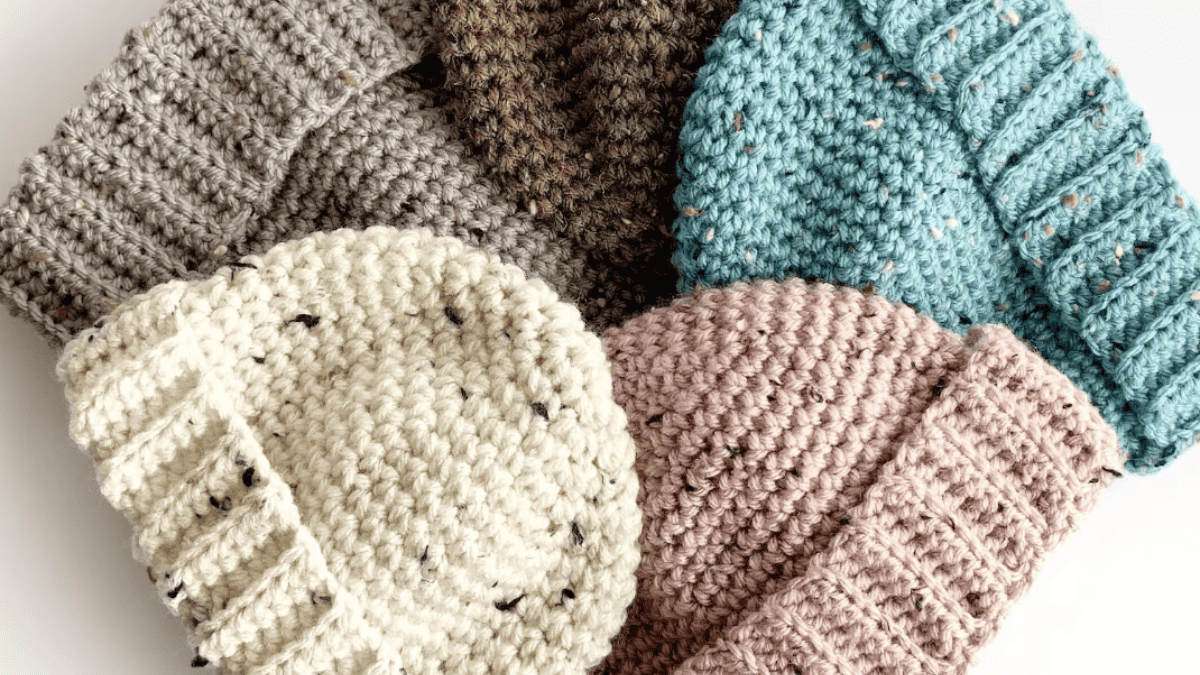
Crocheting hats is a fun and rewarding hobby that lets you explore creativity while making practical items. Whether you’re crafting for friends, family, or your own wardrobe, getting the right fit is crucial.
No one wants a crochet beanie that’s too tight or a slouchy hat that’s more like a bucket. That’s where a crochet hat size chart comes in handy; it helps you tailor each hat to the perfect size ensuring the right crochet hat sizes.
Have you ever started a hat project only to realize halfway through that it might not fit? We have as a team and it usually makes us laugh and then cry. To save you from unraveling hours of work, a correct size chart is your best friend.
It provides you with the necessary measurements for different ages and head circumferences. Remember, yarn type and hook size can affect the stretchiness and size of the finished product, so consider these factors when consulting the chart.
Happy crocheting means making sure your creations are as comfortable to wear as they are lovely to look at.
Understanding Crochet Hat Sizes
When crocheting hats, it’s crucial for your project to fit well. That means knowing the exact hat dimensions needed for the wearer. Let’s break down why head measurements matter and what sizes are typical for various age groups.
Importance of Accurate Head Measurements
Getting a snug, comfortable fit for your crochet hat starts with accurate head measurements of the person’s head. You’ll want to use a tape measure to wrap around the head, just above the ears and eyebrows, which is where the hat will sit.
This measurement is your hat circumference, and it’s vital for ensuring the hat won’t be too tight or too loose.
Crochet Hat Size Chart
Below is a table outlining standard hat circumference and hat height measurements for several age categories, which you can use to guide your own crochet hat projects.
| Age Group | Hat Circumference (inches) | Hat Height (inches) |
|---|---|---|
| Newborn (0-3 months) | 12 – 14 | 5 – 5.5 |
| Baby (3-6 months) | 14 – 17 | 6.5 – 7 |
| Toddler or 6-12 months | 16 – 19 | 7.5 |
| Child | 18 – 20 | 7.5 – 8 |
| Teen | 20 – 22 | 8.5 |
| Adult Female | 21.5 – 22.5 | 9 – 10 |
| Adult Male | 22 – 24 | 9.5 – 10.5 |
For the best results, always double-check your head measurement with a tape measure and refer to your specific crochet hat size chart to match the size with the person you’re crocheting for.
Keep in mind that hats should typically be made about an inch smaller in circumference than the actual head size to account for stretch and to ensure a snug fit.
Crochet Supplies for Hats
Before you start crocheting hats, it’s essential to have the right tools and materials to ensure your project turns out just the way you want it.
Choosing the Right Yarn and Hook Size
yarn weight: You’ll need to decide on the yarn weight that’s suitable for your hat. Here’s a quick reference:
- Lightweight yarns like DK or sport are great for a softer, more flexible hat.
- Worsted and chunky yarns are ideal for a warmer, cozier feel.
Remember to pair your yarn with the appropriate hook size to achieve the correct gauge. For instance:
- Use a 3.5 mm – 4.5 mm hook for lightweight yarns.
- Opt for a 5.5 mm – 8 mm hook when working with worsted or chunky yarns.
Materials like acrylic yarns can be a good, durable choice, especially if you need something that’s easy to wash. Meanwhile, cotton yarn is perfect for creating breathable, lightweight hats that work well in warmer weather.
Measuring Tools: Tape Measure and Sizing Guide
Measuring Tape: A soft measuring tape is a crocheter’s best friend. You’ll use it to:
- Measure your head circumference to determine the specific size needed for your crochet hat patterns.
- Check your gauge to ensure your hook and yarn choice are yielding the hat size you’re targeting.
Sizing Guide: A sizing guide can help translate head measurements into hat sizes. Here’s a simple chart:
| Head Circumference | Hat Circumference | Hat Length |
|---|---|---|
| 20 inches | 18 inches | 7.5 – 8 inches |
| 22 inches | 20 inches | 8.5 – 9 inches |
| 24 inches | 22 inches | 9.5 – 10 inches |
Use this guide to determine the right size for your project before you begin.
Creating the Perfect Fit
When crocheting hats, your goal is to nail the best fit. This means understanding how to calculate stitches correctly and adjust the length for both comfort and style. Let’s get into the specifics for top-down and bottom-up hats.
Calculating Stitches for Exact Hat Sizes
To start with, you’ll want to measure the average head size for whom the hat is intended. For adults, this is typically around 22 inches, but it’s always best to measure to ensure accuracy. You calculate the number of stitches to cast on based on your gauge (stitches per inch) and the head circumference:
- Gauge x Head Circumference = Number of Stitches to Cast On
For instance, if your gauge is 5 stitches per inch and you’re making a hat for a 22-inch head:
- 5 stitches/inch x 22 inches = 110 stitches
Top-Down Hats:
- Begin with a smaller number of stitches and increase gradually.
- Usually involves creating a circular shape at the top before expanding.
Bottom-Up Hats:
- Start by casting on the total number of stitches required for the band.
- Work up towards decreasing for the crown.
Adjusting Length for Comfortable Hat Fit
Once the circumference is correct, length is your next focus. A snug fit is often about the right length—neither too tight that it’s uncomfortable nor too loose that it slips off. Here’s what to keep in mind:
- For a beanie, aim for about 7 to 8 inches from crown to edge.
- For a slouchy hat, add a couple or more inches according to how relaxed you want it to be.
Measure as You Go: Try the hat on or use a mannequin to check the fit. You can always add or remove rounds to get the length just right. Remember, crocheting is quite forgiving; you can unravel and redo sections until you hit that sweet spot of comfort and style.
Now, get your hook and yarn ready, and remember, creating a hat that fits perfectly is all about the details. Happy crocheting!
Techniques and Patterns
When creating crochet hats, your approach matters. You’ll start with foundation techniques that are critical for shaping, then move on to variations that give each hat its unique style. Get your hooks ready and let’s dive into these essential elements.
Magic Ring Crochet
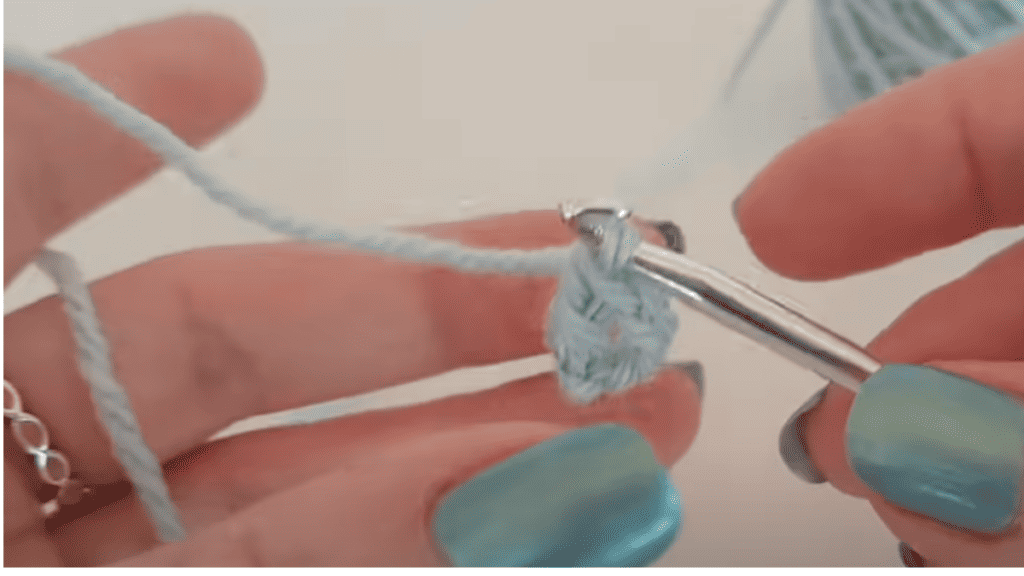
Magic Ring: A magic ring is an adjustable starting point that helps you create a tight center, perfect for the top of a basic beanie.
To form a magic ring, loop your yarn, insert the hook to pull up a loop, and chain one to secure. This method allows you to pull the tail to close the hole completely, which you can’t do with a chain start.
- Steps for a Magic Ring:
- Loop the yarn around your fingers to create a circle.
- Insert the hook through the center, yarn over (yo), and pull up a loop.
- Chain one (or as many as your pattern calls for) to secure the loop.
- Work your stitches (such as double crochet stitches) into the ring.
Chain Start: Alternatively, you might start with a chain, joined with a slip stitch to form a ring. While this technique doesn’t close as tightly as a magic ring, it’s a simpler method for beginners.
- Steps for Chain Start:
- Chain a small number of stitches (usually 2-6, depending on the stitch height).
- Join the chain into a ring with a slip stitch.
- Work your stitches into the center of the ring.
Crochet Hat Patterns
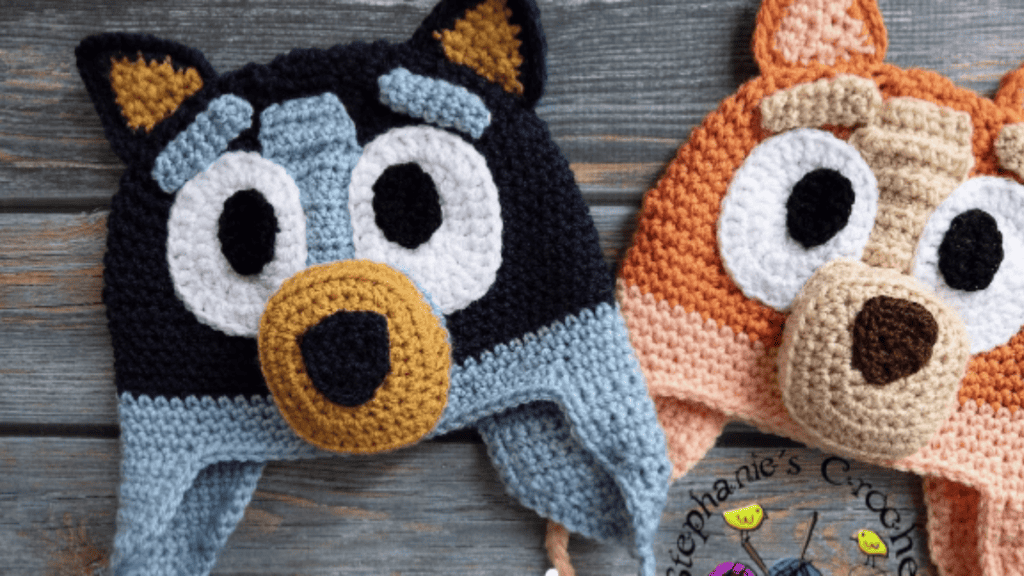
Basic Beanie: The basic beanie is the starting point for many crocheters. It typically involves rounds of double crochet stitches. As you work each round, increase evenly to widen the hat until you reach the desired circumference. Then, continue without increasing to create the sides of the beanie.
- Pattern Structure for a Basic Beanie:
- Rounds 1-X: Increase evenly in each round to expand the hat’s diameter.
- Rounds X+1-X+Y: Work even (with no increases) to build the hat’s length.
Slouchy Hat: To achieve the relaxed look of a slouchy hat, you’ll extend the length of the hat beyond the standard beanie. You can play with different stitch patterns to add texture, like alternating single and double crochet stitches or using shells and posts.
- Customization Ideas:
- Add extra rounds to the length for a laid-back slouch.
- Use a combination of stitches to create interesting textures and looks.
Crafting a consistent crochet hat can be a breeze with the right tips and handy resources. Here, you’ll uncover practical advice and go-to places for support that will keep your hats looking professional every time.
Crochet Tips
Even Tension: Maintain even yarn tension throughout your project. This helps ensure the hat’s fabric is consistent, making it fit comfortably. Practice this by crocheting several swatches before beginning your hat project.
Gauge Swatch: Always create a gauge swatch. This small sample allows you to adjust your hook size to match the gauge provided by the following chart or pattern. It’s a simple step that can save you headaches later on.
Stitch Markers: Use stitch markers to your advantage. They can mark the beginning of a round or highlight where increases or decreases need to occur.
Crochet Hat Sizes
Following Chart: Access a crochet hat size chart to guide your work. These charts help you determine the right circumference and height for different age groups, ensuring a good fit.
| Age Group | Head Circumference | Hat Height |
|---|---|---|
| Newborn | 12″–14″ | 5″–5.5″ |
| Baby (6–12 mos.) | 16″–18″ | 6.5″–7″ |
| Toddler | 18″–20″ | 7″–8″ |
| Child | 19″–20.5″ | 8″–8.5″ |
| Teen | 20.5″–22″ | 8.5″–9″ |
| Adult | 21.5″–23″ | 9″–10″ |
Remember, the right resources paired with a few clever tips can take your crochet hats from handmade to handcrafted perfection.
4 Comments