Learn Crochet Shell Stitches: Easy Tutorial With Video
Crochet shell stitches offer a textured, decorative flair to your crochet projects, elevating simple designs to something more intricate and eye-catching.
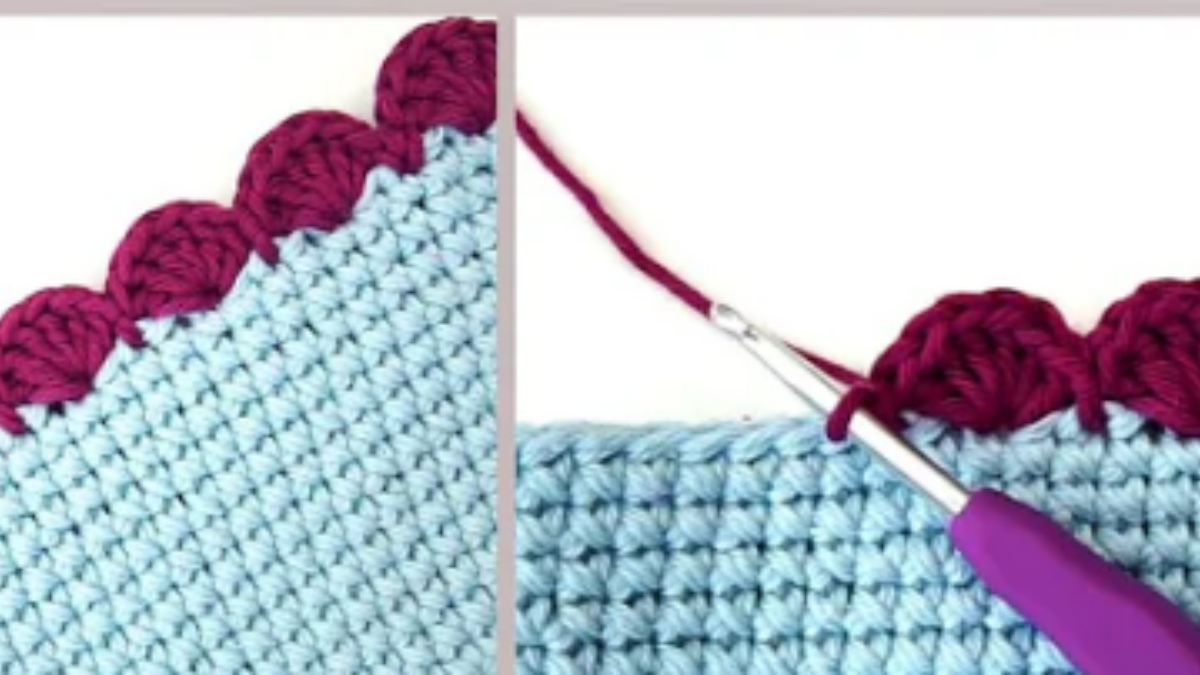
This stitch creates a fan-like pattern, which can add a scalloped edge or a three-dimensional look to blankets, scarves, and more.
By working multiple stitches into the same stitch, you create the shell’s characteristic curve, giving your piece a soft and elegant feel shell pattern.
Mastering the shell stitch is a game-changer for your crochet arsenal. It’s versatile; you can adjust the size of your shells by changing the number of stitches or the type of stitches used within each shell.
This means whether you’re aiming for subtle texture or dramatic flair, you can customize the look to suit your project’s needs.
Plus, it’s a repeating pattern that’s easier to pick up than it might seem – a perfect step up for those familiar with basic stitches and looking for a new challenge.
Crochet Shell Stitches
Video Tutorial: Crochet Shell Stitches
Crochet shell stitches add delightful texture to your projects, creating waves of fabric that look more complex than they really are. Let’s break it down into easy steps so you can start crafting your own shell-patterned pieces.
Understanding the Basics
Crochet shell stitches involve a series of double crochets worked into the same stitch or space, creating a fan or shell shape (dc shell). This effect is often used for decorative borders or as a textured fabric in garments and accessories.
The foundation chain you start with sets the stage for your shell stitch pattern—it’s like the canvas for your yarn masterpiece. For a standard shell stitch, you’ll typically work five double crochets into the same stitch to form the shell.
Adjust the number of stitches for larger or smaller shells according to your pattern.
Think of the foundation chain as the base of your project. You need an even number of chain stitches for a symmetrical look.
Remember, the way you hook into this chain can affect the overall tension and appearance of your work.
Materials and Tools
| Material or Tool | Description |
|---|---|
| Yarn | Select a yarn that complements your project; a medium-weight yarn is a good choice for beginners. |
| Crochet Hook | A 5 mm crochet hook is commonly recommended for beginners, but check your yarn label for the suggested size. |
The type of yarn and yarn weight can significantly change the appearance and drape of your shell stitch. You should choose based on what you want your finished project to look like.
Lighter yarn weights can make a more delicate fabric, while heavier weights create a bulkier and warmer end product.
Your crochet hook size should correspond to the yarn weight you’re using. The yarn label typically suggests the ideal hook size to use.
If it recommends a 5mm hook, that size will help you create stitches that are neither too tight nor too loose, just perfect for a nice, even shell stitch pattern.
Shell Stitch Patterns and Variations
Crochet shell stitches create a textured, pretty fabric you can use in various projects. Here, you’ll learn about the classic shell stitch, the breezier open shell stitch, and some fun variations to spice up your work.
Classic Shell Stitch
The classic shell stitch is a beautiful pattern that typically consists of five double crochet stitches worked into the same stitch or space. It creates a solid, scalloped edge that’s perfect for blankets and clothing. You usually start with a base chain that’s a multiple of three-plus two extra chains to account for the turning chain.
- Base Chain: Multiple of 3 + 2
- Stitches Used: Double Crochet (dc)
Open Shell Stitch
For a lacy effect, the open shell stitch is your go-to. It involves chaining stitches between the double crochets to form an ‘open’ look. This stitch is ideal for creating a lacy throw blanket or a lightweight scarf.
- Lacy Appeal: More spaced out than the classic shell stitch
- Pattern: 2 dc, chain 2, 2 dc in the same stitch creates an “open” shell
Shell Stitch Variations
Playing with shell stitch variations can be rewarding. You can try combining different stitches, like puff stitches, within the shells or altering the number of double crochets to create various effects.
- Variation Example: 1 dc, 1 puff stitch, 1 dc in the same stitch for a textured feel
- Experiment: Mix and match your shell stitches with basic crochet stitches to discover new patterns.
Step-by-Step Crochet Shell Stitches Tutorial
Creating a crochet shell stitch can add lovely texture to your crochet work. Let’s breeze through these straightforward tutorials that’ll have your crochet hooks dancing through yarn in no time.
Crochet Shell Stitches Technique Tutorial
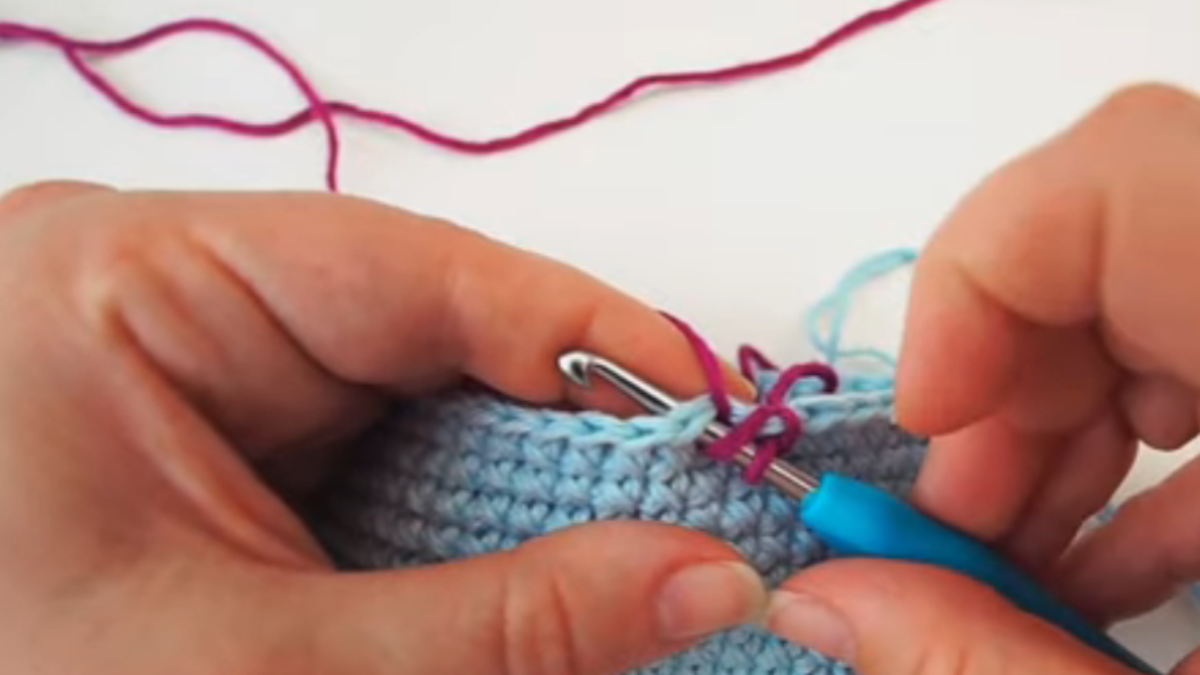
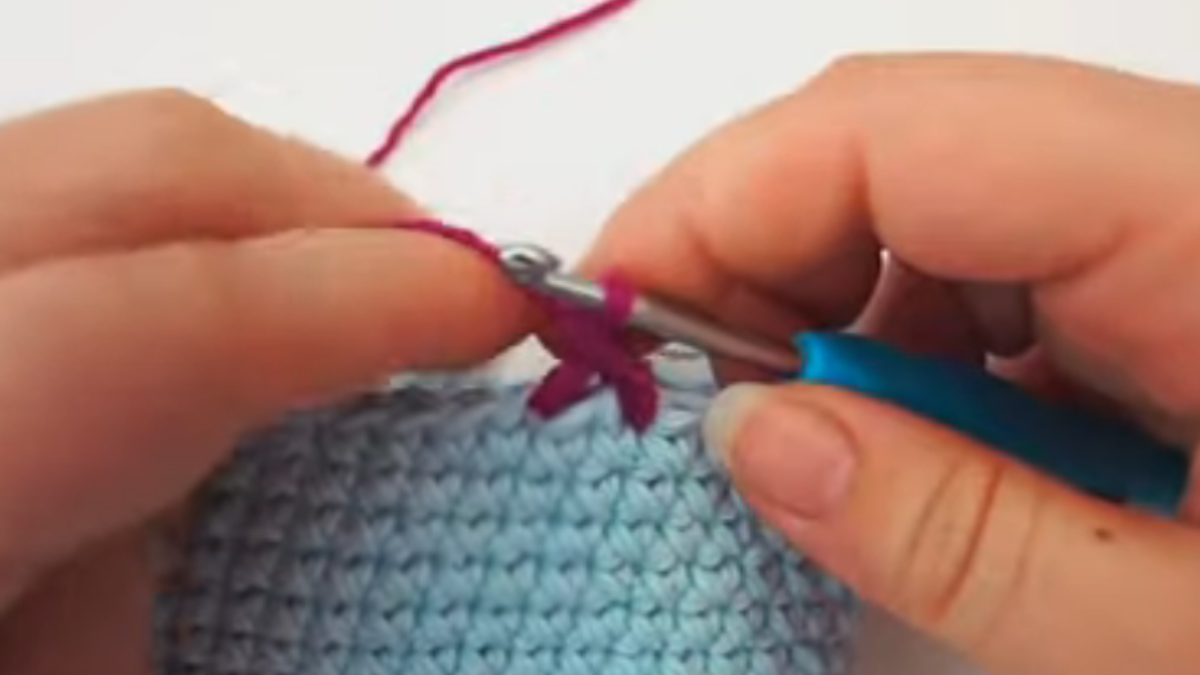
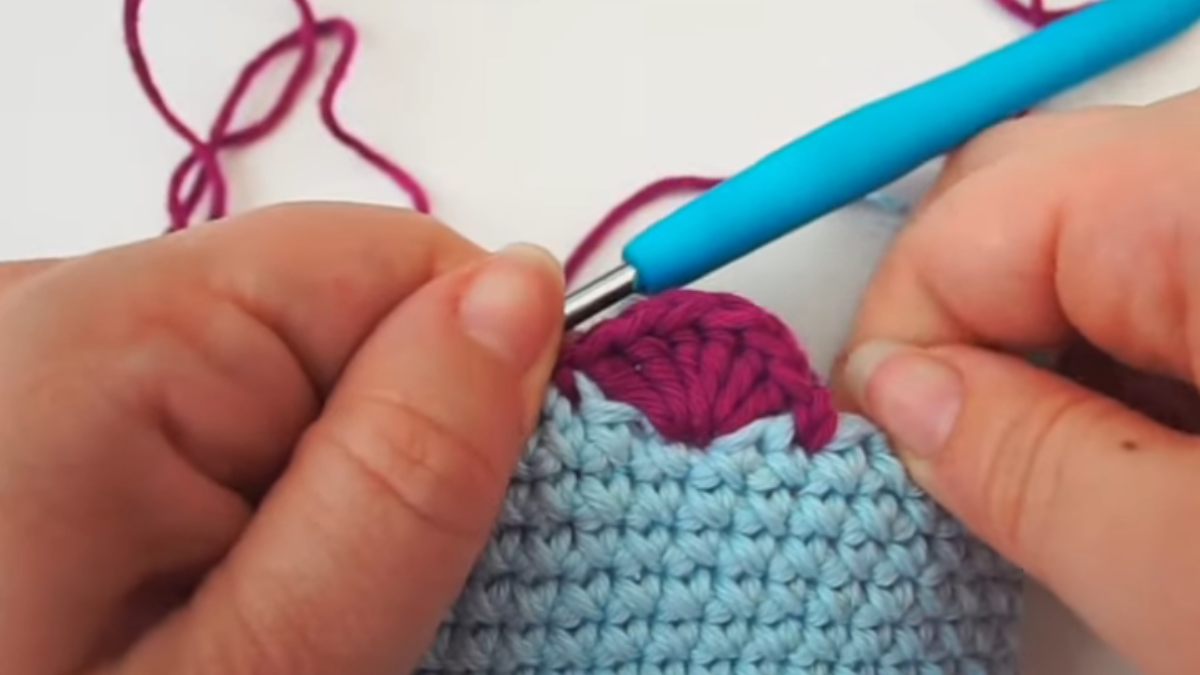
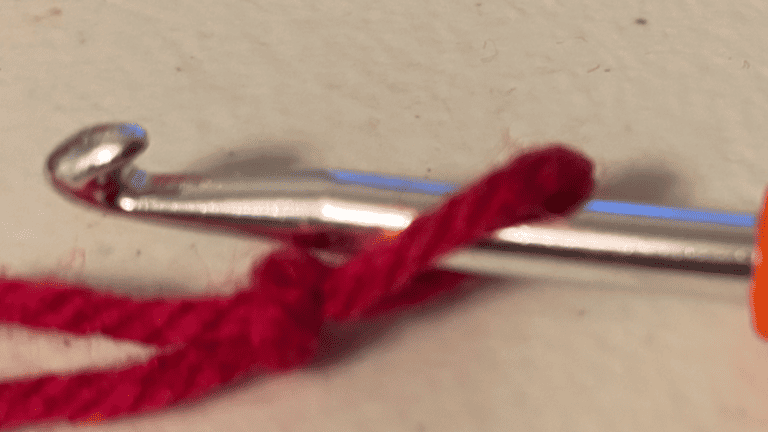
To start, make a slip knot and chain a multiple of six for the width you want, plus two extra chains for the foundation. Work your first shell as follows:
- Insert your hook into the fifth chain from the hook, yarn over, and pull up a loop.
- Yarn over again and pull through two loops on the hook—this completes one double crochet (dc).
- Make four more dc in the same chain to form your first shell.
For video guidance, look up a crochet stitch tutorial that demonstrates this visually.
Pattern Repeats and Rows
Once you’ve mastered the shell stitch, it’s all about the repeats. Here’s how to continue:
- For the second and subsequent rows, chain 3 (this counts as your first dc).
- Skip the next two dc and make a single crochet (sc) in the top of the next dc.
- Skip the next two dc and work 5 dc in the next sc, which is your repeat row pattern.
Remember this crucial point at the end of each row: after your last shell, skip the next two dc and make a sc in the final stitch (usually the top of the turning chain from the previous row).
Finishing Your Project
To neatly complete your shell stitch project:
- At the end of the row, chain one and turn your work to start the new row.
- After your final row, cut the yarn, leaving a six-inch tail.
- Pull this tail through the last st on your hook and tighten to secure your final stitch.
- Weave in your ends using a yarn needle for a tidy finish.
By paying attention to stitch placement at the first stitch, and maintaining a consistent pattern to the last chain, your crochet piece will look even and professional.
Creative Crochet Shell Projects
Crochet shell stitches add a unique texture and visual appeal to a variety of projects. Let’s dive right into some specific creative ventures you can undertake using this decorative element.
Home Decor and Accessories
When it comes to home decor, crochet shell stitches can make your space feel cozy and personalized. Here’s how you can incorporate them into your surroundings:
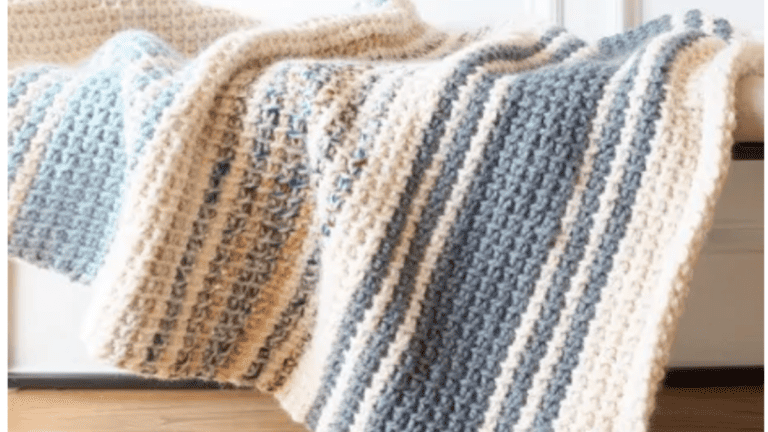
- Baby Blankets: You can create a soft and snuggly baby blanket with a shell stitch pattern. Using chunky yarn will make it extra plush and quick to work up.
- Market Bags: A durable and eco-friendly option for your shopping needs, crochet market bags with a shell stitch row give strength and stretchiness.
Table: Free Patterns for Home Accessories
| Project | Yarn Type | Pattern Complexity |
|---|---|---|
| Baby Blankets | Soft acrylic or cotton | Beginner to Intermediate |
| Market Bags | Cotton or Bamboo | Intermediate |
Pro Tip: Look for patterns online to kickstart these projects with guidance and step-by-step instructions.
Clothing and Wearables
Crochet shell stitches can elevate your wardrobe pieces with eye-catching designs. Roll up your sleeves for these wearable projects:
- Full Skirt: Crochet a full skirt with cascading shell stitches. Working with new yarn or yarns with a bit of sheen can add an elegant touch to your finished garment.
- Scarves and Shawls: For a quick and stylish accessory, use the shell stitch to create a scarf or shawl, perfect for layering over your outfit.
When selecting yarn for wearables, consider the drape and the feel of the yarn against skin. Breathability and softness are key for items like full skirts and shawls.
Crochet Stitches
See Crochet Stitches Tutorials
Learn new crochet stitches with our many easy tutorials. Here are all of our Crochet Stitches tutorials
