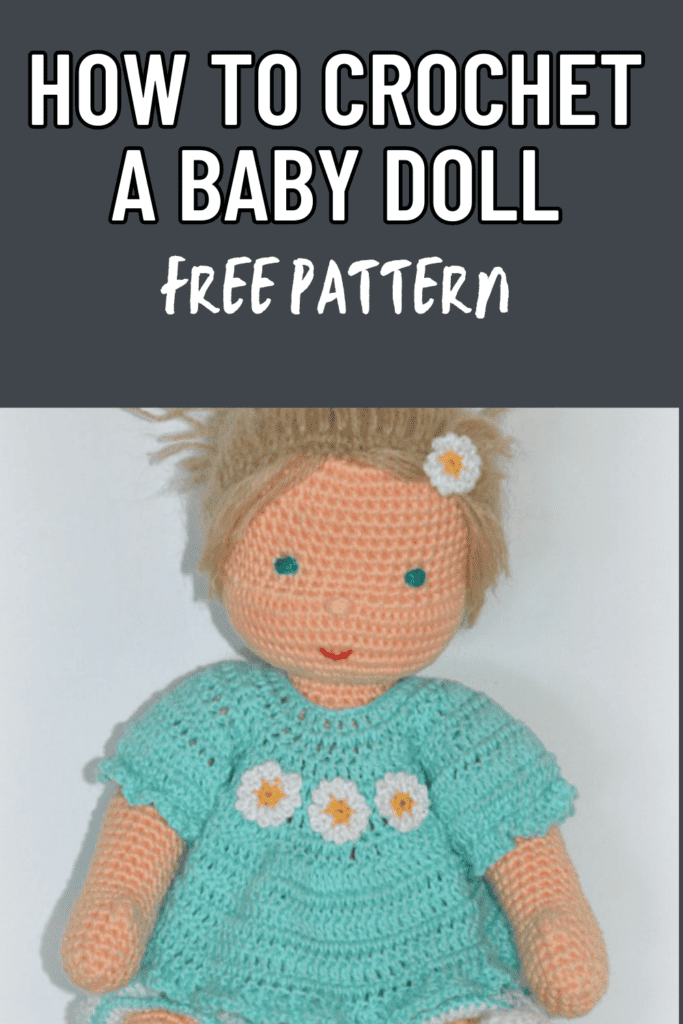
How To Crochet a Doll: Free Doll Pattern
I will be the first to admit, I am not an expert on how to crochet a doll but I am great at finding you a free pattern on exactly how to crochet a doll.
Not only can you personalize your doll with different colors and accessories, but you also get the satisfaction of seeing your work come to life, stitch by stitch.
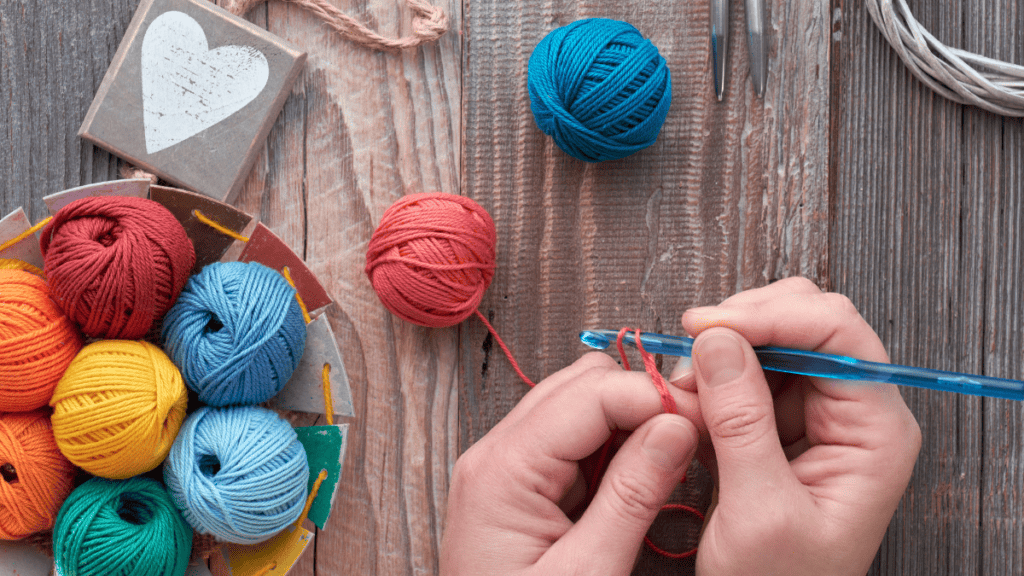
To start, you’ll need to familiarize yourself with the basic materials: yarn, crochet hooks, stuffing, and perhaps some buttons or beads for eyes.
The type of yarn and size of the hook can vary depending on the doll pattern you choose, which will dictate the texture and the size of your finished product.
Once you have your materials, you’ll be ready to begin the magical process of transforming a skein of yarn into a cuddly companion.
Understanding Crochet Basics
Before you start crocheting a doll, it’s essential to familiarize yourself with some basic crochet stitches and understand the tools and materials you’ll need. This will set the foundation for your crochet doll projects.
Basic Crochet Stitches
- Single Crochet (sc): Insert hook into stitch, yarn over, pull through, yarn over again, pull through both loops on hook.
- Double Crochet (dc): Yarn over, insert hook into stitch, yarn over, pull through, yarn over, pull through two loops, yarn over again, pull through remaining two loops.
Using these stitches with variations and combinations will allow you to follow most free crochet doll patterns.
Crochet Tools and Materials
- Hooks: Typically, a 3.5 mm crochet hook is a good size to start with for dolls, as it works well with worsted weight yarn.
- Yarn: Worsted weight yarn is recommended for beginners since it’s easy to handle and works up quickly.
- Yarn Needle: Used for sewing parts together and weaving in ends.
Choosing the right hook and yarn will make following crochet patterns easier and more enjoyable.
How To Crochet a Doll
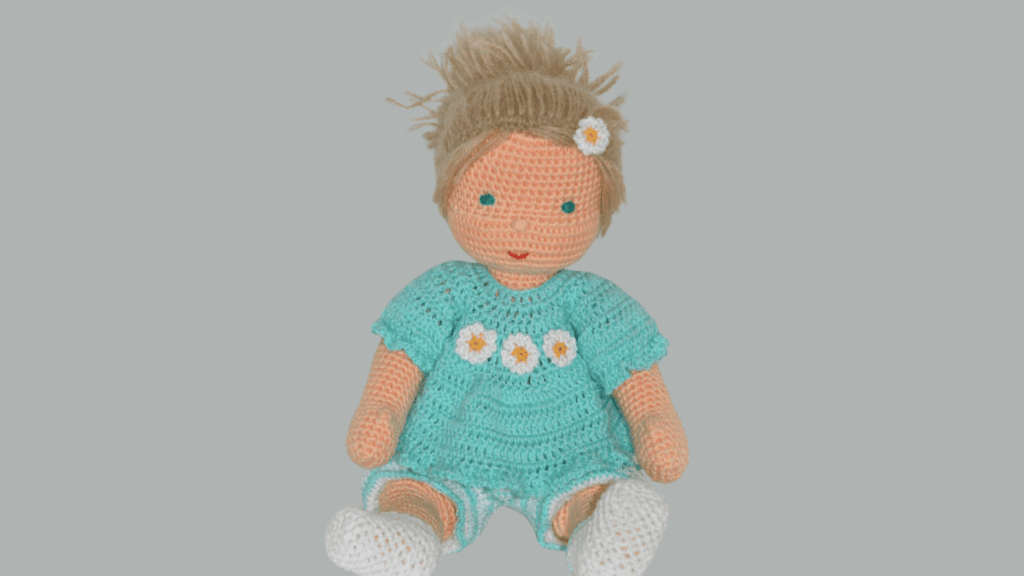
Downlod Free Crochet Doll Pattern
Crocheting a doll is a fun project, and you’ll want to kick things off with the best materials and size choices for your creation.
Keep in mind the finished look you’re aiming for as you select yarn and determine your doll’s dimensions.
Choosing the Right Yarn
The yarn you choose will determine your doll’s texture, appearance, and durability.
Yarn Weights:
- Lightweight Yarn (DK or light worsted): Ideal for a delicate look
- Medium Weight Yarn (worsted): Balances ease of handling with a sturdy finish
- Bulky Yarn: For a larger and cozier doll
For Skin Tone: Choose a color that matches the skin tone you wish to achieve. Yarns come in a wide variety of shades to create diverse and lifelike dolls.
Example Yarns and Corresponding Skin Tones:
| Yarn Color | Skin Tone |
|---|---|
| Beige | Light |
| Brown | Medium |
| Dark Brown | Dark |
| Peach | Pale |
Deciding on the Doll Size
The size of your doll can range from a tiny pocket companion to a huggable friend.
Perfect Size: Consider who the doll is for. A smaller doll might be perfect for a toddler’s hands, while a larger one could be a comforting presence for an older child.
Starting the Doll:
- Magic Circle: Begin with a magic circle to create a tight, closed center.
- First Round: Your first round of stitches will set the foundation for the doll’s body.
By focusing on these initial decisions, you’ll be setting up your crochet project for success, with a well-chosen yarn and an appropriately sized doll for the recipient.
Crochet Techniques for Doll Making
In this section, you’ll learn essential crochet techniques to bring your doll to life, focusing on starting with the magic ring, crocheting individual body parts, and finally connecting them all together.
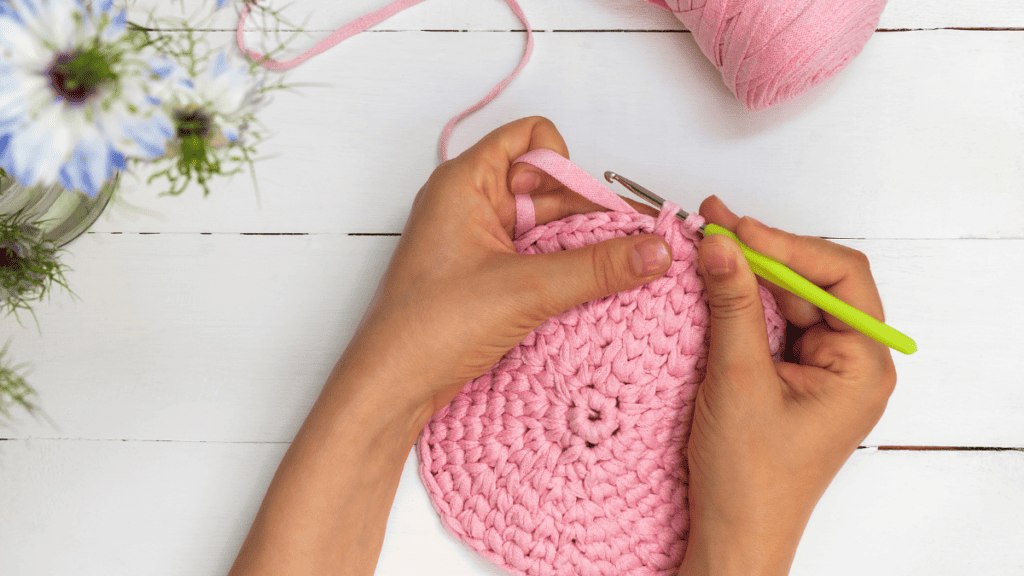
Mastering the Magic Ring
Starting with the magic ring is essential for the amigurumi dolls, giving a neat and tight center for your work. It’s perfect for beginning the main body or head of your doll. To do this:
- Make a loop with your yarn, leaving a tail for weaving in later.
- Insert your hook into the loop, yarn over, and pull up a loop.
- Chain one to secure it and then work single crochet stitches into the loop.
- When you have enough stitches, pull the tail tight to close the circle.
Remember, you’ll be working in a continuous round to avoid seams.
Creating Body Parts
For body parts like arms or legs:
- First leg: Start with a magic ring and continue with a series of single crochet stitches; increase until you have the desired width.
- Second leg: Repeat the same process as the first. Before closing, remember to stuff legs firmly to give them shape.
For the doll body, increase rounds until you reach the desired chest size, and then crochet some rounds without increasing to form the torso.
When you’re ready to taper for the waist, use an invisible decrease technique by crocheting through the front loop only of the next two stitches, then yarn over and pull through all loops.
Joining Pieces Together
Combining crochet pieces can be done in several ways:
- Sewn Seam: Use a yarn needle to stitch parts together.
- Slip Stitch Join: Hold two pieces together, insert your hook through both layers, yarn over, and pull through all loops for a less bulky join.
- Crochet in Joining: When you finish the first leg, instead of tying off, continue crocheting and connect to the second leg with a series of single crochet stitches around both.
When attaching limbs to the main body, align the open edges and work a row of single crochet stitches through both the back loop of the body and the equivalent part of the limb.
Keep the tension even and your stitches consistent for a polished look. Your doll will come together stitch by stitch—with a little patience, you’ll have a lovely handmade friend.
Detailed Crochet Doll Patterns

When crocheting a doll, you begin with a simple base and progressively add details, like a cute little nose and expressive eyes. You’ll use basic stitches and can customize your doll with various elements like hair and clothes.
Constructing the Doll Base
Start by creating the crochet doll base pattern. Typically, you’d use rounds of single crochet to form a sphere or cylinder as the core shape of your doll. Think of it like building the skeleton before adding the muscles and skin.
- Materials: Medium weight yarn (color of your choice), Crochet hook (size suitable for your yarn), Stitch markers
- Instructions:
- Create a magic ring.
- Work 6 single crochets (sc) into the ring.
- Place a stitch marker to indicate the end of the round.
- Increase in each sc for the next round, resulting in 12 sc.
- Continue adding rounds, increasing where necessary, to form the desired shape.
Crocheting the Head and Facial Features
The head is where your doll’s personality comes to life. You’ll crochet a sphere similar to the doll base then add facial features like eyes and a mouth.
- Head:
- Follow the same basic pattern as the doll base but larger.
- Remember to stuff the head firmly before closing.
- Facial Features:
- Eyes: Sew on safety eyes or embroider with black yarn.
- Nose: A little nose can be made with a few stitches.
- Mouth: Use a simple backstitch to define a smile or another expression.
Forming Limbs and Extremities
Limbs are typically small cylinders attached to the body. You can shape hands and feet with more detailed crochet doll boots or simple rounded ends depending on your design.
- Arms and Legs:
- Begin with a magic ring and work several rounds to create a tube.
- Feet and Hands: Alter the basic pattern slightly to flare out or add fingers/toes.
- Secure limbs to the body with a needle and thread or crochet them directly to the body.
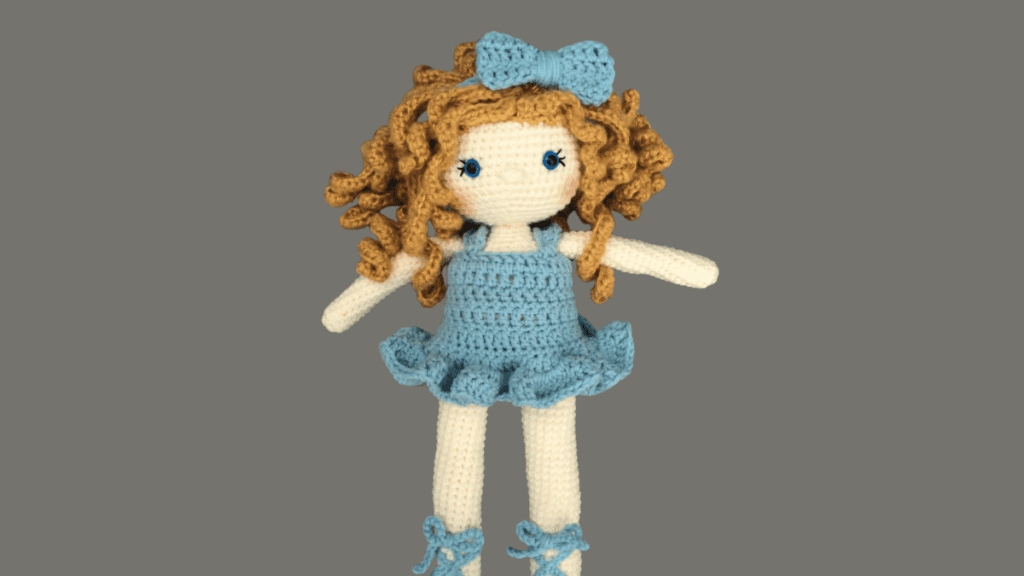
Customizing with Clothes and Accessories
Accessories like removable clothes or flower crowns make your adorable doll truly unique. Try using blue yarn for a classic dress or crafting tiny boots.
- Clothes:
- Construct garments like a pro with chains and sc.
- Create custom fits by measuring pieces against your doll.
- Accessories:
- Crochet doll hair with loops or strands.
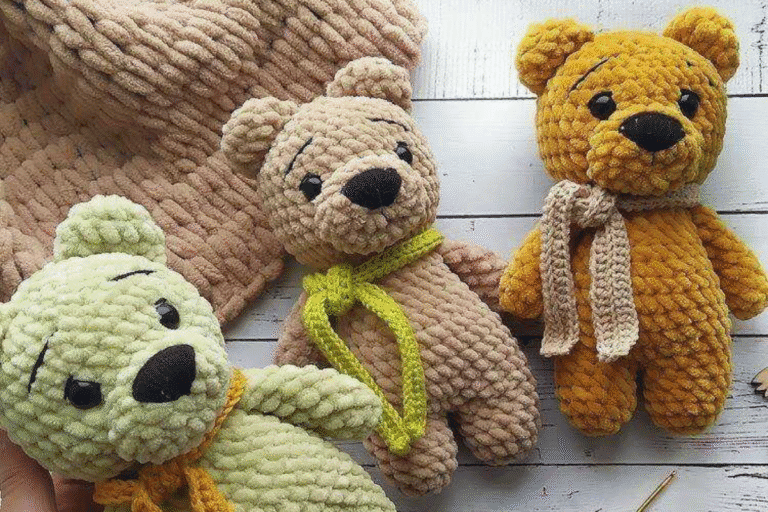
- Add personality with hats, scarves, or even a belt.
Finishing Touches
After crafting all your doll’s parts, it’s time to bring your creation to life. Stitching and detail work are crucial; they transform a collection of crocheted parts into a delightful doll friend.
Assembly and Stuffing
First, you’re going to sew the back panel and other parts together. Start by positioning the safety eyes between stitches in the face.
Secure them in place, ensuring that small pieces remain accessible for adjustments.
Now, use a long tail of yarn to stitch the head to the body, using an invisible decrease to keep the joining discreet.
Next, you’ve got to stuff the doll.
Be even with the stuffing, so your doll doesn’t end up lopsided or bumpy. Make sure you’re happy with the firmness — a huggable doll is the goal!
Adding the Final Details
Got all the pieces stitched up? Cool, let’s add some personality!
Using yarn strands, stitch on a smile and any other facial features your pattern calls for.
For hair, plan out the hair length and cut several yarn strands accordingly.
Attach the strands to the head, starting from the bottom and working your way up to create layers. This method gives the hair a natural, full appearance.
Finally, don’t forget those tiny embellishments that make your doll unique.
Think about a cute outfit, a tiny hat, or maybe even some crocheted shoes. Whatever you choose, these final details will give your doll character and charm.
When you start your new doll project, knowing a few key tips and tricks can save you a lot of time. From troubleshooting common issues to expanding your skills, we’ve got you covered.
Troubleshooting Common Issues
- Dropping Stitches: If you notice you’ve dropped a stitch a few rows back, don’t panic!
- Use a crochet hook to carefully pull the dropped stitch through the loops until you’re back on track.
- Tangling Yarn: To prevent your yarn from tangling, place it in a bowl or a yarn holder while you work. This keeps it stationary and tension even.
- Inconsistent Tension: Practice maintaining consistent yarn tension by crocheting several swatches. Consistency comes with time, so keep at it.
Stitch Mistakes: If you’ve made a mistake in your basic crochet stitches, like a single crochet or a double crochet, it’s often easier to unravel back to the error and redo the section correctly.
Remember that everyone makes mistakes, and that’s how you learn!
Expanding Your Crochet Skills
- Experiment with Color: Don’t be afraid to use different colors to add personality to your doll.
- Crochet a few swatches to see how colors work together before committing to your project.
Stitch Variety: Learn new stitches and techniques by following a great tutorial or pattern.
Free patterns are an excellent resource, and many include a complete guide with step-by-step instructions.
- Learn from Others: Join crochet groups online or in your community.
- Not only can you get helpful tips from seasoned crocheters, but you’ll also find lots of options for new projects to try.
Practice Makes Perfect: Keep crocheting, and don’t rush yourself.
Whether you’re practicing the second chain from the hook or mastering the slip stitch (sl st), your skills will improve over time. The more you crochet, the better you’ll get at it.
Safety and Maintenance
When crocheting a new doll, particularly for a little girl or boy, safety is paramount and maintaining the doll’s appearance will ensure it’s cherished for years. Let’s get into the details.
Ensuring Toy Safety
Crocheting the right arm, front of the body, or any part of your doll, always consider the potential choking hazard. Small accessories or loose fibers can easily detach and pose risks. Here’s a quick checklist for toy safety:
- Eyes and Embellishments:
- Use secure attachments for eyes.
- Avoid small, detachable parts if meant for a child under 3.
- Fibers:
- Opt for tighter stitches to prevent stuffing from escaping.
Remember, a small tube, like a toilet paper roll, is a handy tool; anything that fits inside it is a potential hazard for children under three.
Care and Cleaning
Maintaining your new doll requires regular care to keep it looking its best.
- Frequent Checks:
- Inspect the doll regularly for loose threads or damage.
- Mend any issues promptly to prevent further deterioration.
- Cleaning Guidance:Material TypeCleaning MethodAcrylic YarnMachine wash on gentle cycle; air dry.CottonHand wash gently; lay flat to remove excess moisture.
The difference between a well-loved and a shabby doll often lies in the care it receives.
Avoid high heat and harsh chemicals to prevent damage to fibers or colors. Treat the doll like you would a delicate garment or a formal letter—handle it with care and thoughtfulness.
Inspiration for Future Projects
Once you’ve got the basics down, it’s time to get creative and take your crochet doll skills to the next level. There’s a world of intricate amigurumi dolls and unique customizations waiting for you.
Exploring Advanced Patterns
After mastering free crochet doll patterns, you can challenge yourself with advanced designs.
These patterns often include complex stitches and multiple yarn strands to add depth and detail to your creations.
For instance, making a larger doll might involve learning to repeat row techniques or switching to Colour B for contrast in the next stitches.
- Search for patterns that introduce new stitch sequences.
- Look for amigurumi designs that incorporate multiple colors for added complexity.
Experimenting with Customizations
Customized details can transform an ordinary doll into something truly special.
Consider adding accessories like hats or scarves, or altering facial features to mirror the personality you envision.
Remember, new ideas often come from a mix of inspiration and improvisation.
Crochet Doll Patterns
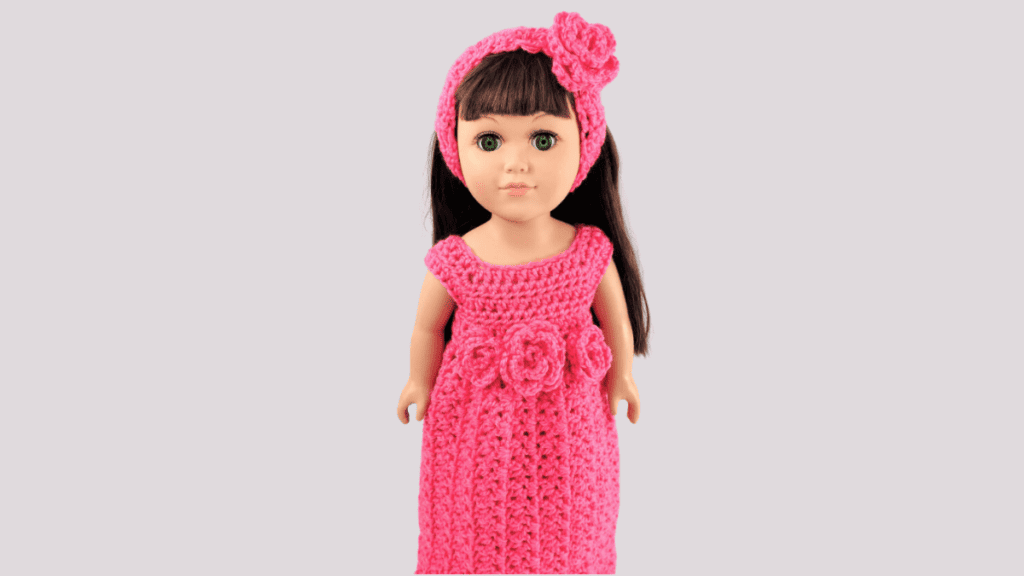
The easiest way you can see all of our available doll patterns is to see our complete library of Crochet doll patterns. Here are a few of our reader’s favorites.
American girl doll clothes patterns