
Easy Crochet Whipstitch: Video and Written Tutorial
Crochet whipstitch is a simple yet effective method for joining crochet pieces together. When you’re looking to create a seamless join without adding too much bulk, whipstitch is the perfect technique to reach for.
It’s particularly valuable when working on projects like patchwork blankets or assembling amigurumi toys, where you need a sturdy but not overly noticeable seam.
Mastering the whipstitch is fairly straightforward. You’ll need a needle and a length of yarn, typically the same yarn you used for crocheting your pieces.
The flexibility of the whip stitching lies in its simplicity; it works just as well for joining squares for a blanket as it does for attaching limbs to a crochet doll.
The stitch creates a flat, yet flexible join, making your final product look polished and neatly crafted.
Crochet Whipstitch
Free Tutorial: Crochet Whipstitch
Crochet whipstitch is favored for its simplicity and versatility in joining crochet pieces. Proper tools and a solid understanding of the technique are key to success.
Choosing the Right Tools
For a crochet whipstitch, you’ll need a yarn needle or a tapestry needle, which will help you weave the yarn through the pieces you’re joining. Ensure you have a crochet hook that matches the size of your project to help with pulling loops if necessary.
Stitch markers can be useful to mark positions for more uniform stitches. A pair of sharp scissors is essential for cutting your yarn when you’ve finished stitching.
Understanding the Basics
When beginning the crochet whip stitch, ensure the pieces you’re joining have their right sides facing each other if you want the seam to be on the inside. Start at the outer loops of corner stitches to maintain a neat edge.
You’ll essentially be wrapping the yarn over the edge of the pieces, moving in a spiral, which is why it’s sometimes called a simple whip stitch.
Remember to work through both front loop and back loops only if you want a stronger join, but just through the back or front loops if you want a flatter edge.
Whip Stitch Crochet
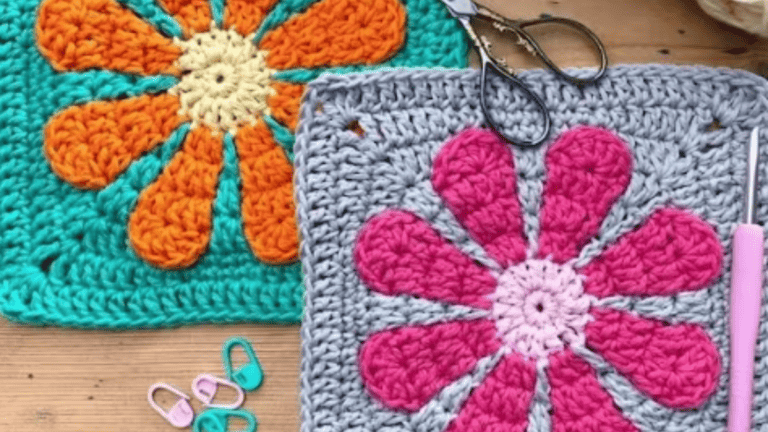
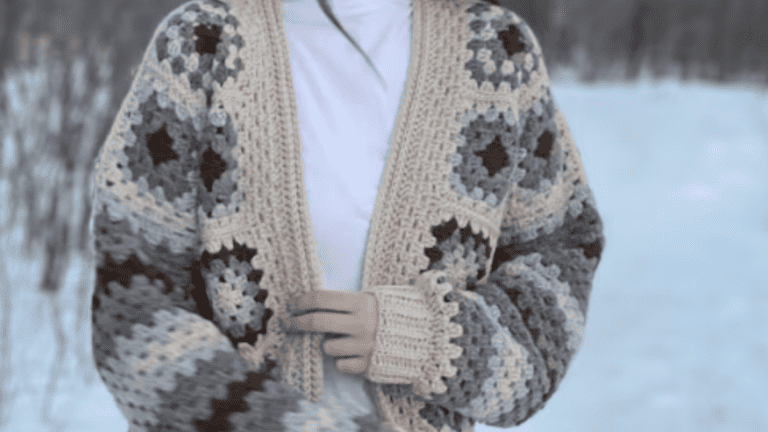
To achieve a seamless join in your crochet projects, the whipstitch technique is invaluable. It creates a sturdy seam with a minimal visual profile, perfect for everything from granny squares, Crochet blankets to garment assembly.
Preparing Pieces for Joining
Before you begin whipstitching, you need to lay out your crochet pieces flat, ensuring edges align evenly. It’s a good idea to use stitch markers or safety pins to hold the pieces together, especially if you’re working with multiple layers or large items like a crochet blanket.
This will prevent shifting and help maintain an even tension throughout your work.
| Preparation Step | Detail |
|---|---|
| Aligning | Lay pieces side-by-side, right sides up. |
| Securing | Pin edges together with markers. |
| Thread Prepping | Cut a length of yarn about three times the length of the seam. |
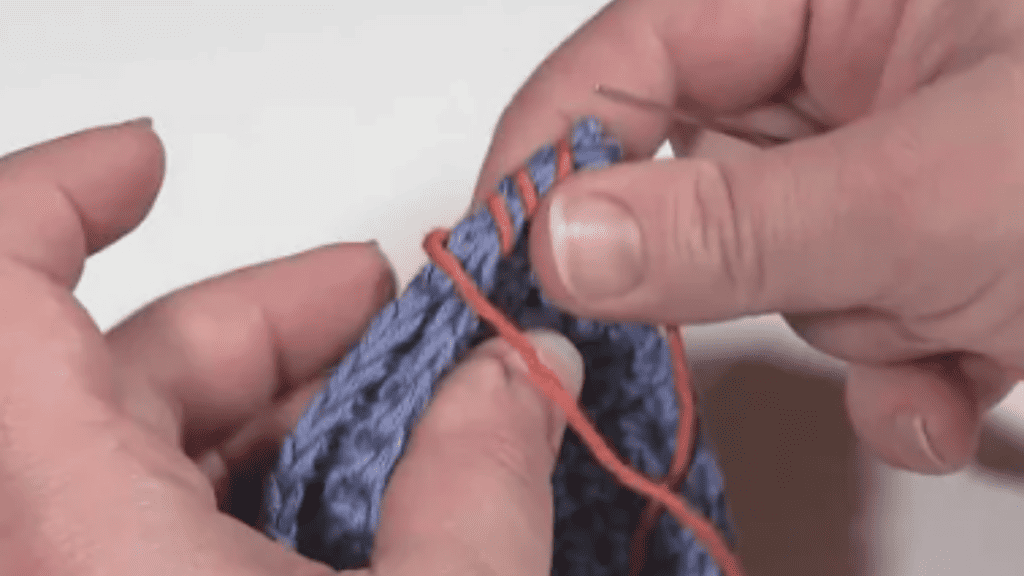
Whip Stitch Seaming
Start by threading a yarn needle with the yarn tail. Insert the needle through both layers of fabric from the back to the front at the corner, beginning at either the first stitch of crochet pieces or the ends of rows.
- First set of stitches: Insert the needle under both loops of the first stitch on the opposite piece and pull the yarn through.
- Next pair of stitches: Move the needle to the next pair of stitches and repeat.
- Continue this repeat step for the length of the pieces.
- Ensure your seam stays flat by not pulling too tightly. A flat slip stitch seam is often preferred for an almost invisible seam.
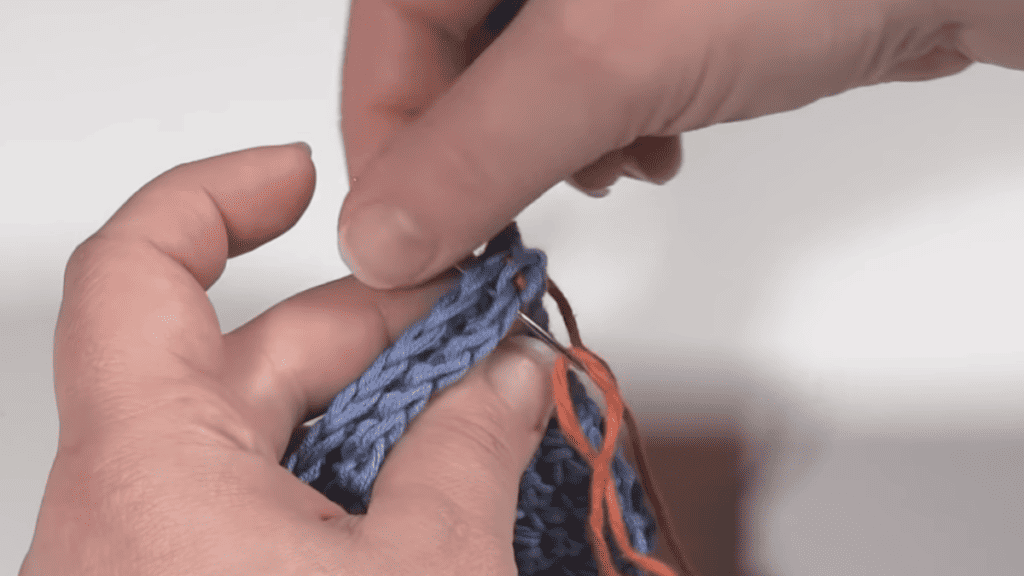
A contrasting yarn can be used for a decorative effect, or a matching yarn for an almost invisible seam. This technique is simple yet versatile, effective for joining granny squares, afghan squares, or even constructing a crochet sweater.
Finishing Touches and Tips
When you reach the last stitch, cut the piece of yarn, leaving enough to weave in the end. Weave in both yarn tails into the inside of your piece for a neat finish. Using a mattress stitch can also be an easy way and a great way to join crochet pieces if you want a completely flat seam for your crochet project
| Tips for Success |
|---|
| Keep tension even to avoid bunching. |
| Use a sharp needle for easier insertions. |
| Match yarn weight to your project for best results. |
Following a crochet pattern exactly or using slightly different ways can alter the final look of your seam, so feel free to experiment. And remember, practice makes perfect—happy crocheting!
Crochet Stitches

See all Crochet Stitches

One Comment