
Single Crochet Stitch: How to Tutorial For Beginners
Single crochet stitch is a cornerstone of crocheting and often one of the first stitches you’ll learn on your crafting journey.
It’s straightforward, making it perfect for beginners, yet it’s a fundamental element of many complex crochet projects.
As you explore the world of crochet, mastering the single crochet stitch will give you a strong foundation for creating various items such as scarves, hats, and even amigurumi – those adorable crocheted stuffed animals that have become wildly popular.
Learning how to single crochet isn’t just about acquiring a new skill; it’s about starting a voyage into the world of handmade crafts.
There’s a multitude of resources and single crochet tutorials out there designed to guide you through the process, ensuring you can pick up the basics and start creating with confidence.
Once you get the hang of it, you’ll see how versatile the single crochet stitch is and how it serves as a building block for more intricate designs and patterns.
Table of Contents
Single Crochet Stitch

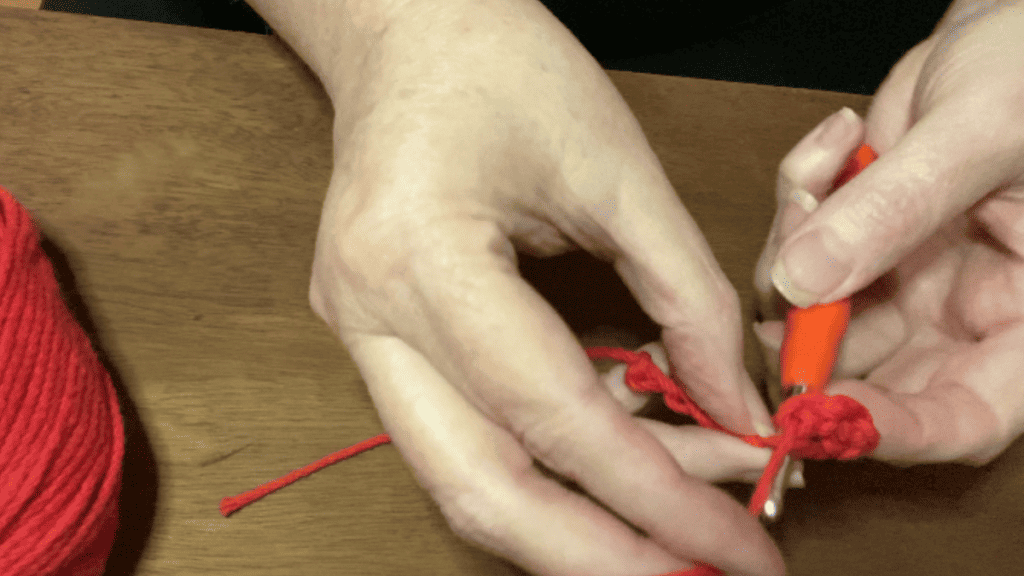
To kick off your single crochet project, you’ll need to master a couple of essentials – forming the slip knot and creating the foundation chain. Grab your crochet hook and let’s get those foundational skills down.
How to Start Chain Crochet Stitches
- Lay the yarn over your hand with the free end hanging down.
- Pinch the yarn with your thumb and index finger, then twist to make a loop.
- Insert your crochet hook through the loop, grab the yarn end, and pull it through to create a knot.
Remember: The slip knot is your starting point; it should be snug on the hook but loose enough to slide without resistance.
Crochet Basics
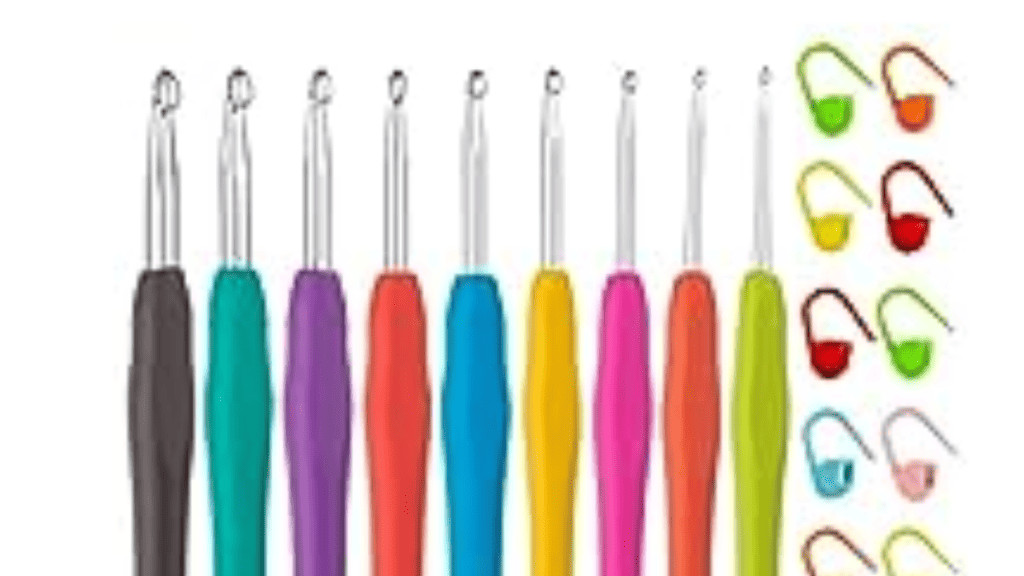
- Hook Size: For beginners, a 5.0 mm crochet hook is a great choice.
- Starting Chain: Always check your pattern for how many chain stitches to make.
- Yarn over (wrap the yarn around your hook) and pull through the loop on your hook to create your first chain stitch.
- First Chain: This is the first real loop on your hook, after the slip knot.
Pro Tip: The foundation chain is the backbone of your project. Make sure your chain stitches are neither too tight nor too loose to allow even crochet stitches.
First Row and Turning
Starting the first row of single crochet and turning your work properly are key to ensuring your project takes shape as intended.
Making Your First Single Crochet Stitch
To make your first single crochet:
- Insert your hook into the second chain from your hook—this is the foundation row.
- Yarn over (yo) and pull up a loop. You’ll now have two loops on your hook.
- Yarn over again and pull through both loops on the hook.
That’s it, you’ve made your first single crochet! Continue this process across the entire row. You can place a stitch marker in the last stitch to mark the end of the row. This will help you maintain an even edge and keep track of your work.
Crochet Turning Chain
When you reach the end of the row, you’ll need to make what’s known as a turning chain. Here’s how:
- After completing the last stitch of the row, chain one stitch for a single crochet (this is your turning chain).
- Then, turn your work so the side that was facing away from you is now facing you.
The turning chain creates a small gap that elevates the hook to the height of the next stitch you’ll be making. Start crocheting into the first single crochet stitch from the previous row, not the turning chain, as you begin the next row. This keeps the edges tidy and consistent without adding extra width.
Mastering the Single Crochet Stitch
When you’re ready to get comfy with the single crochet stitch, it’s all about understanding the parts of the stitch and keeping your tension steady.
Identifying Front and Back Loops
Front Loop: The front loop of a single crochet is the part closest to you. It’ll look like a little “V” on the right side of your work, which is the side usually facing out on a finished piece.
Back Loop: Flip your work to the wrong side, and those “V”s peeking at you from the wrong side are the back loops. Sticking your hook through these will give your fabric ribbing and texture.
To get it right, here’s a mini cheat-sheet:
- Right Side: Look for the “V” shapes neatly aligned.
- Wrong Side: This is where the texture is less defined.
- Front Loop Only (FLO): Insert your hook under the front loop for a ridge on the wrong side.
- Back Loop Only (BLO): Insert your hook under the back loop for a ridge on the right side.
Crochet Tension Tips

To keep your stitch count consistent, focus on the tension in your yarn. Good tension means your stitches are neither too tight nor too loose but just right to slide your hook through without a struggle.
Try these tips:
- Grip: Hold your yarn in a way that feels natural in your hand, allowing it to glide smoothly.
- Rhythm: Get into a groove as you crochet. Find a pace that’s comfortable for you and stick with it.
- Stitch Consistency: Aim to make each stitch look like its neighbor. That way, you’ll get a nice, even fabric.
Remember:
- Too Tight: Yarn that’s wound too tight will make it tough to insert your hook into the loops of the stitch.
- Too Loose: If your loops are too loose, your fabric will look sloppy and may not hold its shape well.
By paying attention to the front and back loops and maintaining even tension, your single crochet stitch will be looking sharp and professional. Keep practicing, and before you know it, you’ll be working that hook like a pro.
Advanced Techniques
When you’ve got the basics of single crochet down, it’s time to spice up your projects with some color changes and work in the round for a seamless look.
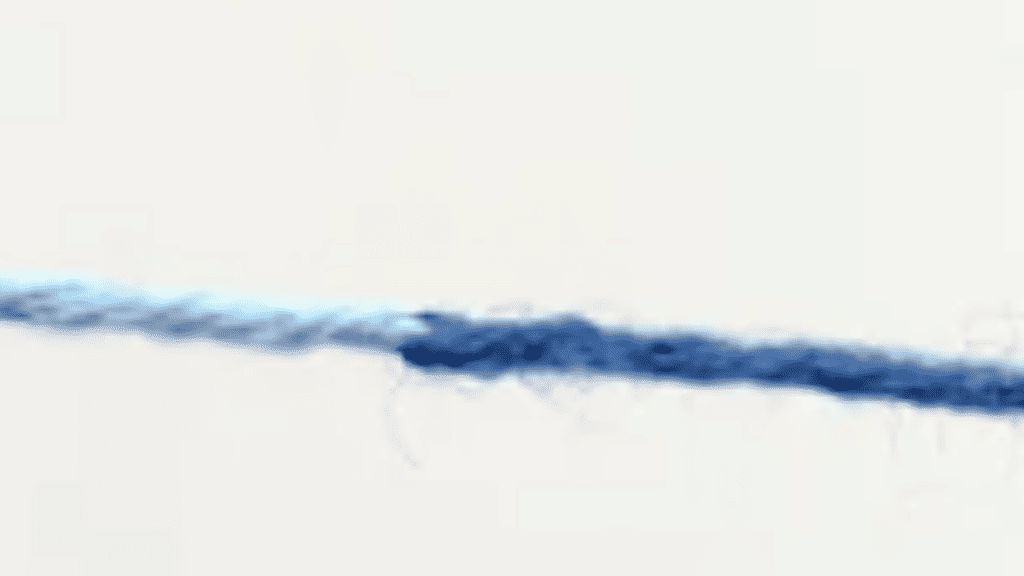
How to Join Yarn In Crochet
See tutorial: How to join yarn in crochet
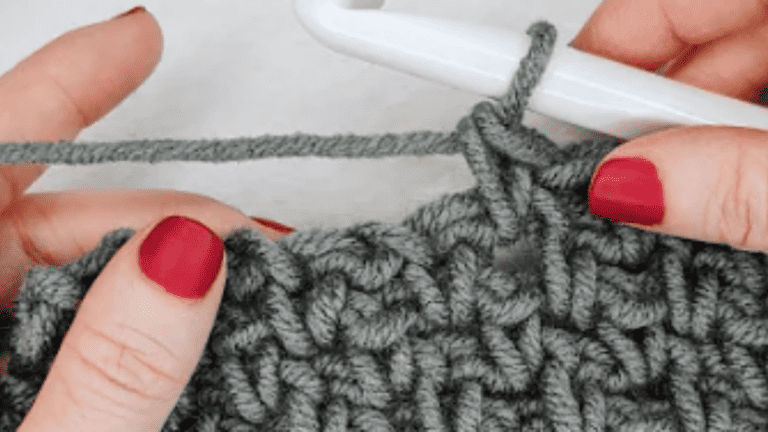
When starting a new row of single crochet with a different color, do so on the last draw-through of the previous stitch. This means you’ll have two loops on the hook, then you wrap the new color around the hook and pull through to complete the stitch. Here’s a quick step-by-step:
- Reach the last stitch of your current color.
- Insert hook, yarn over (with current color), and pull up a loop. You should have two loops of the current color on your hook.
- Yarn over with the new color and pull through both loops on the hook.
- Proceed with your new rows using the new color.
This technique ensures a clean color transition. To learn more see our post on How to join yarn in crochet.
Crochet Rounds
To create seamless rounds in single crochet, you’ll either use a magic circle or chain and join. Here’s the lowdown:
- Magic Circle:
- Begin by making a loop with your yarn and put the hook through.
- Draw up a loop and chain one; this counts as your beginning stitch.
- Work your row of single crochet stitches into the ring.
- Pull the tail to tighten the circle.
- Spiral Rounds:
- Start with a chain and join to form a ring or use a magic circle.
- Work your stitches in a continuous spiral without joining each round, which avoids a seam.
- Keep track of the beginning of each round with a stitch marker, since there’s no obvious “join” point.
Tip: To start a new row of single crochet in the round:
- Insert your hook under both loops of the next stitch, yarn over, and draw up a loop.
- Yarn over again and pull through both loops on the hook.
Remember: Always move your stitch marker up to the first stitch of the new round to keep your place.
Crochet Patterns
Reading Crochet Patterns
Understanding crochet patterns is like learning a new language—once you get the basics, you can create almost anything. Most patterns will have a written pattern, consisting of abbreviations and terms specific to crochet.
Crochet charts provide a visual representation of the pattern, with symbols representing each stitch. It’s essential to familiarize yourself with these symbols. For help with tricky parts, look for a stitch tutorial, which is often available as a video tutorial or photo tutorial.
Many blogs and crafting sites offer free crochet patterns to help you practice.
- Resources to Learn Reading Patterns:
- Video Tutorial: Great for visual learners.
- Photo Tutorial: Step-by-step breakdown with images.
- Written Pattern: Traditional and precise. Look for ones with glossaries.
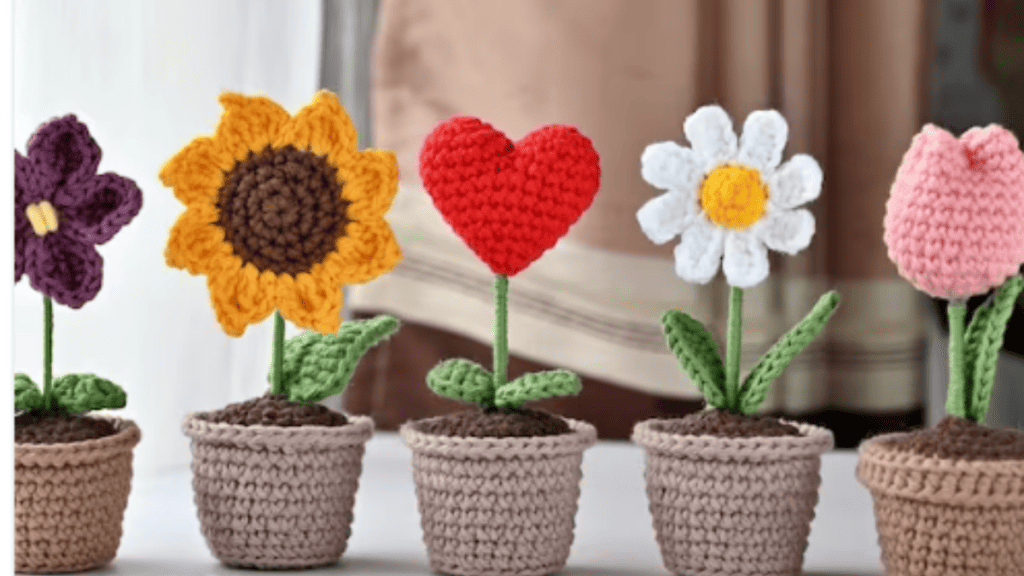
Single Crochet Stitch Projects
Start your crochet journey with projects that mainly use the single crochet stitch. This keeps it simple as you build confidence and skill. Search for free pattern offers on crochet websites or look at the latest blog post from your favorite crafter. Here are some project ideas where the single crochet stitch shines:
- Coasters: Quick and practical.
- Scarves: A classic choice for beginners.
- Dishcloths: Functional and a great way to practice your stitches.
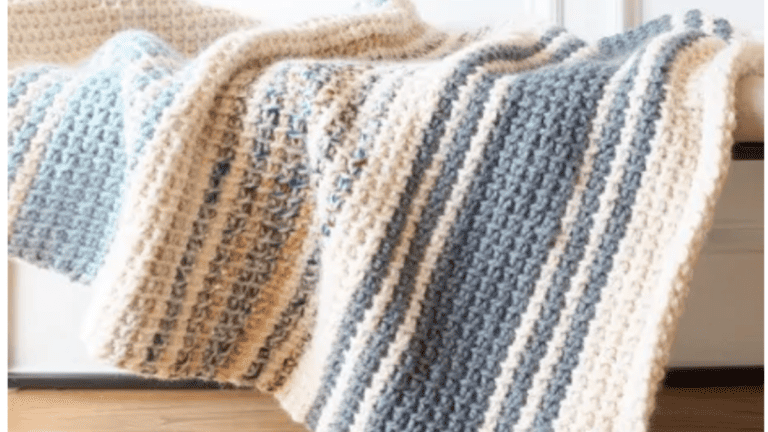
- Baby Blankets: Treasured gifts that don’t require complex patterns.
Initially, choose projects that have a detailed written pattern or video tutorial to guide you. As you get more comfortable, you can tackle projects that combine single crochet with other stitches for variety and complexity.

20 Comments